
Coffee Machine Care
Kcup Reusable Pod Guide: Fit, Cleaning and Leak Fixes
Oct
Your pod snaps into the holder, the handle closes, and the coffee still tastes watery or floods grounds into the cup. That failure doesn't mean reusable brewing is a bad idea, it usually means one mechanical detail doesn't match your brewer. A K-Cup reusable pod can save money and cut disposable waste, but only if its lid, needle pattern, and filter basket suit the machine you own. Check fit first, standardize your grind and dose second, and most leaks and weak cups become fixable instead of mysterious.
What a Reusable K-Cup Pod Is and Why Fit Matters
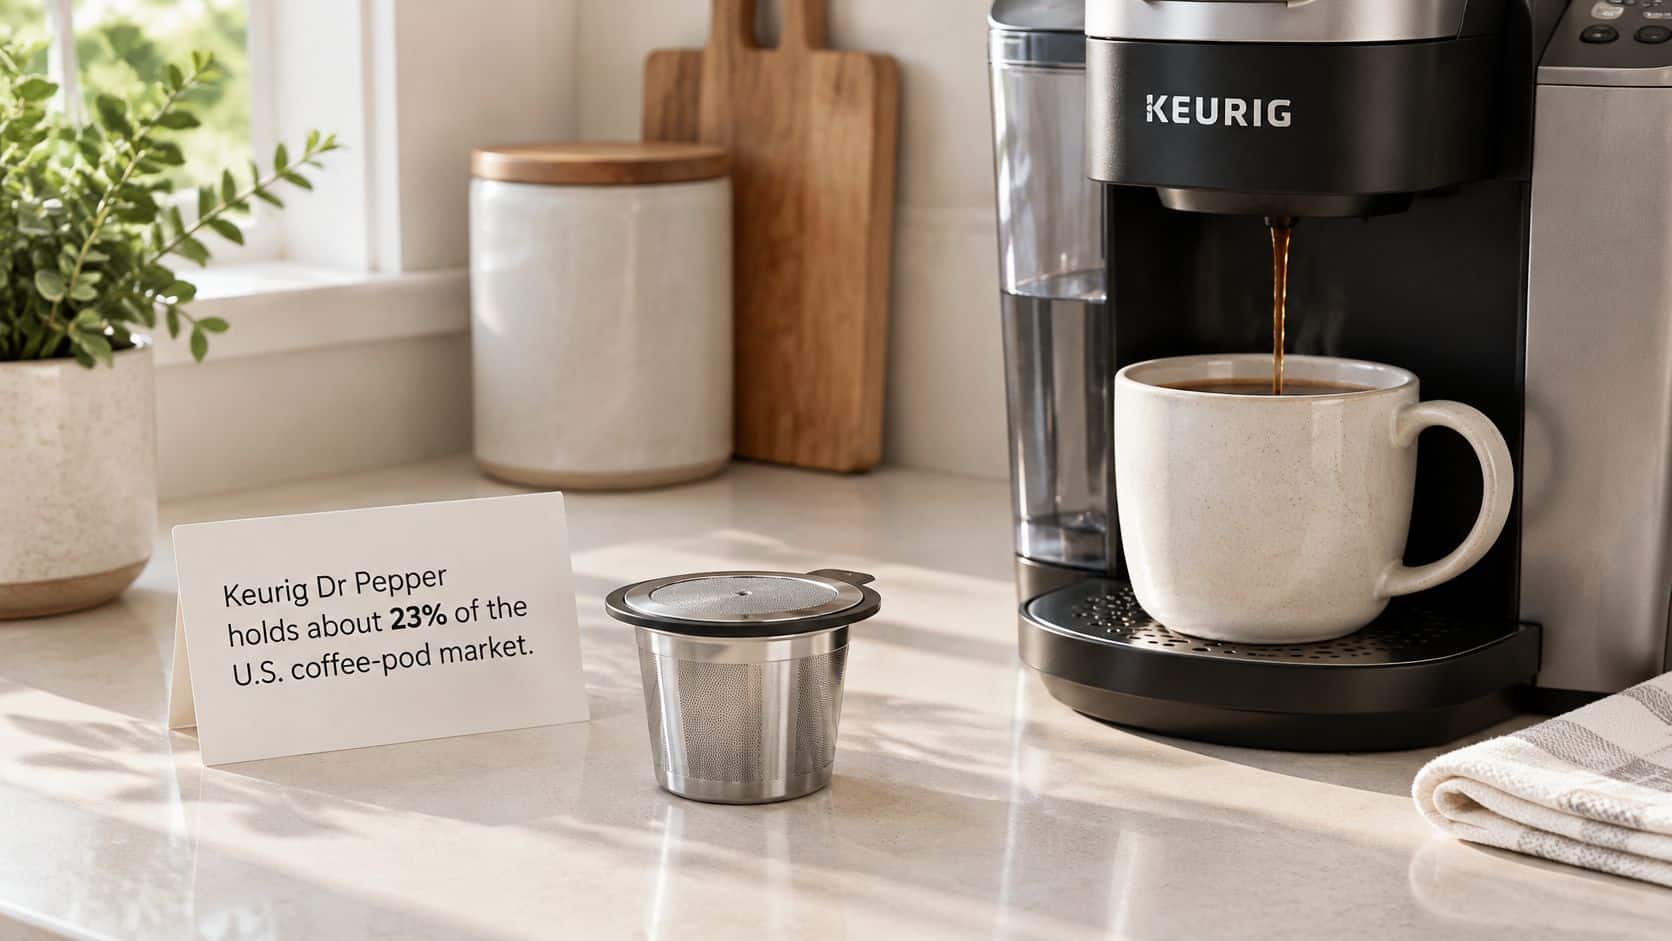
A 2024 report in the Ivey Business Review stated that Keurig Dr Pepper held approximately 23% of the U.S. coffee-pod market. That scale explains why so many households face the same choice. You can keep buying prefilled pods, or you can fill a washable filter with your own grounds.
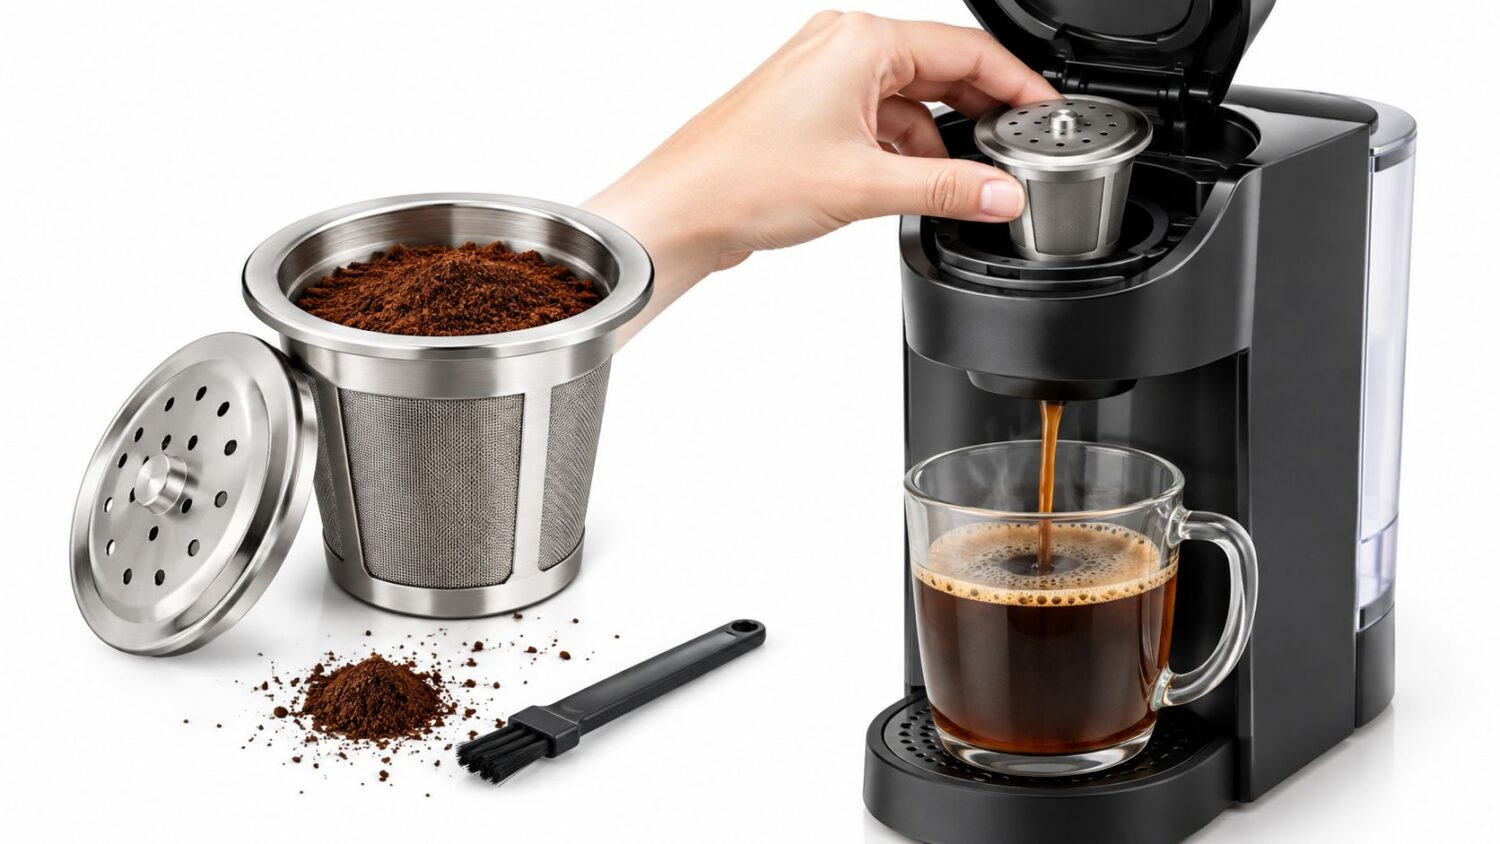
A reusable K-Cup pod is a refillable filter pod that sits in the brewer's pod holder. You add ground coffee, close the lid, and lower the handle so the brewer's needles pierce or meet the lid. Hot water then passes through the grounds and into your mug.
Think of a tea infuser versus a tea bag. A tea bag fixes the blend and dose for you, while an infuser lets you choose the leaves and controls how they're held while water flows through them. The reusable pod gives you that same control, but the infuser has to fit the brewer's holder and needle layout.
This idea isn't new. By late 2005, Green Mountain Coffee Roasters and Keurig had introduced My K-Cup, a refillable pod that allowed users to brew coffee from any compatible ground-coffee brand, according to Wikipedia's history of Keurig. That product set the basic bargain. You keep single-serve convenience, you choose the coffee, and you discard grounds instead of a capsule after each brew.
Why a compatible label is not enough
Brewer generation, lid geometry, recognition systems, and filter-cartridge design decide whether a pod seats and brews reliably. A pod can drop into the holder yet still sit too tall, close badly, or present the wrong lid surface to the needles. Those small mismatches cause leaks, overflow, or weak extraction.
Your first purchase check isn't flavor or material. It's your brewer generation and needle type.
Write down both details before you compare pods. I would photograph the model label and the underside of the raised handle, because that record lets you check a listing in seconds later. Fit comes first, because no grind adjustment repairs a lid your brewer can't seal.
Which Keurig and Ninja Models Accept a Reusable Pod
A pod's fit depends on three things: the brewer model, its needle layout, and the holes in the pod lid. Check all three before ordering. A pod can sit in the holder and still brew poorly if its lid does not align with the needles.
| Brewer family | Needle layout | Pod type to look for | Check before buying |
|---|---|---|---|
| K-Classic, K-Mini, K-Elite | Single needle | Pod built for single-needle brewers | Confirm the exact model number |
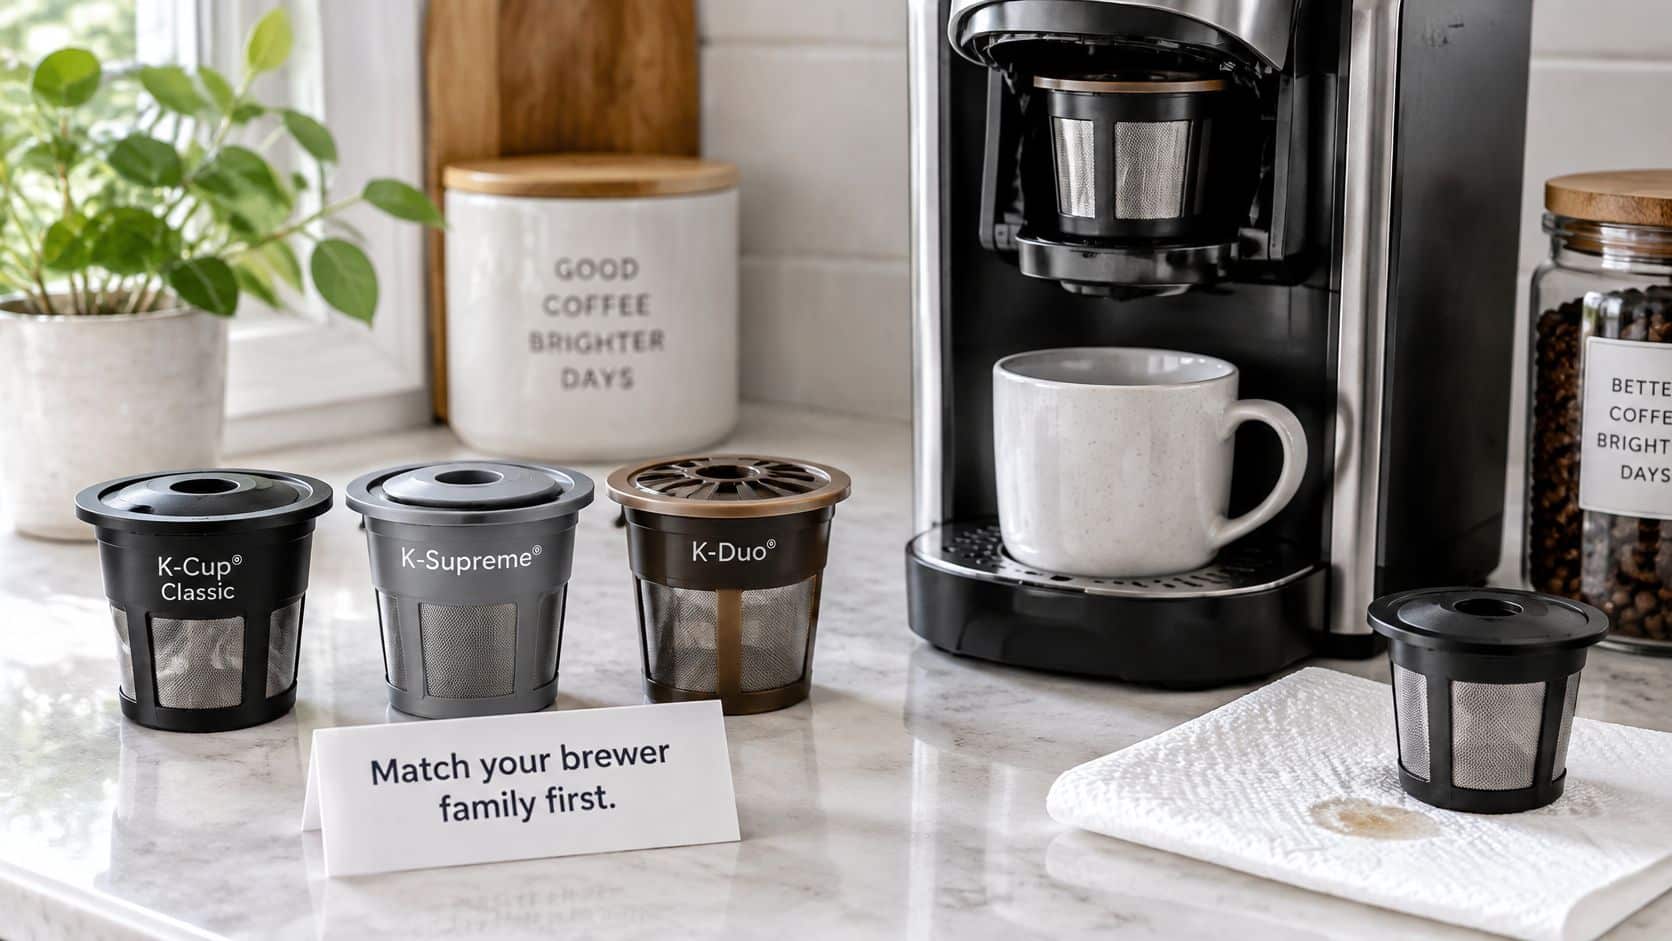
| K-Supreme, K-Slim, K-Crema, K-Duo Gen 2 | Multiple entrance needles | Pod with a lid pattern designed for the brewer | Match the pod's listed models and lid holes |
| K-Supreme SMART | Multiple entrance needles, five-hole lid | Newly designed Keurig My K-Cup Universal Reusable Coffee Filter | Follow Keurig's use and care guide |
| K-Duo Essentials and K-Duo Plus | Confirm the needle layout for the exact model in its manual | Pod matching the brewer's grounds setup | Check the model-specific manual and product listing |
| Keurig 2.0 brewers | Confirm the needle and recognition layout for the exact model in its manual | Pod that explicitly lists 2.0 compatibility | Match the exact brewer model to the listing |
| Ninja DualBrew | Confirm the needle and adapter setup for the exact model in its manual | Reusable pod listing the exact DualBrew model | Check the model number against the listing |
K-Duo Essentials, K-Duo Plus, Keurig 2.0, and Ninja DualBrew models do not have a single needle specification established here for every brewer in the family. Use the exact model's manual to identify its needle and grounds setup before choosing a pod. Family names alone are not enough.
How needle layout changes the pod you need
A single-needle brewer needs a pod designed for one puncture point. A brewer with multiple entrance needles needs a lid whose holes align with those needles. A mismatch can stop the handle from closing properly, interrupt brewing, or let grounds escape into the cup.
Keurig's K-Supreme SMART use and care guide says the brewer accepts only the newly designed Keurig My K-Cup Universal Reusable Coffee Filter. It warns that earlier versions or other reusable filters may damage the brewer. The compatible lid has five holes to match the brewer's multiple entrance needles.
Run the three-part check before you buy
- Brewer model: Read the exact model number on the brewer.
- Needle layout: Check the manual for the needle and grounds setup.
- Lid hole pattern: Match the pod's listed compatibility and lid holes to the brewer.
For a model-by-model guide to Keurig fit, see how to choose a reusable K-Cup for different Keurig models. Ninja DualBrew owners should also check that a product listing names their exact model. A similar model name does not guarantee a match.
Choose a pod only when the model, needle layout, and lid pattern agree. If the manual or listing leaves one of those checks unclear, confirm the details with the brewer maker before ordering.
Stainless Steel, Plastic and Mesh Pods Compared
Material changes how a pod feels to clean, how it holds up, and what waste it still creates. A 2021 peer-reviewed literature review in Packaging Technology and Science summarized life-cycle studies finding that polypropylene capsules had the highest impact across the evaluated categories among the capsule materials compared, followed by aluminum and biodegradable alternatives. That ranking covers single-use capsules. Your reusable pod earns a different result only by lasting long enough to replace many of them.
| Material | Typical structure | Cleaning method | Main trade-off |
|---|---|---|---|
| Stainless steel | Metal basket with fine mesh | Rinse and scrub the mesh, dishwasher only if the manual allows | Higher up-front cost, durability is the main advantage |
| Polypropylene plastic | Molded plastic body | Rinse, check the manual for dishwasher and heat limits | Capsule life-cycle studies ranked polypropylene highest in impact |
| Mesh with paper liner | Mesh basket plus disposable paper filter | Remove the liner and rinse the mesh | Recurring disposable waste from each liner |
| Aluminum single-use capsule, reference | Disposable capsule | Not reusable | Ranked second in impact among the capsule materials compared |
What each material asks of you
A stainless steel basket suits a daily brewer who'll rinse and brush it without thinking twice. The rigid mesh holds its shape, keeps an open flow path, and tolerates repeated scrubbing better than a thin basket. You'll pay more at the start, and fine grounds can still lodge in the mesh if you skip rinsing.
A polypropylene body usually costs less and feels light in the hand. Check its heat and dishwasher limits in the pod maker's manual before you wash it, and inspect hinges and lids as it ages. A warped lid or tired latch turns a cheap pod into a leaking pod, and early replacement weakens both the cost and waste case.
A mesh basket with a paper liner makes cleanup easier when wet grounds cling or you brew for guests who want a tidy routine. The liner lifts out with the grounds, so the mesh needs less scrubbing. The trade-off is plain, because every liner restarts a small disposable habit.
Dose control matters as much as the basket. That same Wiley review summarized a separate 2023 review finding that a capsule can avoid approximately 11 to 13 grams of overuse per prepared serving compared with less controlled brewing. A refillable pod loses that built-in portion control unless you measure consistently, and it reduces waste only when you use it for a sufficiently long period.
Choose the material you'll really rinse after every brew. I would pick stainless steel for heavy daily use, plastic only when its lid and care limits suit your routine, and liners only when cleanup difficulty would otherwise push you back to disposables. An unwashed premium pod clogs just as surely as a cheap one.
Benefits and Drawbacks Against Disposable Pods
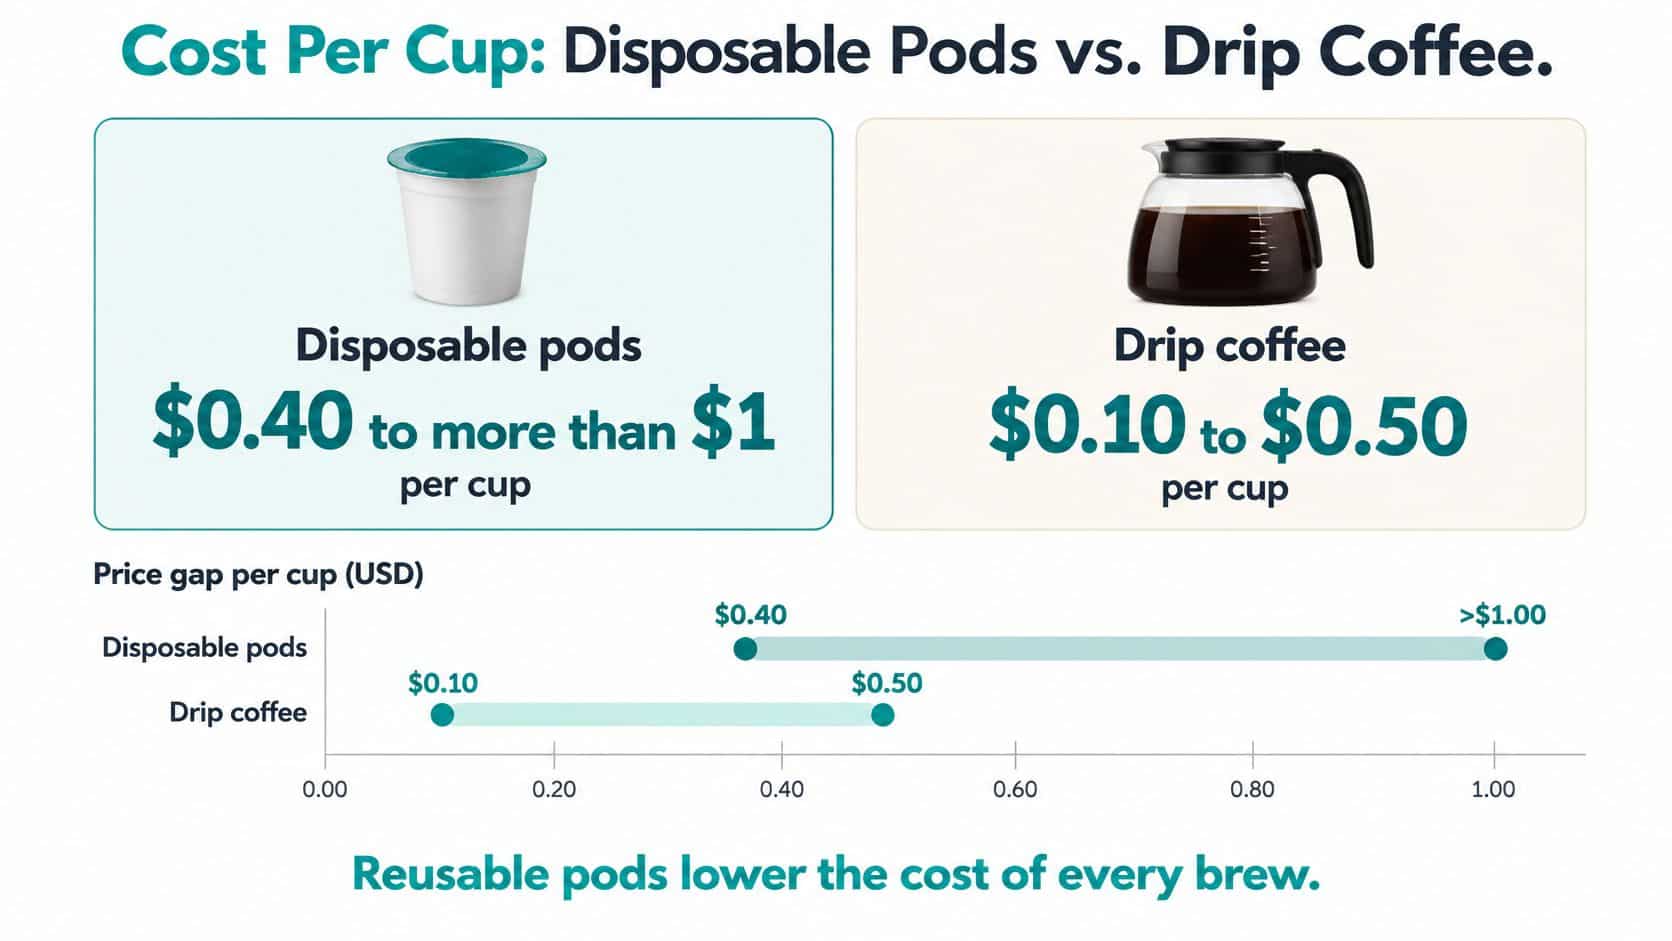
The cost gap is real, but it isn't a single savings number. Reported disposable-pod costs range from about $0.40 to more than $1 per cup, compared with roughly $0.10 to $0.50 for drip coffee, according to Plastic Proof's reusable K-Cup guide. Your own result depends on coffee price, dose, replacement frequency, cleaning effort, and paper liners.
| Cups per day | Disposable pods per year | Disposable spend per year at $0.40 to $1.00 per cup |
|---|---|---|
| 1 cup a day | 365 | $146 to $365 |
| 2 cups a day | 730 | $292 to $730 |
| 4 cups a day | 1,460 | $584 to $1,460 |
Read one row slowly. One daily cup uses 365 pods a year, which costs $146 at $0.40 each and $365 at $1.00 each. Four daily cups multiply that habit to 1,460 pods and as much as $1,460 a year before sales tax or delivery.
Subtract the reusable costs honestly
- Ground coffee: Price your usual dose from the bag you buy, not the cheapest bag you might buy.
- Cleaning: Add the water and energy for rinsing or washing, and don't run a full dishwasher cycle for one small pod.
- Grounds disposal: You'll handle wet grounds after every brew, whether they go to compost or trash.
- Replacement and upkeep: Budget for worn lids or baskets, paper liners if you use them, and normal brewer descaling.
The environmental math needs the same boundaries. A University of Tennessee life-cycle assessment published in Scientific Reports reported that its tested compostable pod completely degraded within 46 days in a local composting facility. That result applies to the tested compostable material and facility, not automatically to a reusable plastic or stainless steel pod. Your pod helps by displacement. Each brew can replace one disposable capsule, while washing adds water and energy demand.
Recycling claims also deserve care. Keurig's K-Express Essentials guide labels its recyclable pods as recyclable only in select locations, so local acceptance decides whether a used pod gets processed. Separately, the U.S. Securities and Exchange Commission fined Keurig Dr Pepper $1.5 million in 2024 over allegedly misleading statements about K-Cup recyclability, as reported by Mordor Intelligence's U.S. coffee pods market report.
Break-even arrives fastest when you brew often, wash efficiently, and keep one durable pod in service.
Occasional brewers gain less because they displace fewer disposables and still carry the washing routine. Frequent brewers who rinse quickly and avoid needless liners usually come out ahead on both cost per cup and capsule count.
How to Clean a Reusable Pod Every Day and Every Week
A reusable pod's mesh and lid holes need a rinse after each brew. Leftover grounds can restrict flow, while damp coffee residue can affect the next cup's flavor. Use this daily routine, then wash the pod more thoroughly on a schedule you can maintain.
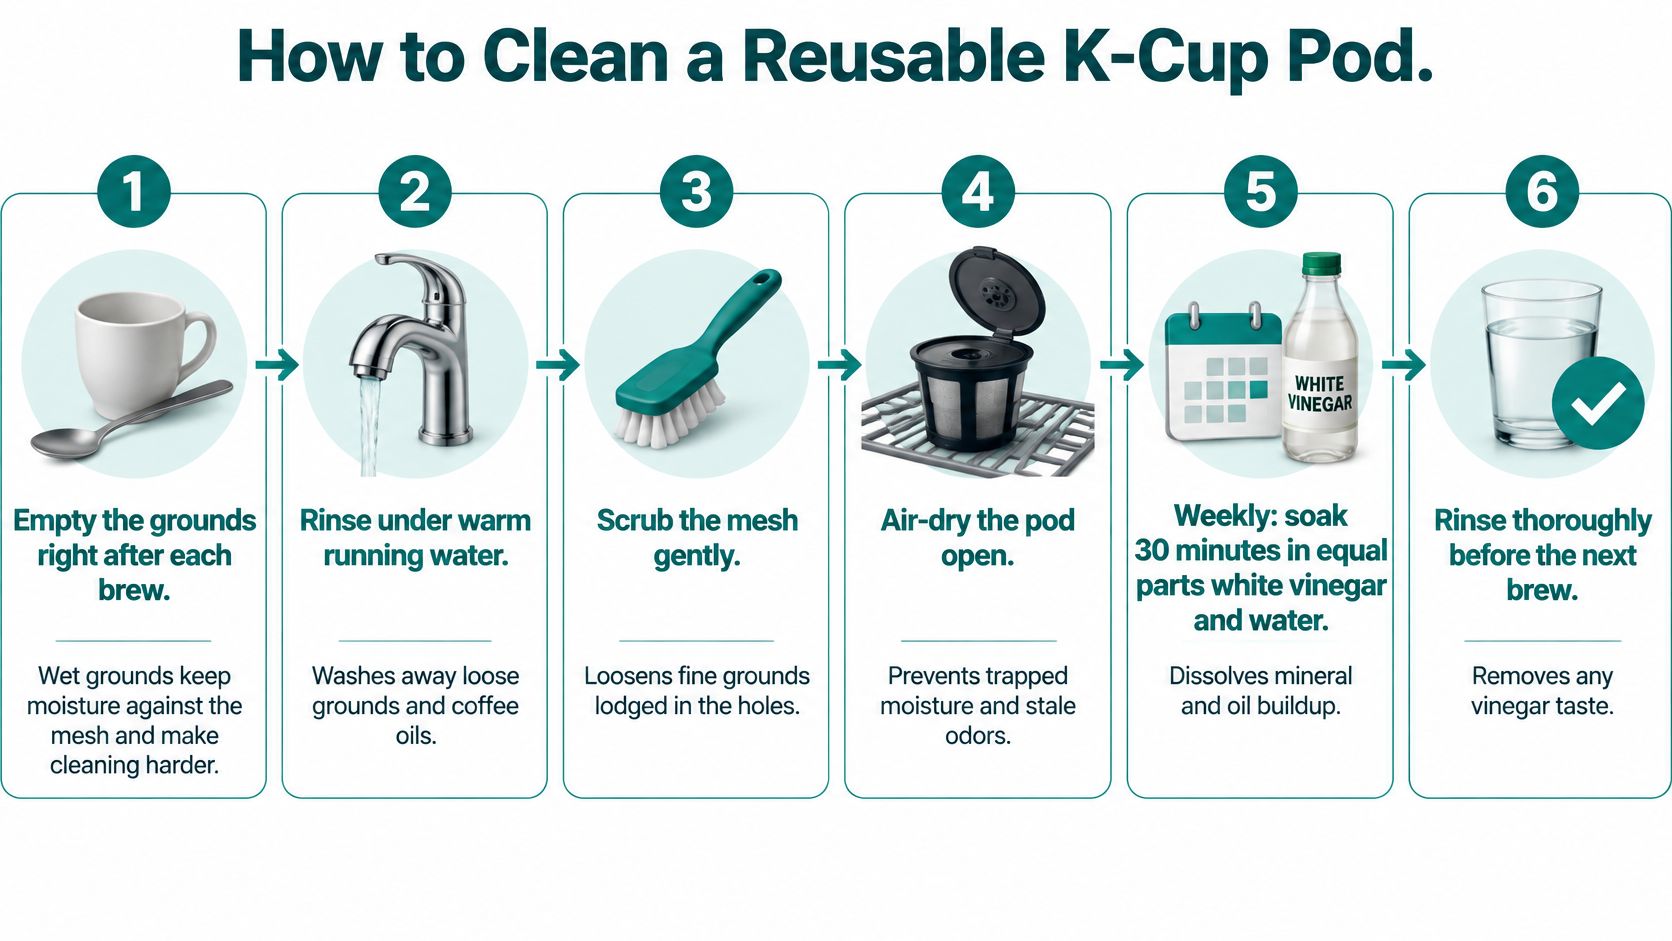
- Empty the grounds promptly: Knock or spoon them out after brewing. Wet grounds are harder to remove once they dry.
- Rinse both sides: Hold the open pod under running water until the water runs clear. Rinsing before residue dries helps clear particles from the mesh.
- Brush the mesh and lid holes: Use a soft brush on the basket, rim, and openings. Scrub gently to dislodge fines without damaging the filter.
- Let the pod dry open: Shake off excess water, then leave the lid open or off so moisture does not stay trapped against the filter.
- Wash it weekly: Use warm soapy water for a deeper clean. Put the pod in a dishwasher only if its manufacturer says that material is dishwasher-safe.
- Wipe the brewer's holder, reservoir, and drip tray: Remove loose grounds and wipe these parts after use. Follow the brewer manual for cleaning instructions.
- Descale as the brewer manual directs: Use the specified process and interval for your model. Descaling schedules differ, so follow the guidance for your brewer rather than assuming one interval applies to every machine.
Watch the routine before you settle yours
A short demonstration can clarify how to brush fine mesh and leave the pod open to dry. Watch the sequence, then follow the same order with your pod and a soft brush.
Keep cleaning supplies simple and follow the brewer maker's instructions. Use a descaling solution or cleaning tablet only if the manufacturer allows it. Disposable paper liners may help when grounds are difficult to rinse away, but each liner adds waste. For more pod-care steps, see this guide to cleaning reusable coffee pods. Keep a soft brush near the brewer so it is ready after each brew.
Fixing Leaks, Overflow and Weak Coffee
Diagnose in a fixed order and you'll waste less coffee. Check fill level and grind first, then lid closure and seating, then brewer maintenance. Changing three things at once tells you nothing.
| Symptom | Likely cause | First fix |
|---|---|---|
| Coffee leaks at the lid or grounds appear in the cup | Lid not fully closed, lid already punctured, or grounds too fine | Reseat the lid, confirm the lid matches the brewer, switch to a medium grind |
| Brewer overflows from the top | Overfilled pod, fine particles clogging the mesh, or mineral buildup | Fill lower, rinse and brush the mesh, then descale per the manual |
| Weak, watery coffee | Underfilled or unevenly filled pod, coarse grind, or large cup size | Level the dose, use a medium grind, choose the smallest cup size |
| Slow brew or bitter taste | Packed grounds, grind too fine, or clogged needle | Fill without tamping, move to a medium grind, clear the needle |
| Brewer will not start or shows an error | Pod not seated, or lid does not match the brewer | Remove the pod, reseat it, and verify the model in the manual |
Why fill and grind change strength
Coffee-extraction research in Scientific Reports shows that grind size, dose, flow rate, and contact time govern extraction, and those variables can hold total dissolved solids and percent extraction constant even when brew temperature changes. In plain terms, hotter water alone won't rescue a badly filled pod. Water needs a consistent path through evenly wetted grounds.
Overfilling or tamping raises flow resistance, which can cause weak or uneven extraction and increase bypass or overflow risk. A medium-to-medium-fine grind gives you a more controllable starting point than an espresso-fine grind because finer particles slow wetting and increase hydraulic resistance. Fill consistently and level the grounds without packing them down.
That mechanism answers the hardest objection. A pod can fit correctly and still brew weak coffee when the dose is low, the grind is coarse, the cup size is large, or the lid pattern sends water around the grounds. Fit is necessary, but it doesn't guarantee extraction.
Run one controlled test
Start clean. Use a medium grind, a level dose, the smallest cup size, correct seating, and a clean needle for the first brew, then record strength, flow, and any leakage. Change one variable on the next brew, such as a slightly finer grind or a slightly higher fill, and record that result too.
- If it leaks: Reduce the fill first, brush the mesh, and reseat the lid before you blame the brewer.
- If it's weak: Keep the small cup size, level a fuller dose, and move the grind a little finer.
- If it's slow or bitter: Remove any tamping, move coarser, and clear fines from the mesh and needle.
Keep notes in the same order each time so patterns appear quickly. These reusable K-Cup tips pair well with that test when you want a quick checklist beside the brewer.
Stopping rule: If leaking persists after the controlled test with a clean, correctly filled pod, stop using that pod in that brewer.
At that point the lid geometry probably doesn't suit the needle layout. Confirm the model in the brewer manual and replace the pod with one built for that layout, rather than forcing the handle or grinding finer to compensate.
Choose the Reusable Pod Your Brewer Accepts
Match your brewer family to the fit table first. If a new pod leaks, run the controlled test before you reorder, because a level dose and a medium grind solve many first-week problems without another purchase.
For single-needle Keurig brewers, our reusable K-Cups are stainless steel refillable pods sold as a 2-pack for $19.95. For K-Supreme, K-Slim, and K-Duo Gen 2 brewers, our universal refillable reusable K-Cups come in a 4-pack priced at $19.95, and you should confirm the lid hole pattern in your brewer manual before ordering. PureHQ oversees its own manufacturing of its water filters and reusable coffee pods.
Ninja DualBrew owners should confirm the exact model named on the listing before ordering. Don't substitute a similar model name, and don't force a lid that resists the handle.
Visit purehqfilters.com, select the pack that matches your brewer's needle layout, and order today so your next cup starts with the right mechanical fit.
PureHQ Inc. offers reusable K-Cup pods matched to specific Keurig needle layouts, along with the cleaning and filtration accessories that keep a refillable routine working well. Choose your pack by brewer model and lid pattern, then visit PureHQ Inc. to order the reusable pod your machine accepts.

