
Coffee Machine Care
How to Clean Reusable Coffee Pods the Right Way
Aug
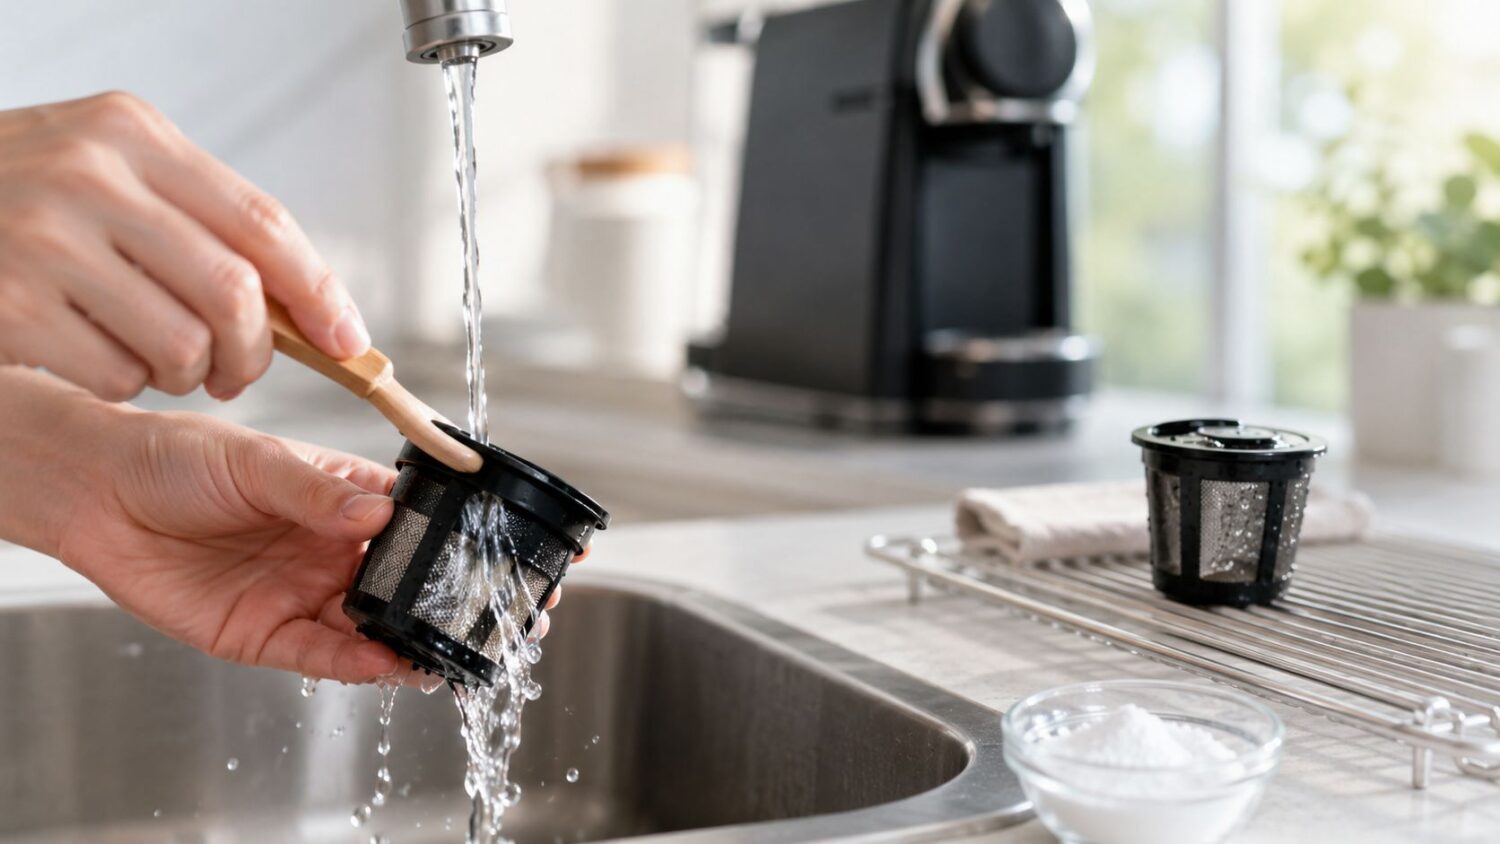
You press brew, hear the familiar hum, and then notice the problem. The reusable pod is coated with wet grounds, the mesh looks oily, and the finished coffee carries a sour, stale smell. Rinsing it later often feels harmless, but trapped moisture and residue can turn a convenient refillable pod into the dirtiest part of your morning routine.
The practical answer to how to clean reusable coffee pods isn't one occasional scrub. It's a connected system: rinse after every brew, deep-clean weekly, and descale the brewer periodically. That routine protects flavor, reduces clogging, and helps you spot worn seals or damaged mesh before they cause leaks.
Why Your Reusable Pods Deserve a Real Routine
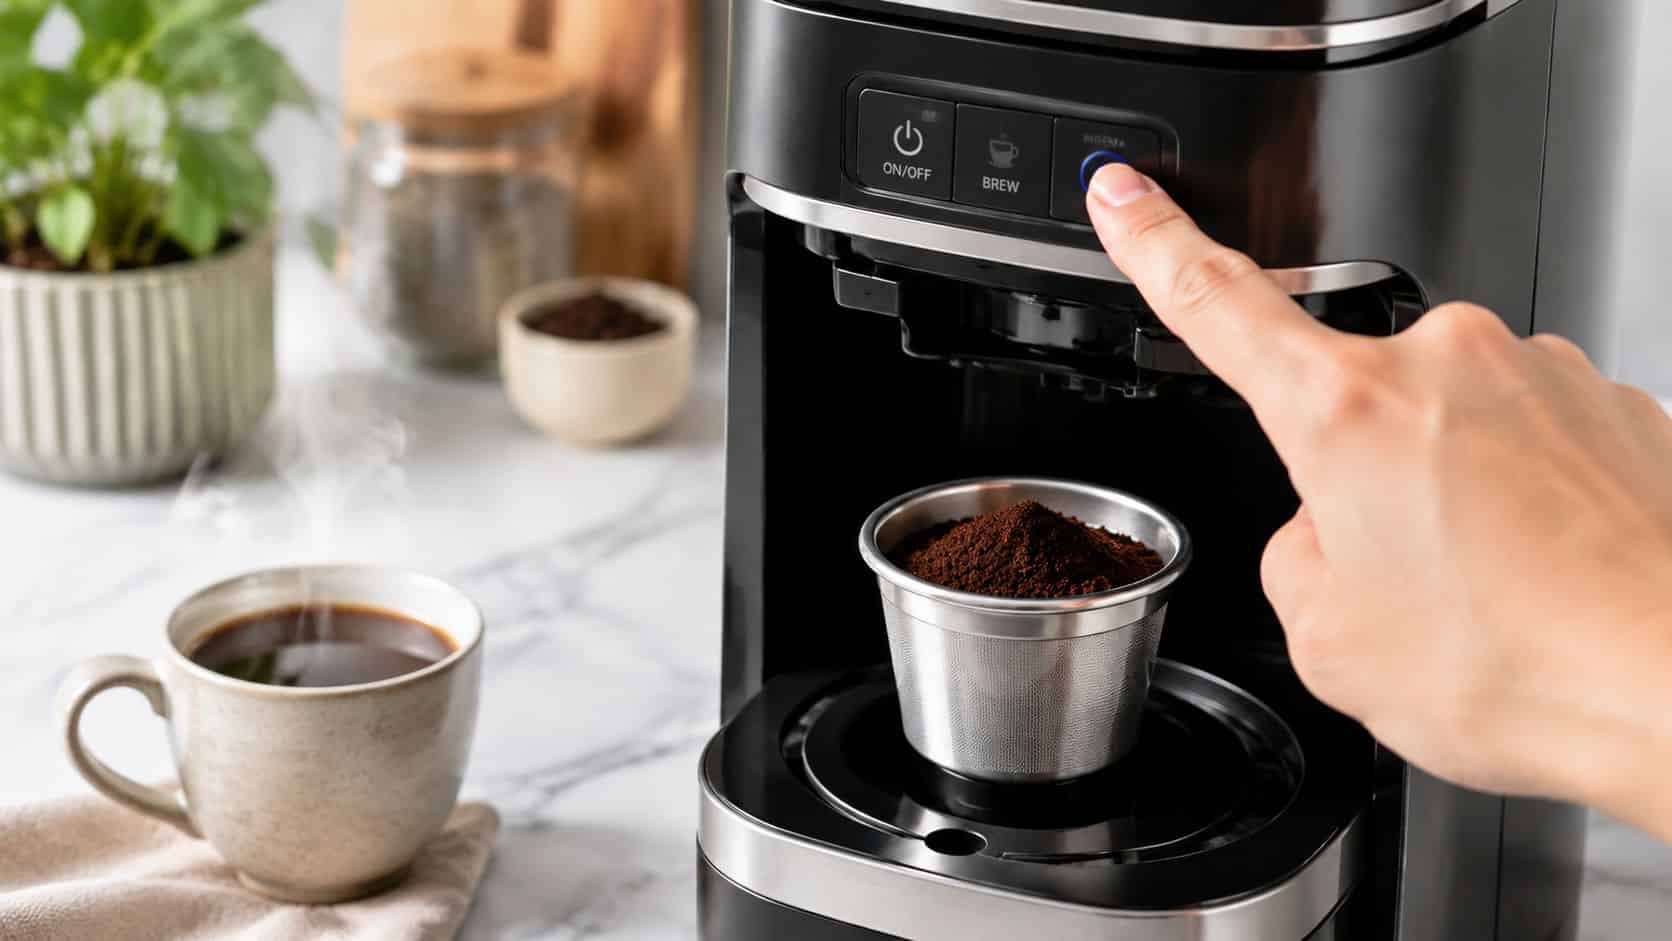
A reusable K-Cup isn't a sealed single-use shell. It combines a filter, lid, and often a silicone gasket, all exposed to hot water, coffee oils, grounds, and pressure every time the machine brews. If you leave the spent grounds sitting in that small cavity, residue dries into the mesh and the rim, where a quick rinse becomes much less effective.
The first warning usually isn't visible mold. It's a cup that tastes flat, bitter, or oddly sour even though you opened fresh coffee. Residual oils and trapped grounds are common sources of clogging and stale flavor, which is why Southern Living's reusable coffee pod cleaning guidance emphasizes emptying and rinsing promptly, brushing difficult areas, and allowing the pod to dry completely.
What neglect changes
A dirty pod can restrict water flow through the mesh. Grounds may also remain around the lid groove or gasket, creating a poor seal that contributes to leaks or grounds in the cup. The brewer can then appear to be the problem when the issue is a pod that hasn't been cleared properly.
Moisture makes the situation worse. Damp coffee residue supplies organic material in a warm, enclosed space, while humid kitchen air slows drying. Cleaning and drying practices matter just as much for other reusable household items, so a safe yoga mat cleaning guide offers a useful reminder: material compatibility and complete drying matter more than applying a strong cleaner.
Practical rule: A pod that stays open and dries fully is easier to maintain than one that gets a powerful clean only after odor or staining appears.
A real routine also protects the brewer around the pod. Cleaning the reusable filter, checking the puncture area, and maintaining the machine's water path together is more effective than repeatedly replacing pods. You can compare pod styles and maintenance considerations in this reusable coffee pod guide before choosing replacement equipment.
The Daily Habit That Prevents Most Problems
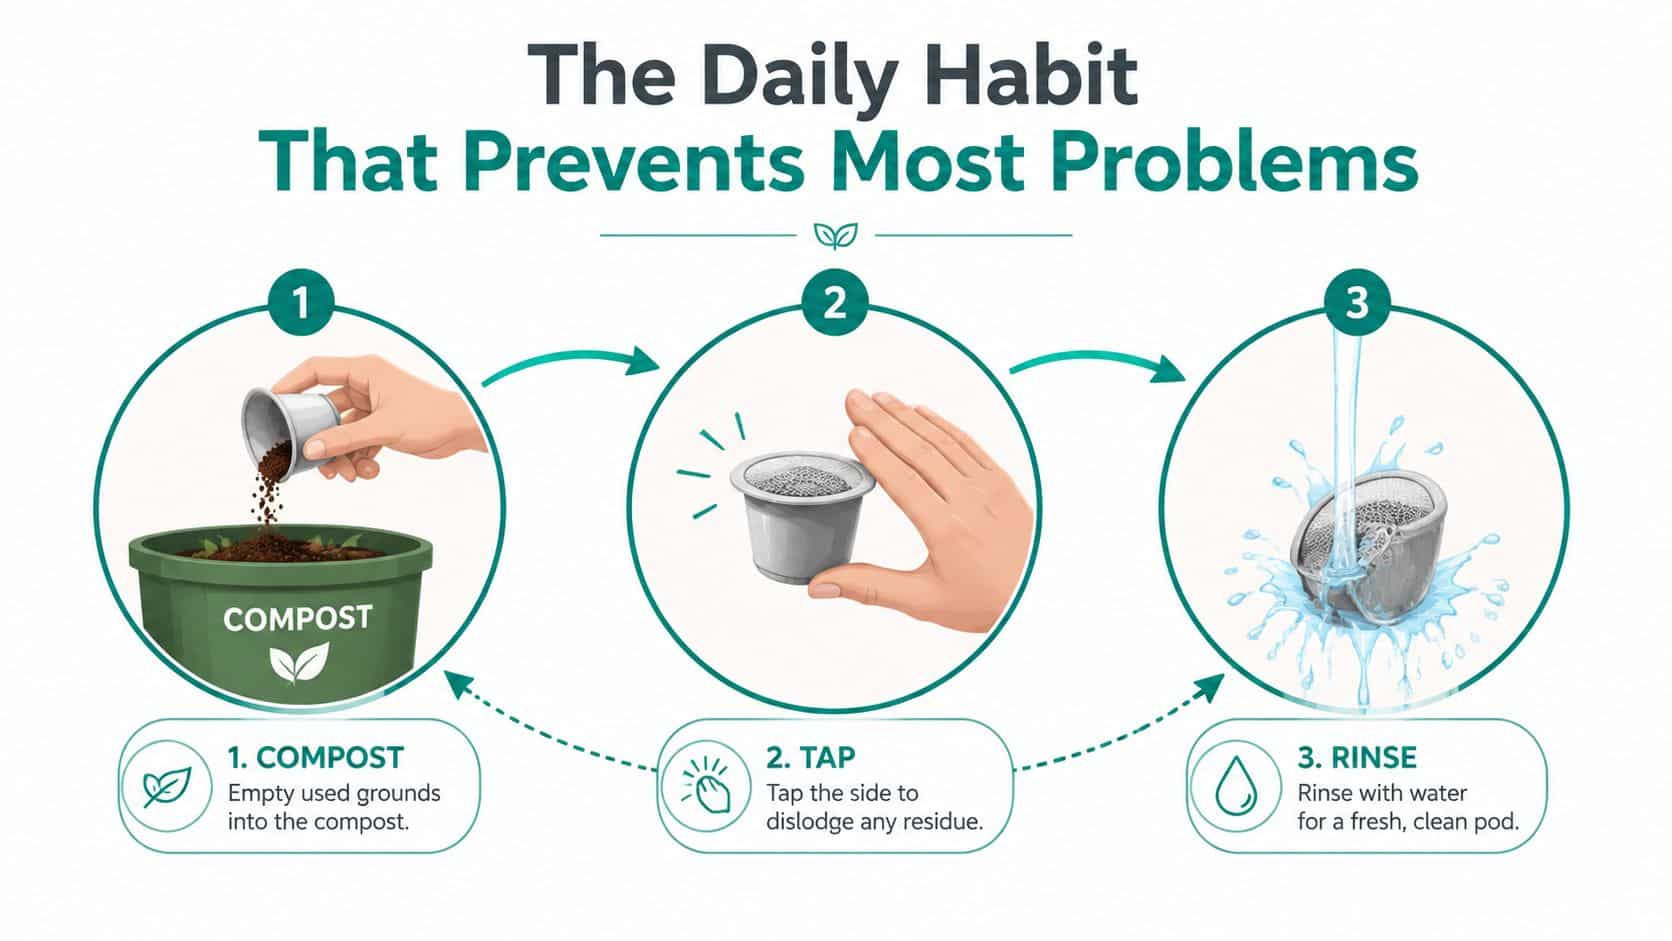
The best time to clean a reusable pod is immediately after the brew finishes, while the grounds are still loose. Tip the spent coffee into the bin or compost, then tap the lid gently against your palm to dislodge grounds caught around the edge. Don't bang the pod against a hard sink, because repeated impacts can deform the rim or stress a seal.
Run the pod under warm or hot tap water. Massage the mesh lightly with a fingertip, and rinse from both sides when the design allows it, so water carries grounds out rather than packing them deeper into the filter. Open the lid and rinse the gasket groove separately, since coffee oils often collect in that narrow channel.
Let air do the final cleaning
Shake out excess water, open the pod, and place it at an angle on a dish rack. That position lets air circulate through the cavity instead of leaving a puddle beneath the mesh. A clean towel can catch drips, but don't close the lid while the interior still feels damp.
A quick post-brew rinse prevents oils from hardening into a sticky film. Full air-drying removes the moisture that allows residue to remain active between brews. The reusable K-Cup tips from PureHQ also fit this practical approach, pairing immediate ground removal with rinsing and drying.
The habit that matters most: Don't store a reusable pod wet, closed, or full of spent grounds.
Soap isn't necessary after every cup, and using it constantly can create extra rinsing work or leave flavor behind if you rush. Reserve detergent for the weekly wash, then use the daily rinse to stop fresh residue from becoming a harder maintenance problem.
Handwashing vs Dishwasher and What to Skip
Handwashing gives you the most control over the mesh, lid, and gasket. A soft bottle brush, an old toothbrush, warm water, and a drop of mild dish soap can reach the rim without forcing the pod through a harsh cycle. It also makes it easier to identify grounds lodged in puncture holes and to rinse away every trace of detergent.
A dishwasher is convenient, but it isn't automatically the better clean. A manufacturer product page for a reusable coffee filter identifies a compatible pod as dishwasher safe on the top rack, while also listing handwashing with warm water and soap as acceptable cleaning guidance. That instruction applies to the specific product, so check your pod's own documentation before using a dishwasher.
Compare the trade-offs
| Factor | Handwashing | Dishwasher |
|---|---|---|
| Mesh control | A soft brush removes residue from specific areas without rough handling. | The spray may miss grounds inside the mesh or lid groove. |
| Leak concerns | You can inspect the gasket and rim while cleaning. | Heat and movement can expose weak seals or bonded parts. |
| Fit and durability | Gentle handling helps preserve the pod's shape. | Use only the top rack when the manufacturer permits dishwasher cleaning. |
| Flavor residue | You control the soap amount and rinse directly. | Detergent and heat can leave a problem if the pod isn't rinsed thoroughly. |
| Convenience | Takes more hands-on time. | Reduces manual work but still requires inspection and complete drying. |
Skip bleach tablets, abrasive scrub pads, and stiff metal brushes. Bleach can leave a flavor ghost and may corrode stainless-steel mesh, while abrasive tools can scratch or deform the filter. Never run a brew cycle with vinegar sitting inside the reusable pod, either. That approach exposes seals to unnecessary acid and can leave a sour note in subsequent coffee.
Do not transfer dishwasher advice from the pod to the brewer's brewing unit. Bosch guidance says to rinse that component under warm running water, remove residue, dry it fully, and avoid dish detergent, vinegar, acids, and the dishwasher on the brewing unit itself according to its maintenance instructions.
A Weekly Deep Clean That Works
If the pod still smells of yesterday's coffee after a daily rinse, schedule a weekly clean for the residue that water cannot remove. Separate every part the design permits: remove the lid, lift out a removable mesh filter, and take off the silicone seal without stretching it. This weekly step connects the quick daily rinse with the occasional brewer maintenance that keeps flavor consistent.
Fill a bowl with warm water and add either a tablespoon of baking soda or a teaspoon of unscented dish soap. Soak the removable parts for 15 to 20 minutes. Keep components out of the water if the manufacturer says they must stay dry.
Scrub the places rinsing misses
Use a soft-bristle brush on the mesh and an old toothbrush around the lid, rim, and gasket channel. A small bottle brush reaches the pod's inside wall. Brush the mesh in circles, then pass the bristles gently through each puncture opening and along the rim groove, where fine grounds collect.
Rinse every piece under hot running water until the water is clear and the surface no longer feels slick. Soap left behind can affect the next cup, so spend time on this step. Direct water through any narrow hinge or vent, then inspect the area under good light.
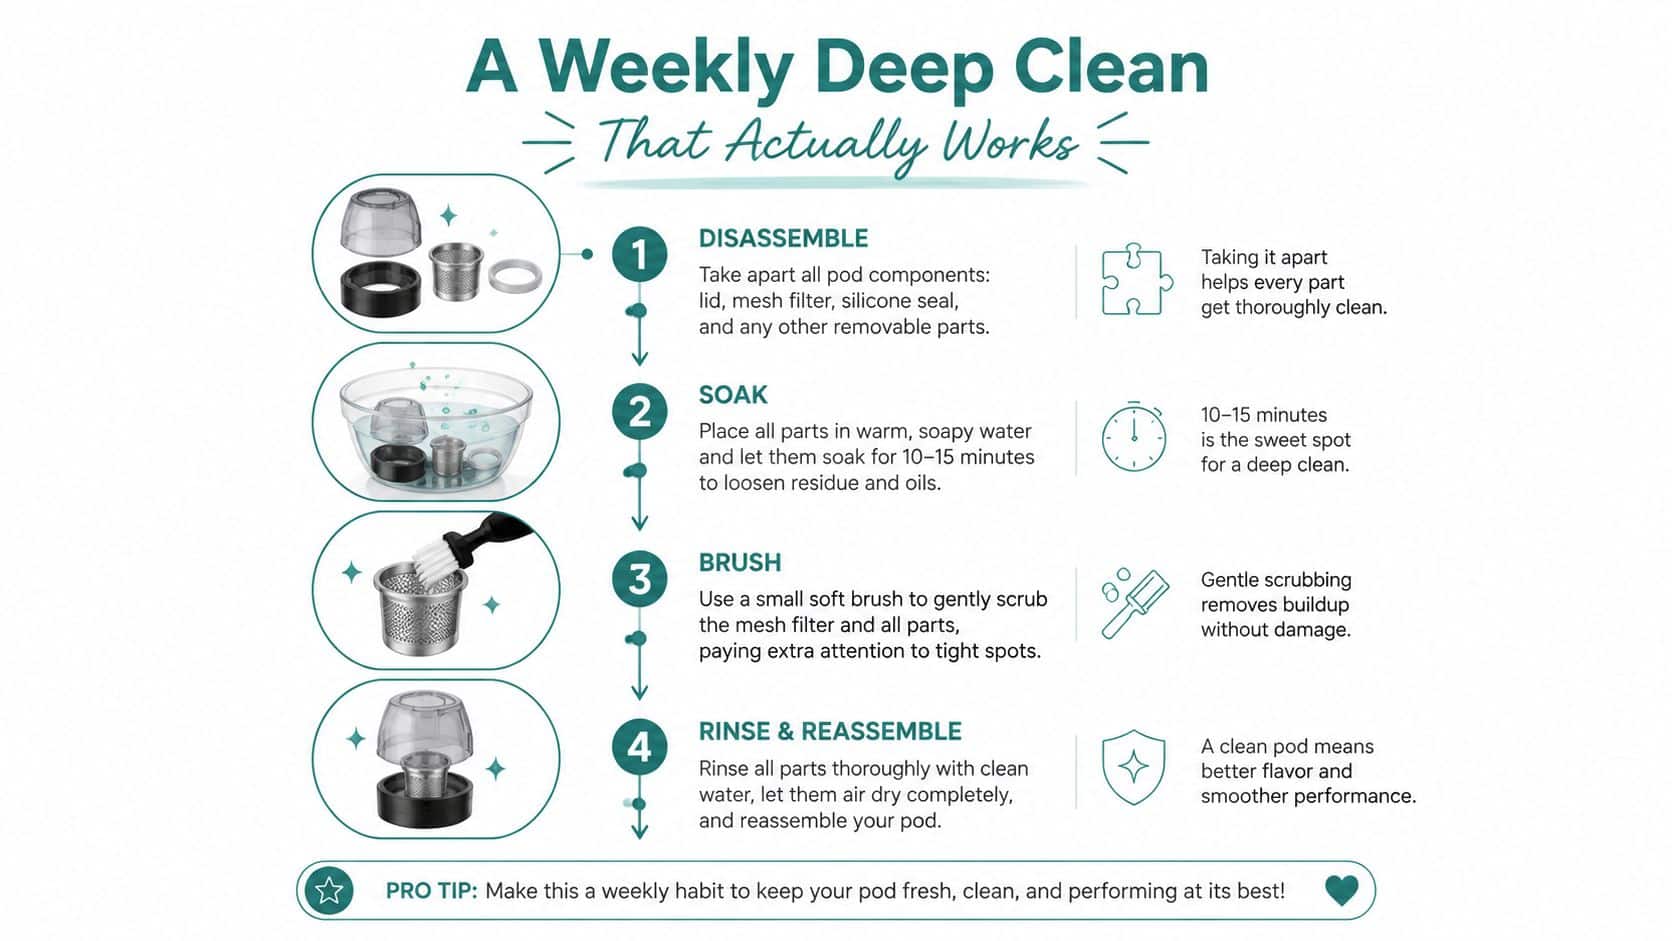
Place the pod upside down on a dry towel for at least 30 minutes. Keep the lid, mesh, and seal separated so air can reach them. The coffee-machine cleaning tablet guide from PureHQ helps distinguish pod cleaning from products made for the brewer itself.
Drying deserves the same attention as scrubbing. Water can hide beneath a gasket or inside a double-wall filter even when the exterior feels dry. Let each component dry independently before reassembly, then return the pod to service as part of the routine that also includes periodic brewer descaling.
Tackling Stubborn Residue and Mold Risks
A brown film that remains after soap and water is usually concentrated coffee oil. It clings to mesh and plastic, affects the taste of fresh grounds, and holds fine particles in place. Damp interiors create a separate problem: trapped moisture combined with organic residue can support mold and bacterial growth.
For a stubborn oil film, take the pod apart and soak compatible parts in equal parts white vinegar and hot water for 30 minutes. Brush the mesh, rim, and lid groove afterward, then rinse thoroughly. Check the gasket channel and any recessed seams, where residue can remain even after the main surfaces look clean. Let every part dry completely before reassembly.
Hard-water deposits need a different treatment. Mix one tablespoon of citric acid per cup of warm water, and use the solution only on components that can tolerate it. A practical guide to reusable K-Cup maintenance describes occasional vinegar or citric-acid treatment when mineral buildup appears a practical guide to reusable K-Cup maintenance.
Match the treatment to the residue
| Stain Type | Best Treatment | Soak Time | Avoid |
|---|---|---|---|
| Fresh grounds | Warm running water and fingertip massage | No soak | Pressing grounds deeper into the mesh |
| Coffee-oil film | Equal-parts vinegar and hot water, followed by brushing | 30 minutes | Leaving the pod in acid longer than needed |
| Hard-water scale | Citric acid in warm water | Use a brief occasional soak | Applying acid to incompatible seals or adhesives |
| Odor from damp residue | Warm soapy wash, thorough rinse, and open air-drying | 30-minute warm soapy soak when needed | Closing the pod while damp |
| Dark gasket spotting | Clean and inspect the silicone seal | Clean until residue is removed | Reusing a gasket that stays discolored |
Never combine vinegar and bleach. Bleach can corrode stainless-steel mesh, so avoid it there. After any acid treatment, rinse thoroughly. Leftover solution can affect both plastic and the flavor of the next brew.
Brewing temperatures commonly reach 90 to 96°C, but heat does not replace cleaning. It may not address heat-stable mycotoxins, as discussed in this accessory guidance on reusable K-Cup compatibility and care. If a silicone gasket remains dark or develops an unusual smell after cleaning, replace the gasket or the pod. Repeated soaking cannot make a damaged component dependable.
Connecting Pod Care to Descaling and Fresh Flavor
A reusable pod can be spotless while the brewer still carries mineral buildup. The reverse also happens: a descaled machine cannot remove coffee oils left in a neglected mesh filter. Treat pod care and brewer care as one routine. Descale at an interval based on use and water hardness, following the brewer maker's instructions rather than relying on a fixed reminder.
Remove the reusable pod before starting the descaling cycle. Use the manufacturer's descaling product or a compatible citric-acid solution as directed, then run plain-water cycles until the cleaner's smell and taste are gone. Check the brewing unit's instructions before using any acid, detergent, vinegar, or dishwasher cycle. Some components exclude those treatments.
Keep the maintenance calendar simple
Build the routine around three points:
- After every brew: Empty the grounds, rinse the mesh and gasket groove, and leave the pod open to dry.
- Weekly: Take apart compatible pieces, soak them in warm soapy water, brush the mesh and seams, rinse well, and dry each part separately.
- Periodically: Descale the brewer when water hardness and use indicate a need, then flush the water path thoroughly.
Filtered water can slow scale formation, but it does not remove the need for inspection. Slow flow, unusual brewing behavior, and a weak cup may point to the brewer rather than the pod. Check the whole water path before replacing a clean filter. The same approach appears in this caravan hot water troubleshooting guide, which checks the system instead of blaming one component.
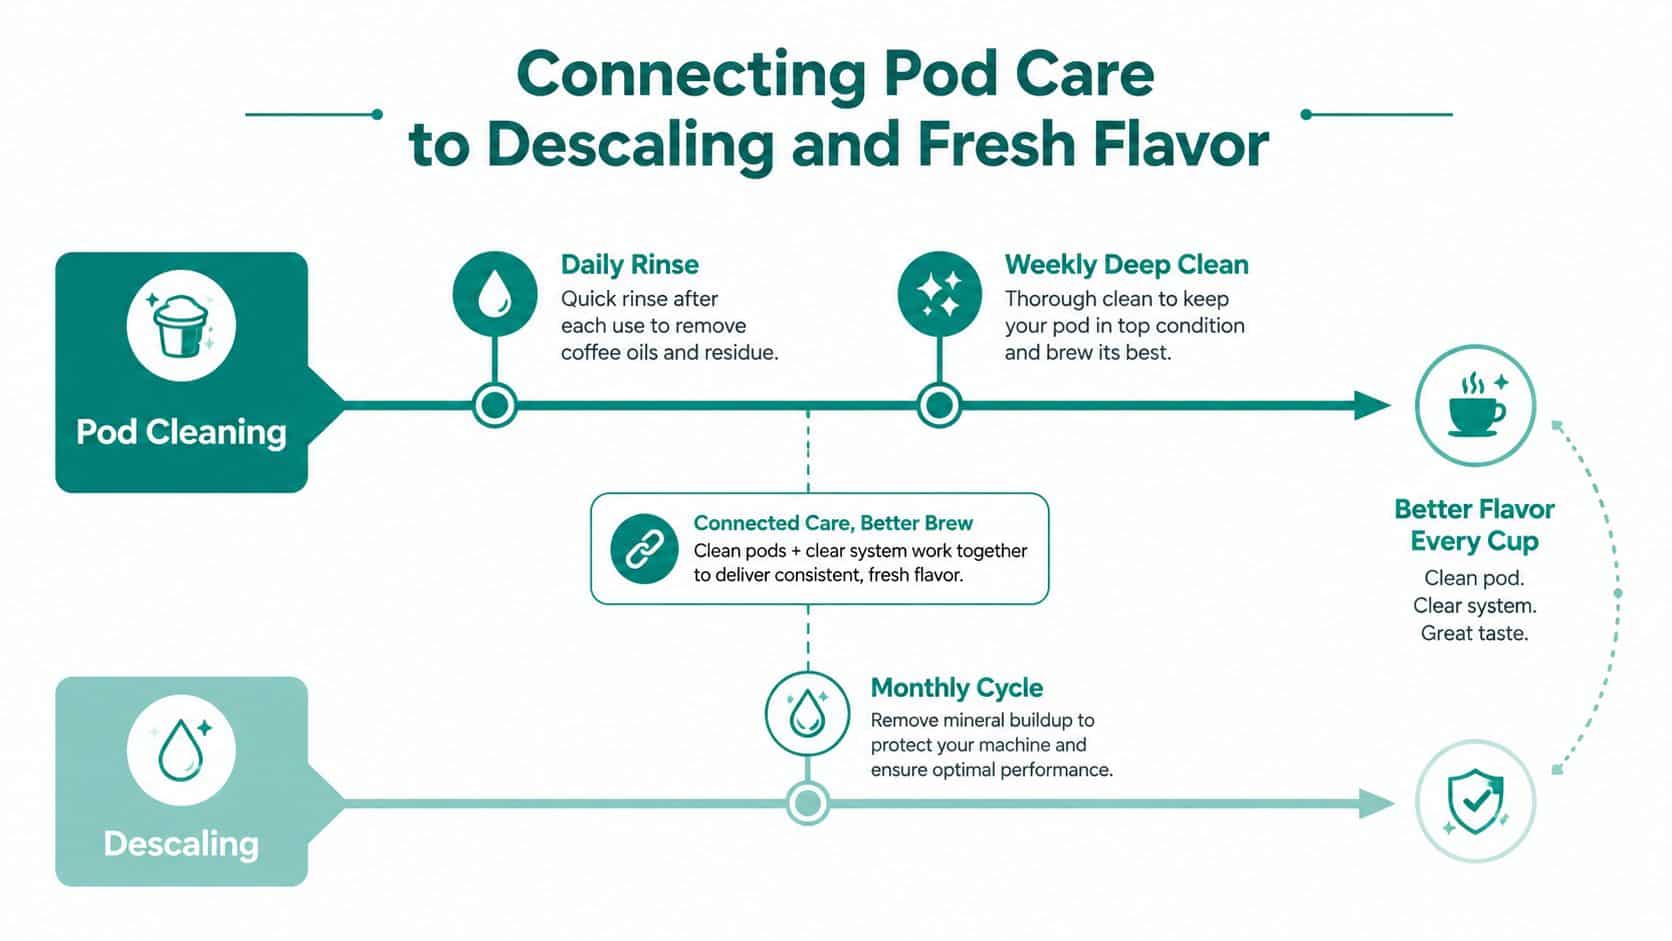
Keep the weekly pod wash alongside a brewer check. Replace the water filter according to its manufacturer's instructions, and store a soft brush, spare gasket, and compatible descaler near the machine. Having the right tools ready makes the connected routine easier to repeat before stale flavor becomes obvious.
PureHQ Inc. offers reusable K-Cup pods, paper liners, water filters, cleaning tablets, and universal descaling solutions for compatible Keurig and other coffee systems. Visit PureHQ Inc. to review reusable pods and maintenance accessories for a repeatable cleaning routine.


Pingback: How to Clean K Cup Coffee Makers the Right Way