
Coffee Machine Care
How to Clean Coffee Cups: The Complete Guide
Aug
90% of office coffee cups were contaminated with germs in a widely cited University of Arizona study, and up to 1 in 5 contained fecal bacteria. The fix isn't complicated, a daily hot, soapy wash, plus targeted soaking for stains and odor-prone parts, keeps cups cleaner than a quick rinse ever will.
Why Cleaning Your Coffee Cup Matters More Than You Think
A lot of people judge a cup by the brown ring inside it. That's the wrong test. The more important issue is what's happening where you can't see it, inside lid seams, under gaskets, around the threaded rim, and in the tiny film that clings after the mug looks “fine.”
The University of Arizona findings, summarized in the North Dakota State University Prairie Fare column, make the point clearly. About 90% of office coffee cups carried germs of some type, and up to 1 in 5 carried fecal bacteria. Based on that evidence, the recommendation was simple, wash cups with hot, soapy water every day and let them air dry so they don't get recontaminated.
That matters because coffee habits are repetitive. You sip, rinse if you remember, set the mug on a desk, and use it again the next day. A cup can look spotless and still hold odor, residue, or contamination in the hidden spots that don't get touched by a fast rinse.
Practical rule: if a cup smells stale after washing, the problem usually isn't the mug's outer surface. It's the lid, seam, gasket, or residue that survived in a tight corner.
Taste is the other reason this matters. Oils and pigments from coffee don't just stain ceramic, they also leave behind a dull film that makes every fresh pour taste a little flatter. If you care about how your coffee tastes, cleaning the cup is part of brewing, not an afterthought.
Your Daily Coffee Cup Cleaning Routine
The fastest way to keep a mug clean is to stop buildup before it starts. Rinse the cup immediately after your last sip with warm water, because fresh residue lifts far more easily than dried residue. Once coffee oils harden, you end up scrubbing longer for a worse result.

The simple wash that actually holds up
Use hot water and dish soap, then scrub the inside with a brush and the outside with a sponge. Pay close attention to the rim, handle, and any printed or textured areas, because residue settles there first. For travel mugs, take the lid apart and clean every removable piece on its own, including gaskets, straws, sliders, and seals.
Rinse until no suds remain. Soap left in a mug is one of the main causes of that odd, flat aftertaste people blame on old coffee grounds or a “bad” bean. It's usually just incomplete rinsing.
Keep this in mind: drying matters as much as washing. Set the cup upside down on a clean rack so moisture doesn't sit in the base or along the rim.
A daily routine like this takes very little time, but it prevents the stubborn buildup that turns a quick task into a deep-clean project later. If you're also maintaining a brewer, accessories like reusable K-Cups and water filters from PureHQ fit naturally into that same cleaner-coffee habit, because cleaner brewing habits start before the mug is even filled.
Deep Stain Removal Methods That Hold Up
A stain that has settled into the cup needs a different approach than a fresh ring. Scrubbing harder usually just wastes time and can wear down glaze, stainless steel, or insulation layers. A better soak loosens the buildup first, then a light scrub finishes the job.
Compare the main stain-removal options
| Method | Ingredients and Ratio | Soak Time | Best For |
|---|---|---|---|
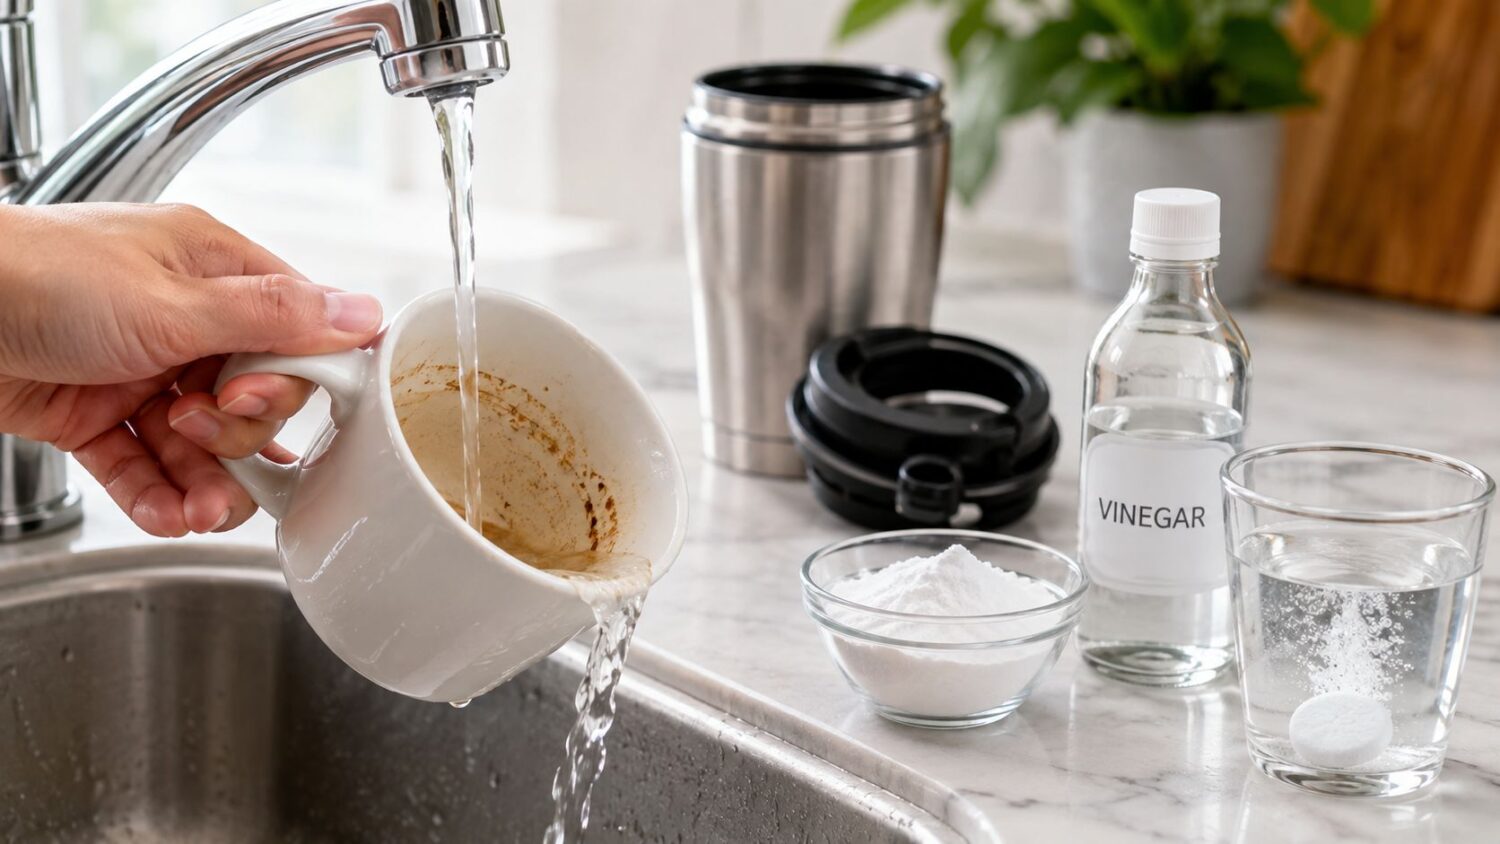
| Vinegar and baking soda soak | 1 tbsp baking soda + 1/2 cup 5% distilled white vinegar, then top up with warm water | 30 to 60 minutes | Ceramic cups with set-in brown film |
| Baking soda paste | Baking soda mixed with a small amount of water into a thick paste | About 15 minutes before scrubbing | Localized rings and spot stains |
| Bleach solution | 1 part commercial laundry bleach containing 5% sodium hypochlorite to 6 parts water | Short treatment, then rinse thoroughly | Stubborn stained surfaces when manufacturer guidance allows it |
The baking soda and vinegar soak works well on ceramic cups because it loosens residue before you scrub. Use a non-abrasive cellulose sponge so you keep the glaze smooth, since a rough pad can leave tiny scratches that grab new stains faster. The same warning applies to steel wool, which can damage glazed surfaces and make the next cleaning harder.
Baking soda paste works better for a stain that stays in one spot. I use it on the dark crescent that forms at the bottom of my favorite mug because it stays where I put it and gives me control over the pressure. For readers who want a hands-off route, denture cleaning tablets are another practical option, since they fizz through residue with very little effort.
For a broader equipment context, PureHQ's food-grade cleaning products are useful to compare against household methods when you're cleaning coffee gear and want to keep the process food-safe.
For especially tough residue, the U.S. General Services Administration recommends a bleach solution of 1 part commercial laundry bleach containing 5% sodium hypochlorite to 6 parts water, followed by thorough rinsing and drying, which you can read in its stain-removal guidance. It is the strongest option here, but only use it when the material and manufacturer instructions allow it.
Cleaning by Cup Material
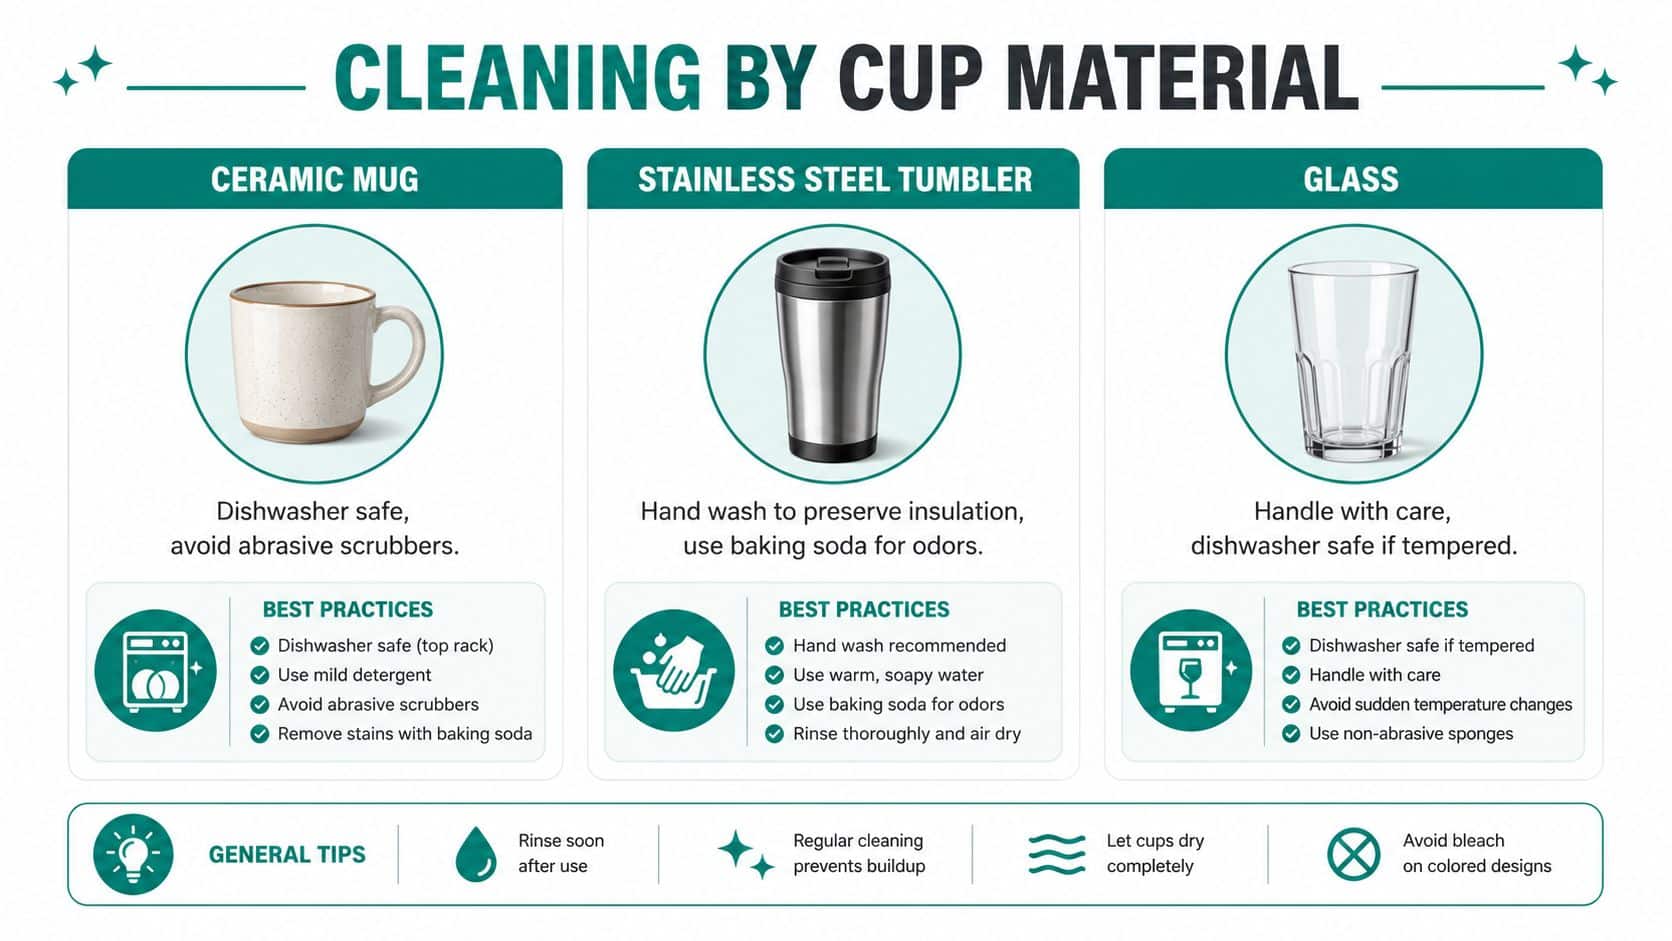
The biggest mistake people make is treating every cup the same. Ceramic, stainless steel, and insulated travel mugs respond differently to acids, abrasives, and soaking. If you use the wrong cleaner, you can shorten the life of a good cup even if it looks clean today.
Match the method to the material
Ceramic and glass are usually the most forgiving. They handle vinegar soaks and baking soda pastes well, as long as you avoid over-scrubbing. A soft sponge keeps the finish intact, while steel wool can create microscopic damage that grabs future stains more easily.
Stainless steel needs a gentler hand. Avoid bleach or chlorine-based cleaners, since they can promote pitting and surface damage. Baking soda paste and soft scrubbing are safer choices, especially when you're dealing with odor rather than a heavy stain.
Stainless steel often looks toughest, but it's the easiest to damage with the wrong chemical.
Insulated travel mugs need the most attention because grime hides in the construction, not just on the visible surface. Disassemble the lid, soak the parts in hot, not boiling, water with dish soap for at least 15 minutes, and use a small bottle brush or pipe cleaner around the neck, rim underside, and gasket channels. Flush everything until no suds remain, then check for film or discoloration before you dry it.
If you want a broader comparison for glassware care, the glassware cleaning tips resource from Monopack ltd. is a helpful complement when your cup collection includes delicate pieces. For equipment buyers who want to match accessories to the material they own, PureHQ's material selection guide is a useful reference point.
Getting Rid of Persistent Coffee Cup Odors
When a cup still smells off after washing, the smell usually lives in biofilm, not on the visible surface. That film clings to hidden areas, especially lid gaskets, straw channels, and threaded rims where moisture lingers after use. If you only clean the bowl of the mug, you leave the smell factory in place.
For odor removal, I like a simple overnight soak. Fill the cup with warm water and 1 tablespoon of white vinegar, or drop in a denture cleaning tablet, then let it sit overnight and rinse thoroughly in the morning. That approach is especially useful for insulated cups because the smell often hides in places that a brush can't reach directly.
Practical rule: if the cup smells fine until you close the lid, clean the lid harder than the mug.
The cleaning cloth matters too. The Arizona guidance warns against using the same dishcloth repeatedly, because a dirty cloth can transfer bacteria back onto the cup surface. If your towel starts to smell musty, replace it often or switch to paper towels for the final dry.
For stainless steel tumblers, an open box of baking soda left inside the dry cup overnight can help absorb lingering smells. If you want a broader list of odor-neutralizing approaches for the kitchen, the Aroma Warehouse odor guide is a useful natural reference, especially when you're comparing simple household options.
The key idea is simple. Visible cleanliness and odor control are related, but they're not the same job. If the lid, seam, or gasket keeps holding moisture, the smell comes back even after a thorough wash.
Preventive Maintenance and When to Shop for Supplies
The easiest cup to clean is the one that never gets neglected. Rinse after every use, wash daily with hot soapy water, and give stubborn mugs a deeper soak when stains start to appear. Air drying upside down helps more than you might think, because trapped moisture is what keeps residue alive.
Lid seals and gaskets wear out over time, and once they start holding grime, cleaning gets harder no matter how careful you are. That's the point where a new lid, new seal, or a better brush can solve more than another round of scrubbing. For coffee makers and accessories that support cleaner brewing, PureHQ also offers compatible maintenance items, including a coffee machine cleaning brush guide that fits neatly into the same routine.
If you use a Keurig or Ninja DualBrew setup, water filters, reusable pods, and descaling supplies can help keep the machine itself from adding grime and off-flavors back into the cup. Cleaner brewing starts with clean equipment, and that keeps your mug from doing all the work.
PureHQ Inc. carries reusable K-Cups, water filters, cleaning tablets, descaling solutions, and other coffee accessories that support easier maintenance at home or in a small office. If you want cleaner cups, cleaner brewing, and fewer stubborn smells in your coffee routine, visit PureHQ Inc. and compare the maintenance supplies that fit your brewer.

