
Coffee Machine Care
Coffee Machine Descaling Kit: The Complete Maintenance Guide
Aug
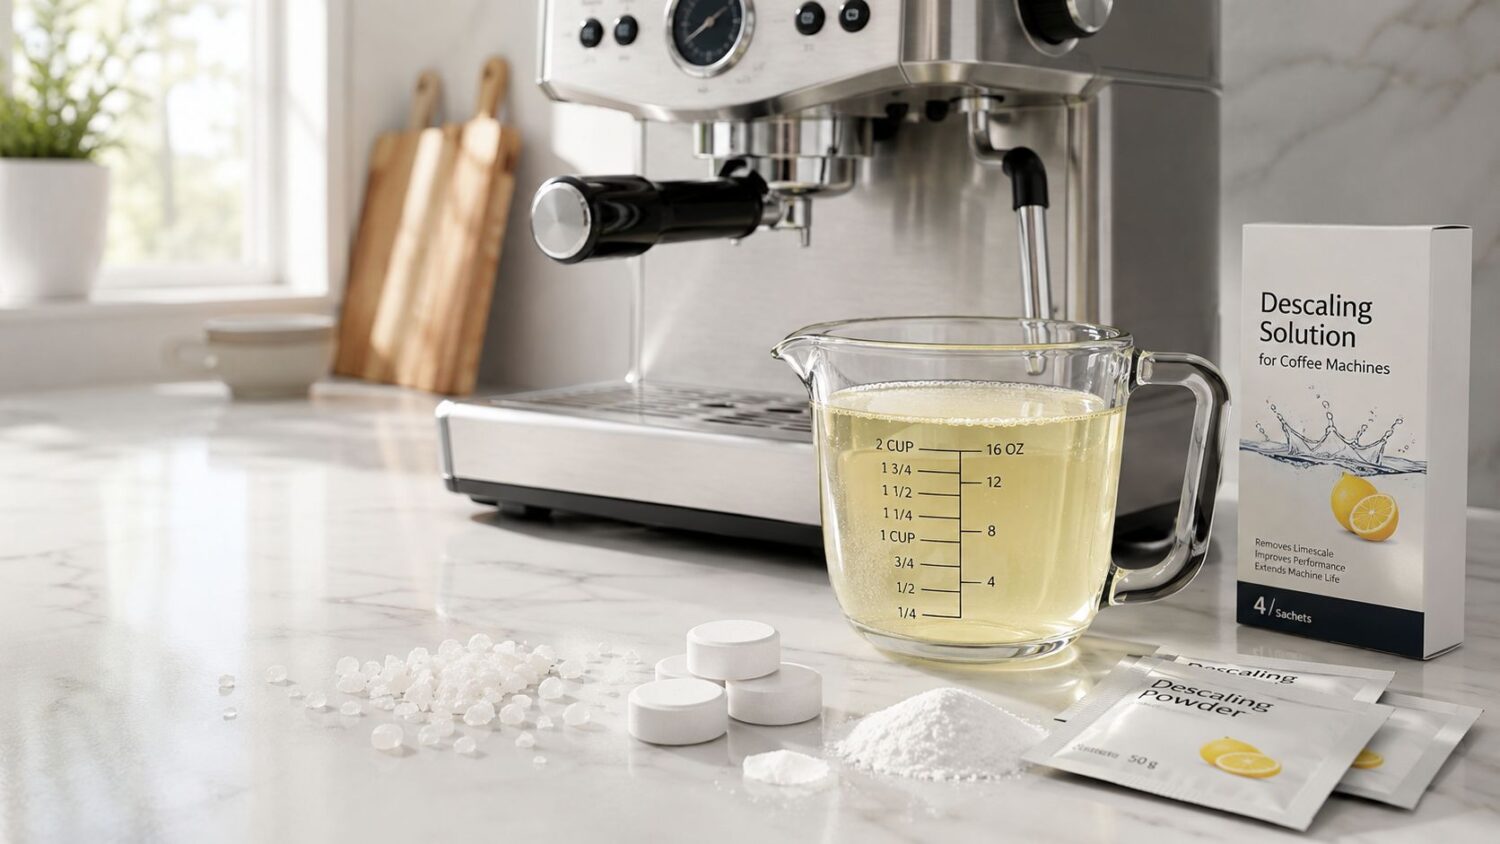
85% of U.S. households have hard water, and that's why a coffee machine descaling kit isn't a luxury add-on, it's routine protection for the machine you rely on every day. When minerals keep heating and drying inside the brew path, they leave behind limescale that slows flow, throws off temperature, and forces the machine to work harder than it should. The problem starts unnoticed, then shows up as weak coffee, longer brew times, odd noises, and expensive breakdowns that could've been avoided with the right maintenance cycle.
Why Descaling Matters More Than You Think
A coffee machine can look clean and still be full of scale. Water always carries dissolved minerals such as calcium and magnesium, and those minerals drop out as the machine heats and evaporates water. The result is a chalky layer on the heating element and inside narrow water passages, where it starts changing how the machine performs. Urnex's explanation of descaling versus cleaning makes the distinction clear, descaling removes mineral buildup from internal surfaces, while cleaning deals with coffee residue and other grime (Urnex on descaling and cleaning).
That buildup acts like insulation. The machine has to work harder to heat water through the deposit layer, and the strain shows up in the boiler, pump, valve behavior, and brew temperature consistency. In practical terms, the machine no longer moves water the way it was designed to move it.
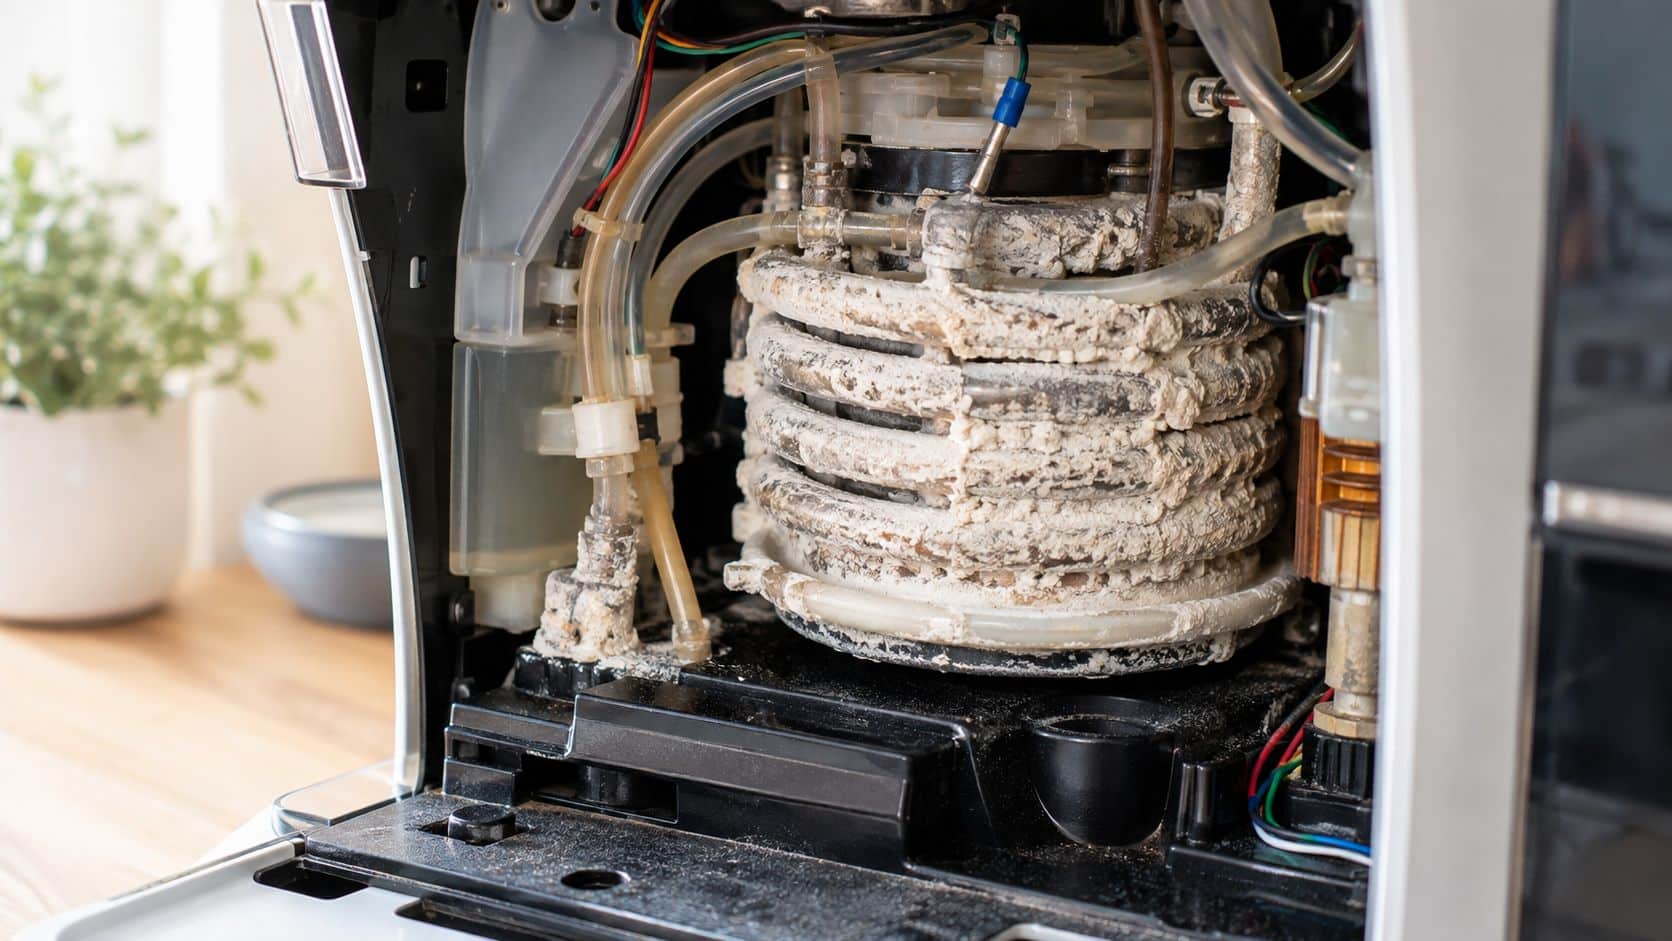
Practical rule: if the machine sounds more strained than it used to, do not assume it is only age. Scale often starts the decline long before a failure looks obvious.
The chemistry matters too. A generic coffee machine descaling kit can still be the wrong fit if the formula is too aggressive for seals, solenoids, aluminum parts, or a manufacturer's rinse requirements. That is the gap most one-size-fits-all advice misses. The safest choice is the one that matches both the machine's materials and the cleaner's chemistry, not the one with the loudest packaging. For readers who also keep notes on brew changes, coffee journaling tips can help connect taste drift to maintenance timing.
Descaling is a maintenance habit because the problem returns. Neutral coffee-care guidance commonly recommends descaling every 2 to 3 months under moderate-to-hard water conditions, or around every 300 coffees in some usage-based guidance, which is why a quarterly rhythm makes sense for many households and small offices (PureHQ filter guide on descaling frequency). KitchenAid's maintenance guidance also points to monthly descaling for daily coffee use, followed by two fresh-water rinse cycles after treatment (KitchenAid coffee maker cleaning guide).
If you want a gentler option, PureHQ also explains how a natural descaling approach works and where it fits, especially for users trying to balance cleaning power with material compatibility (PureHQ natural descaling solution guide).
Ignoring scale does not usually cause a sudden failure. The machine drifts first. Flow slows, heat transfer slips, noise changes, and small performance losses turn into expensive repair decisions before the brewer reaches the end of its normal life.
Types of Descalers and How They Work
The label on a descaling product matters more than the packaging. Liquid solutions, powders, tablets, and acid blends all behave differently inside a machine, and the wrong choice can leave residue behind or force more rinsing than the user expected. Philips' documentation gives two clear examples, a Senseo kit using 100% citric acid in a 250 ml bottle and an espresso descaler using a 50% citric acid / 25% lactic acid blend in a 250 ml bottle for 1 descaling cycle (Philips descaling documentation).
What each formula brings to the machine
Citric acid is a common choice because it dissolves scale well and mixes predictably. Lactic acid blends can reduce odor and change how the solution behaves in the brew path, which helps in machines where smell, rinse burden, or seal compatibility matters. A working citric-acid concentration of about 20% is also commonly referenced in cleaning guidance, with one practical mix ratio translating that into roughly 2 tablespoons of powder per quart of water.
Vinegar still shows up in a lot of search results, but it is a blunt tool. It can help with some mineral buildup, yet it does not solve the full maintenance problem because it does not address coffee oils, and it often leaves a lingering smell that users then have to rinse out. If you keep notes on flavor shifts or maintenance dates, coffee journaling tips can help you separate taste changes caused by brew quality from changes caused by machine upkeep.
A machine does not care how cheap the cleaner was. It only responds to the acid concentration, the contact time, and whether you rinsed the brew path clean afterward.
Descaler Types Compared
| Descaler Type | Active Chemistry | Ease of Use | Effectiveness | Cost Per Cycle |
|---|---|---|---|---|
| Liquid solution | Citric acid or acid blends | High, usually ready to pour | Strong when the dosage matches the machine | Moderate |
| Tablets | Compressed acid formula | High, but depends on dissolution time | Good for repeatable maintenance | Moderate |
| Powders | Citric acid or blended acids | Moderate, requires mixing | Strong when mixed correctly | Often lower |
| Citric acid | Pure or near-pure acid | Moderate, needs measuring | Very strong on scale | Often lower |
| Vinegar | Acetic acid | High, because it is already in the kitchen | Uneven, and often incomplete for full cleaning | Low upfront, higher in rinse burden |
For readers who want a broader chemistry reference, the internal maintenance guide on natural descaling solution is worth keeping handy because it helps compare chemistry without falling into the “all acids are the same” trap. They are not. Dose, odor, residue, and machine fit all change the final outcome.
How to Choose the Right Kit for Your Machine
Start with the machine, not the bottle. Espresso machines, drip brewers, pod systems, kettles, and super-automatics all route water differently, and that changes how the cleaner moves through the system and how much rinse work follows. Nespresso sells dedicated descaling kits for its own machines, Urnex markets a separate kit for automatic drip coffee makers, and HG gives a distinct dilution and rinse process for coffee machines and kettles, which is a good reminder that “universal” still has limits (Nespresso descaling kit, Urnex machine descaling and cleaning kit).
Match the chemistry to the hardware
If you own a Keurig K-Classic, 2.0, K-Supreme, K-Slim, or K-Duo, look for a kit that states Keurig compatibility clearly, not just “works with most brewers.” That matters because some accessories rely on reservoir shape, dosing method, or cycle timing that changes by model. For Ninja DualBrew, Breville espresso machines, and Cuisinart drip brewers, product labels should name the appliance type outright or provide a manufacturer-backed instructions page.
A universal descaler can be useful, but only if it explains dosage by machine type. Under-dosing leaves calcium carbonate behind, while over-dosing raises the rinse burden and can leave acidity in the brew path. That's where warranty questions become practical, not theoretical. If a manufacturer gives exact dilution and rinse directions, follow those over a generic recommendation every time.
A fast compatibility checklist
- Check the machine class: pod, drip, espresso, kettle, or super-automatic.
- Look for explicit model names: K-Classic, 2.0, K-Supreme, K-Slim, K-Duo, Ninja DualBrew, Breville, or Cuisinart should appear on the label or instructions.
- Confirm the dose per cycle: single-use, multi-use, or concentrate all imply different rinse demands.
- Verify rinse instructions: some products need two rinse cycles, some need three or more.
- Avoid vague “universal” claims: if the package doesn't explain usage by machine type, keep shopping.
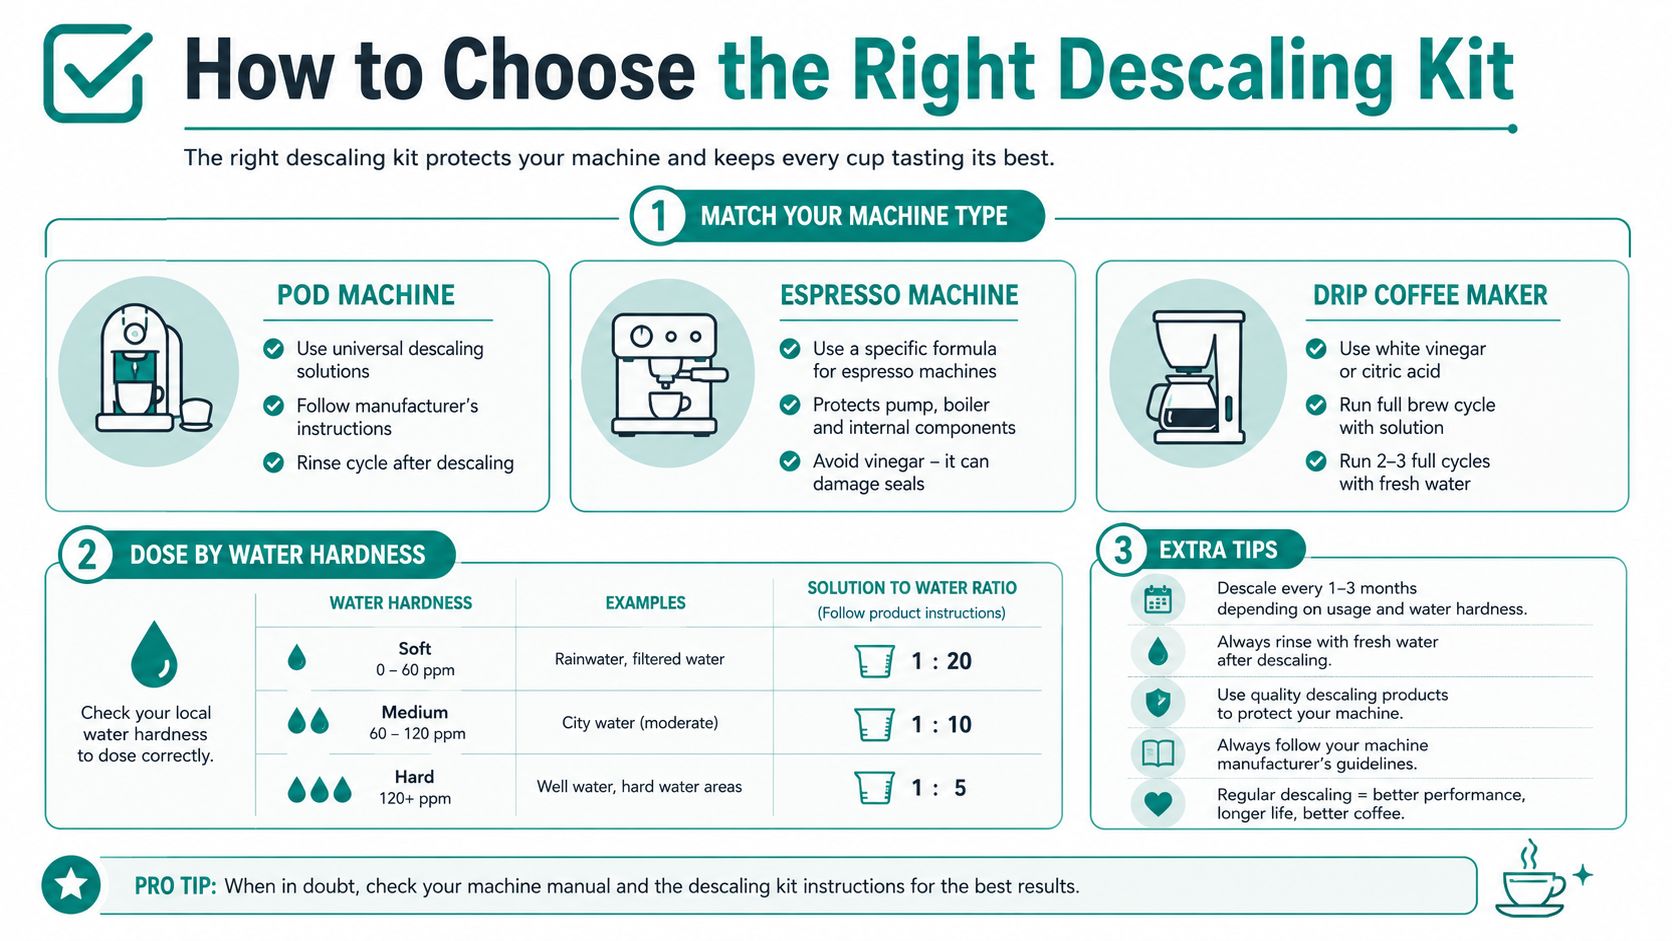
The practical test is simple. If the product page can't tell you how it treats your exact machine, it's not really a fit yet, no matter how well the bottle is marketed.
Signs Your Coffee Machine Needs Descaling
The first warning is usually time. A brewer that used to finish quickly starts dragging, or the espresso machine takes longer to heat before steam pressure feels normal again. Kanen Coffee's maintenance guide lists the classic symptoms well, slower heat-up, lower steam pressure, white chalky deposits, inconsistent shot temperature, strange gurgling or hissing, reduced flow rate, and error codes on some modern machines (Kanen Coffee on espresso machine descaling).
That's the symptom pattern I trust most in the field. One symptom alone can mislead you, but a cluster of them usually points to scale instead of a single worn part. A machine that brews weak coffee and makes a louder-than-usual pump sound often needs descaling before it needs a parts swap.
A descale light is useful, but it isn't proof that the machine is fully clean. Some brewers trigger that light by internal counters, not by measuring mineral buildup directly, so the warning can stay on after the cleaning cycle ends. The cleaner may have done its job and the indicator hasn't been reset.
When descaling isn't the answer
A slow brew path can also come from a clogged needle, a poorly seated reservoir, or worn seals. Those problems show up differently. A clog usually hits flow at one point in the brew path, while scale tends to affect heating and movement more broadly. If the machine still tastes stale after descaling, that's often coffee oil or residue, not mineral buildup.
Scale removal and cleaning are related, but they're not the same job. Mineral buildup affects flow and heating, while oils and residue affect taste and smell.
That's why a cleaner cup sometimes needs a second step. A descaling kit can restore flow and temperature, but it won't wash away every stale oil in the brew chamber. When the coffee still tastes flat after a proper descale, the fix is usually a separate cleaning product or a manual wash of removable parts.
Your Descaling Maintenance Checklist
A good descale starts before the solution ever reaches the tank. Empty the reservoir, remove any pod or basket, and wash removable parts first. That keeps old grounds and oily film from masking what the treatment is doing. Routine cleaning advice from urbanmancaves.com cleaning advice points in the same direction, clear the parts you can reach, then work through the machine in order.
A repeatable cycle that clears residue
The chemistry has to fit the machine, not just the label on the bottle. For citric-acid-based descaling, a practical working mix is about 20% acid solution, and one usable translation is roughly 2 tablespoons of powder per quart of water. More concentration does not shorten the job, it usually means more rinse cycles later.
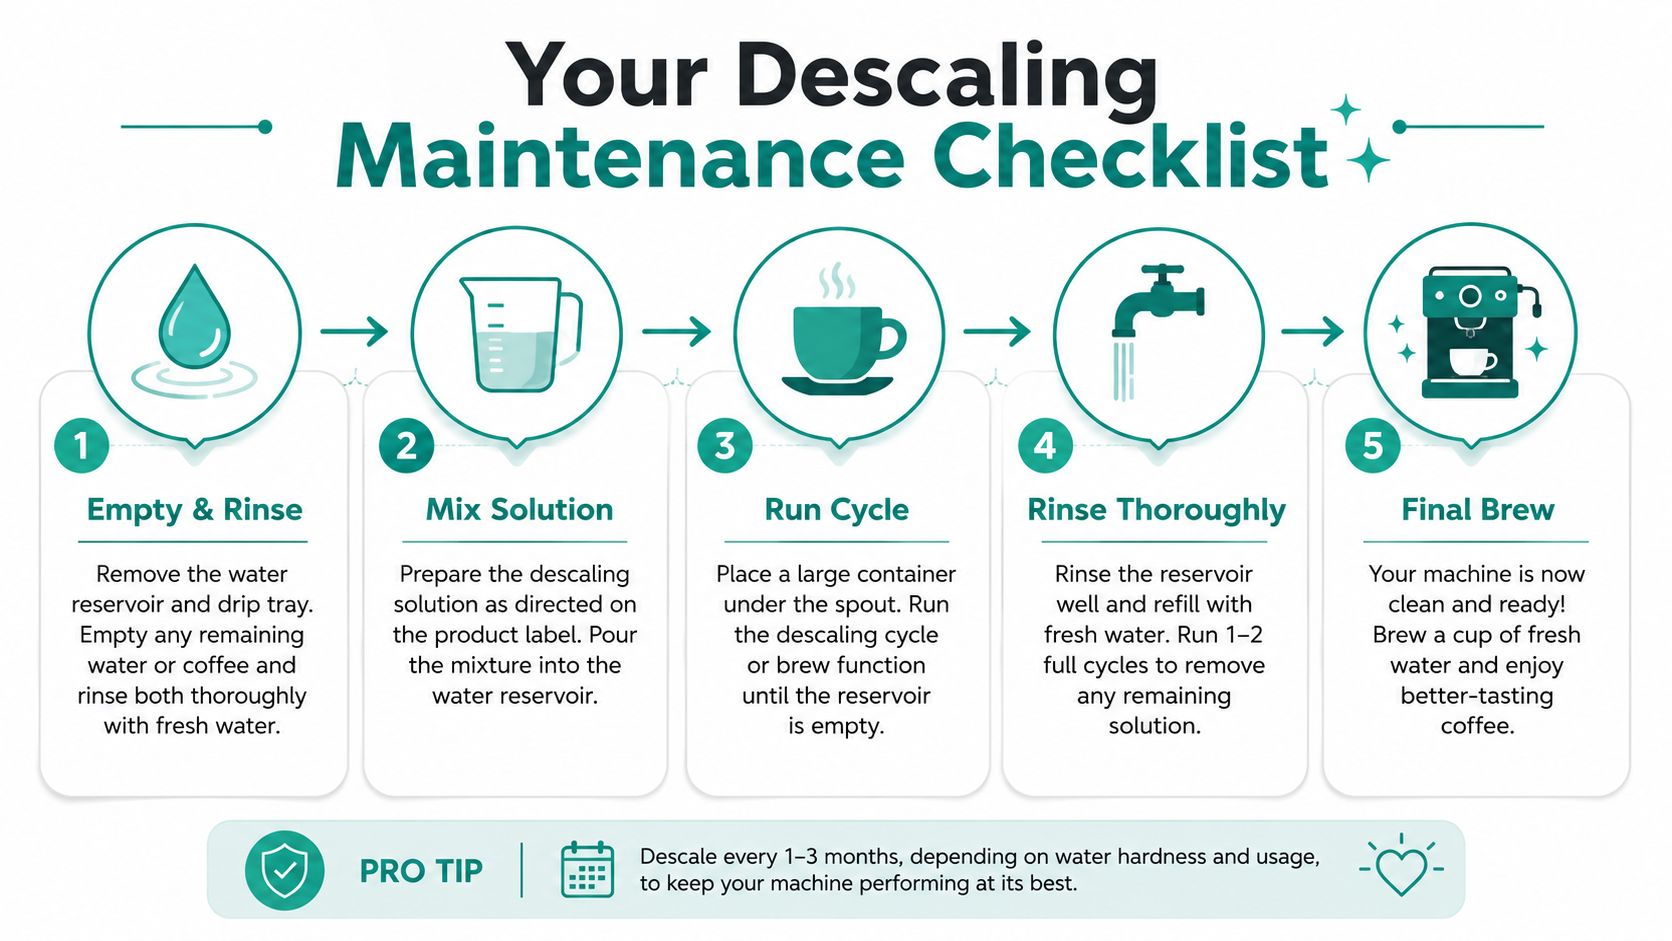
- Empty and rinse. Clear the reservoir, drip tray, and removable brew parts before mixing anything.
- Mix the solution. Measure the dose that matches the machine, not a guess.
- Run the cycle. Let the descaler move through the brew path fully.
- Rinse thoroughly. Use fresh water cycles until the cup tastes clean and no acidic smell lingers.
- Final brew. Run one plain water brew before making coffee again.
Rinse counts matter more than a lot of people expect. The descaler can strip scale from the water path, but residue in the tank or tubing will still show up in the cup if you stop too early. One maintenance guide recommends several full water cycles after descaling, and Urnex's kit calls for multiple water-only brews as part of the cleanup. Follow the machine's own limits as well, because some pumps and boilers tolerate a slower flush better than a long continuous run (descaling rinse guidance, Urnex cleaning kit).
The interval matters too. Daily-use machines often need a monthly or quarterly descale depending on water hardness, and hard-water households usually land closer to the shorter end of that range. If you want a broader upkeep framework, the internal coffee machine maintenance checklist is a useful companion reference.
Repeat the same sequence every time. Measure the dose, follow the rinse count, and do not brew coffee again until the water path is fully cleared.
Premium Kits vs Generic Alternatives
The objection I hear most is simple. Why pay for a branded descaling kit when vinegar or a cheap generic bottle seems to do the same thing? The short answer is that the cheapest option often shifts the cost into extra rinses, weaker compatibility, and more risk when a machine has seals, gaskets, or tight internal tubing.
What the extra money usually buys
Premium kits tend to give you more precise chemistry and clearer use instructions. That matters for espresso machines and pod brewers because these machines are less forgiving when the solution is too strong, too weak, or left in the lines too long. Generic alternatives can work, but they often force the buyer to figure out the dose and cycle timing alone.
A DIY vinegar flush is the roughest option. It may remove some scale, but it doesn't tackle coffee oils, and the lingering smell can stick around long after the machine has been rinsed. If you want a broader decision guide, the internal best descaler for coffee machine article is the right place to compare product styles against your machine type.
Premium vs Generic Descaling Kits
| Factor | Premium Kits | Generic Alternatives | DIY Vinegar |
|---|---|---|---|
| Formulation quality | Precise, documented chemistry | Varies by brand | Weak and inconsistent |
| Dosage accuracy | Usually measured or clearly stated | Often less specific | User guesses the mix |
| Compatibility guidance | Often model-specific | Sometimes broad | None |
| Rinse burden | Usually defined up front | Can be unclear | Often heavy |
| Warranty confidence | Better when used as directed | Depends on documentation | Weakest option |
| Residue risk | Lower when instructions are followed | Moderate | Higher odor and aftertaste risk |
Customer concern: leaks and fit issues usually come from poor bottle design or the wrong adapter, not from descaling chemistry itself. The safest purchase is the one that names your machine and explains the cycle clearly.
There's a place for generic alternatives if the product is transparent and the machine is simple. But if you're maintaining a higher-value brewer, paying for clearer compatibility and better instructions is usually cheaper than repairing avoidable damage later.
PureHQ Descaling Solutions for Every Machine
PureHQ's maintenance line fits the practical reality of multi-machine households and small offices, where one bottle may need to work across a Keurig, a Ninja DualBrew, or a drip brewer. The brand positions its universal descaling solutions and cleaning tablets for Keurig systems including K-Classic, 2.0, K-Supreme, K-Slim, and K-Duo, plus compatible use across Ninja DualBrew, Breville, and Cuisinart setups. Some of those products are made in the USA, and the line is built to pair with everyday maintenance items like reusable K-Cups, water filters, and gold-tone carafe baskets.
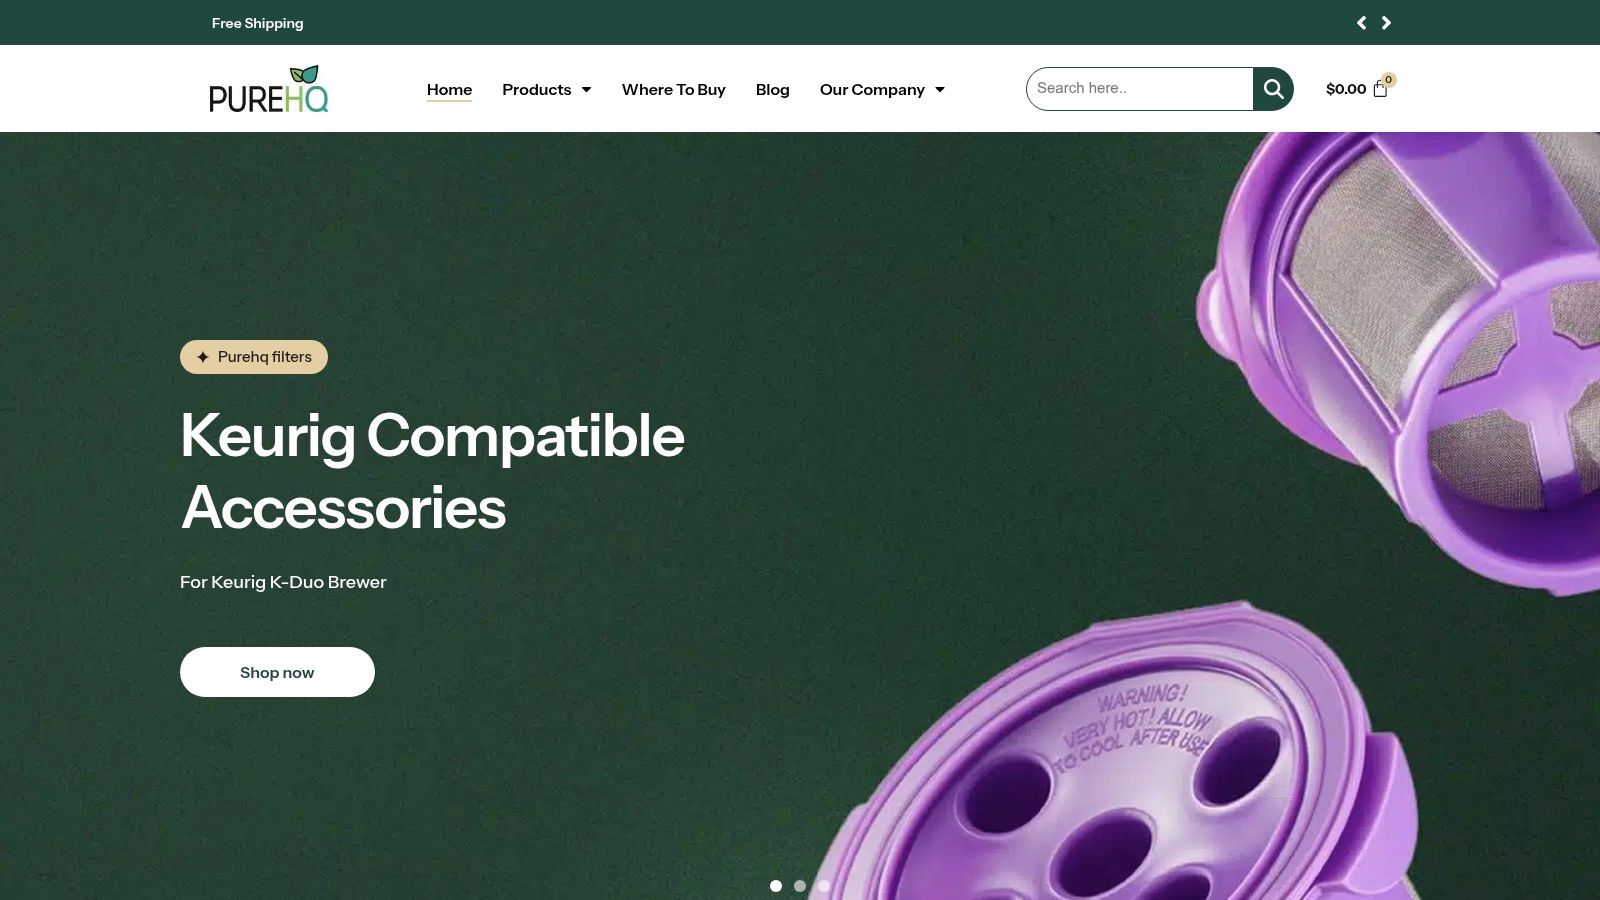
That matters because descaling works best as part of a system, not as a one-off purchase. A clean reservoir, a compatible descaler, and a proper filter reduce the chances that scale, sediment, or stale residue come back quickly. For households that keep more than one machine in service, that combination cuts down on guesswork and makes the rinse cycle easier to stay on top of.
PureHQ also sells directly and through its Amazon Store, which makes reordering straightforward when the next maintenance window comes around. If you want to keep your brewer running clean without piecing together separate products every time, shop PureHQ's descaling solutions and maintenance bundles through the PureHQ Inc. catalog and choose the kit that matches your machine.

