
Coffee Machine Care
Iced Coffee Kit: How to Assemble and Brew
Nov
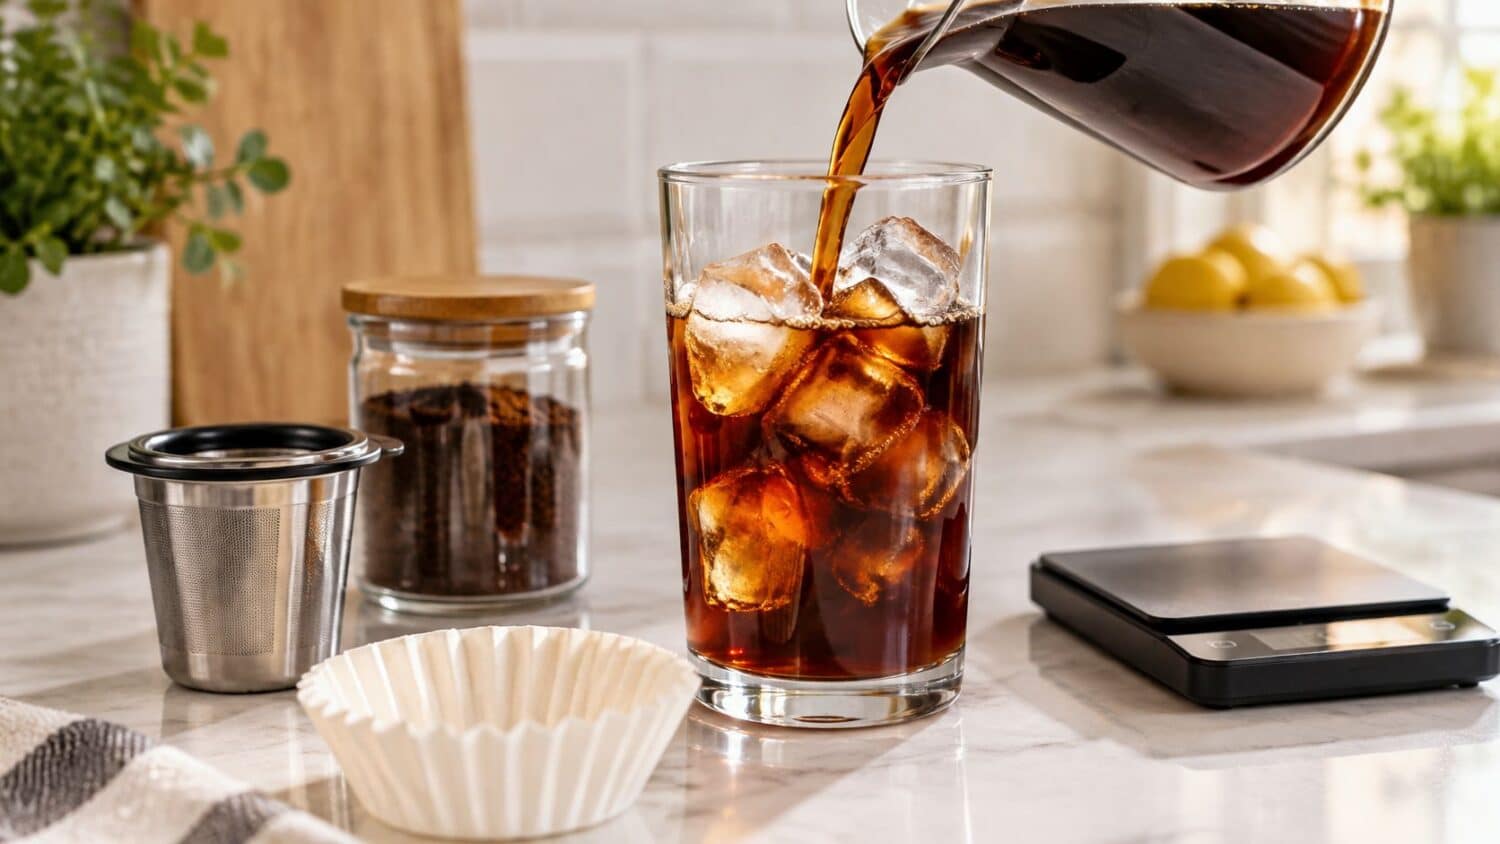
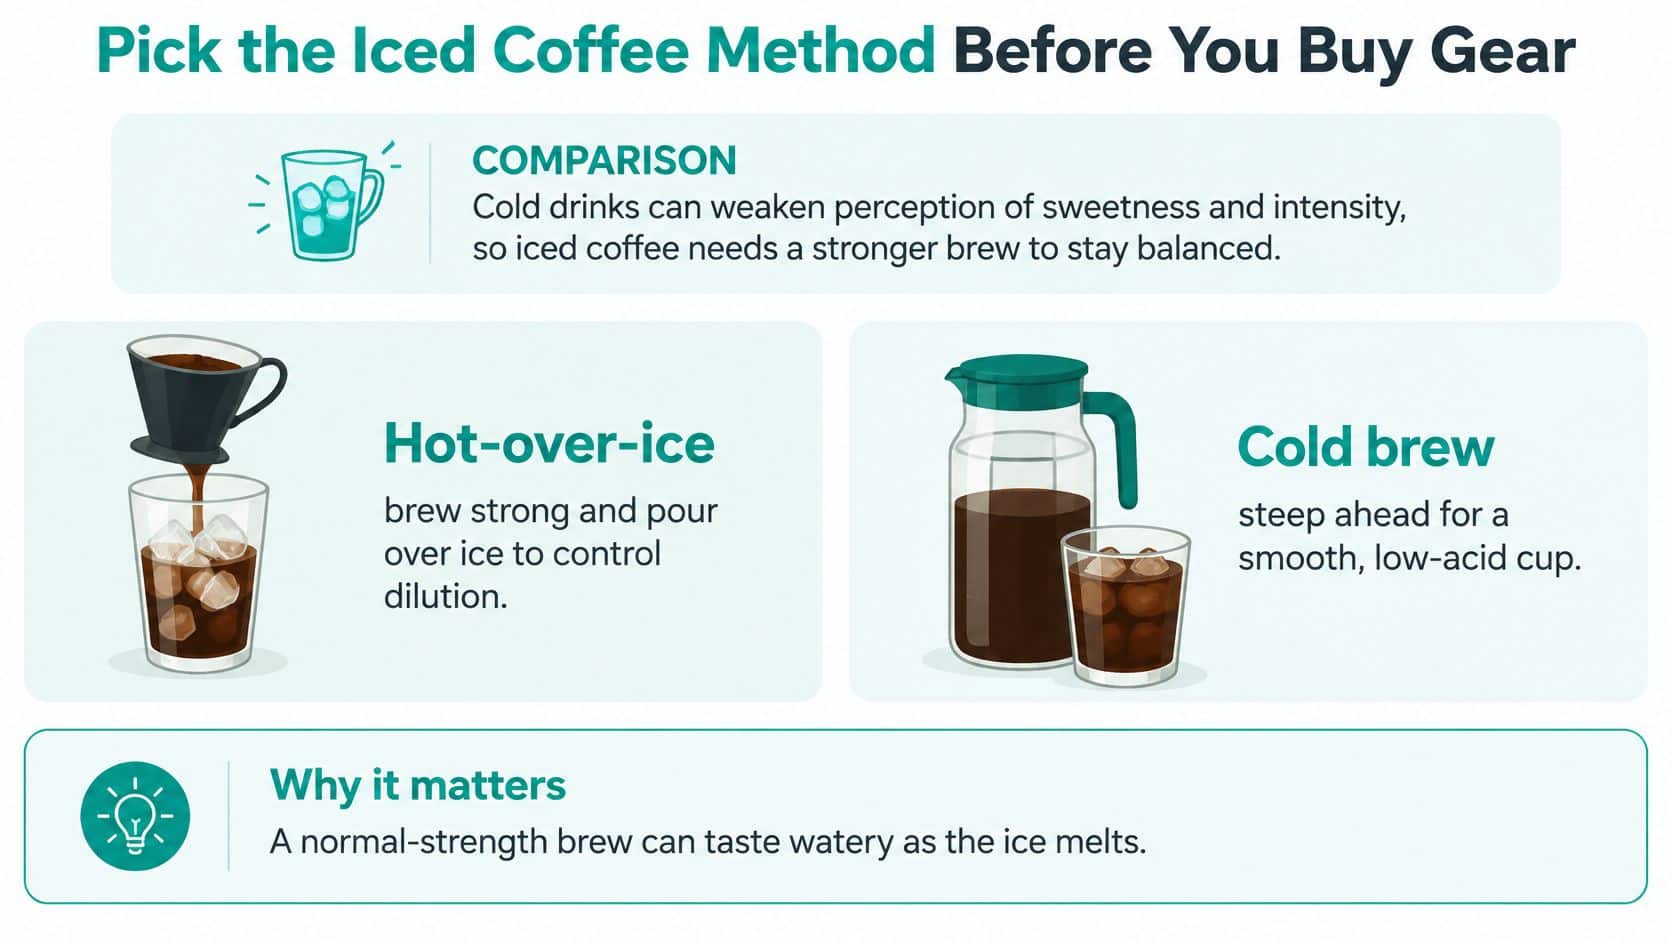
Your first glass tastes right for two sips, then the ice melts and you're left with brown water. That failure isn't bad coffee. It's a normal-strength brew meeting an unmeasured handful of ice, with no plan for dilution. A good iced coffee kit fixes that in one of two ways, by brewing hot and concentrated onto ice, or by steeping cold ahead of time and diluting a concentrate on purpose. Pick the method that fits your morning first, and the gear list gets short.
Pick the Iced Coffee Method Before You Buy Gear
Cold coffee isn't a summer side drink anymore, since the 2025 Georgetown University report stated that cold beverages represented 75% of Starbucks' U.S. sales in the third quarter of fiscal year 2024. That scale explains the crowded gear aisle. It tells you nothing about which brewer, jar, or pod belongs in your kitchen. Your real decision is simpler: a glass in about five minutes, a concentrate waiting in the fridge, or one pod brewed straight over ice.
Iced Coffee Kit Methods Compared
| Method | Time | Grind and Temperature | Strength Control | Cost per Glass | Main Risk |
|---|---|---|---|---|---|
| Hot brew over ice | About 5 minutes | Hot water and a normal drip grind | Concentrated brew plus a weighed ice mass | Grounds and ice | Watery cup if ice is guessed |
| Cold brew starter | 6–7 hours | Medium-coarse grounds, water at 21–25°C | Strength levels off after the early extraction phase | Grounds for a batch | Dry pockets and uneven grind |
| Extended cold steep | 14–22 hours | Coarse grounds and the same cool water | Longer steeps tend to raise dissolved solids | Grounds for a bigger batch | Extra extraction can taste harsher |
| Reusable pod over ice | One brew cycle | Pod dose and the smallest water setting | Less brew water, ice already in the glass | Grounds for one cup | Fines in the cup if the mesh is open |
Hot brew over ice suits the person who decides at breakfast. You brew a concentrated batch and pour it onto ice you've weighed, so the melt becomes part of the recipe instead of an accident. Cube size, ice temperature, and how long the glass sits all change the final strength, which is why a guessed trayful fails. The cost stays low: grounds, water, and freezer ice.
Cold brew suits the person who plans the night before. The starter row uses medium-coarse grounds and room-temperature water, then filters after six to seven hours. Extraction runs fast early and slows sharply, so strength levels off well before an overnight steep ends. Stretching the time mostly adds dissolved solids and weight, and a harsher glass is a real possibility. Stronger is not the same as better here.
If you already own a French press, our guide to making cold brew coffee with a French press shows how that vessel doubles as your steeping jar, and keeping a bag of plunger coffee for your pantry means the same coffee covers both hot plunger mornings and cold steeps.
A reusable pod over ice is the third path, and the cheapest per glass once the pod is in the drawer. One cycle, a small water setting, ice already waiting in the cup. Each refill is grounds only, which is the point where a reusable kit starts beating bottled iced coffee on cost.
Choose one row and build around it. A kit that tries to do all four usually does the one you actually use badly.
Same-morning glass, overnight concentrate, or single-serve pod. Pick the row that fits your morning, and every glass after that costs grounds and water alone.
Stainless Pods Versus Plastic and Bottled Coffee
The money question deserves numbers you fill in yourself, not a slogan. Start with where the drink already happens. A 2026 Tastewise category report estimated that 53% of iced coffee is consumed at home, and reported cold brew grew 9% year over year in both dollar and unit sales even while the overall tea and coffee ready-to-drink category declined slightly. If most of your iced coffee is already made in your kitchen, a reusable kit competes directly with the bottles in your fridge door.
Reusable Steel Kit Versus Plastic Pods and Bottled Iced Coffee
| Option | Upfront Cost | Taste Control | Waste Each Drink | Leak and Fit |
|---|---|---|---|---|
| Stainless reusable pod | Higher once, then grounds only | Your coffee and your dose | Rinse the pod; liner optional | Must match single-needle or MultiStream |
| Plastic reusable pod | Usually cheaper | Your coffee if the lid still seals | Rinse; plastic holds oils and stains | Heat and a loose lid are common leak points |
| Paper liner inside a mesh pod | Small add-on pack | Catches fines the mesh misses | One paper per cup, pod reused | Fixes sediment, not a wrong needle pattern |
| Bottled ready-to-drink | Pay per bottle | Fixed café recipe | Bottle and cap every serving | No brewer fit; no strength adjustment |
Stainless steel costs more on day one than a plastic refillable. After that, each drink drops toward the price of your grounds, ice, a paper liner when you use one, and occasional descaler. Steel doesn't absorb yesterday's oils the way plastic walls do, provided you empty and rinse it the same day. Leave wet grounds sitting in any pod and you'll taste it tomorrow.
Plastic pods win on sticker price and lose on the lid. Repeated hot cycles soften and warp cheap lids, stained walls hold stale flavor, and a lid that no longer seals is a direct leak path. Water finds the gap, pressure drops, and grounds spit into the cup or overflow the top. That's the objection worth taking seriously, because a leak isn't a cosmetic flaw. It ruins the drink and leaves grounds packed around the needle.
The fit problem is specific, not mysterious. A single-needle brewer needs a single-needle pod. A MultiStream machine needs the pod built for that needle pattern. A cheap universal lid that almost fits will overflow or spit grounds, and no paper liner fixes a wrong needle pattern. The liner solves a different problem. Mesh alone passes espresso-fine dust, and a disposable paper liner inside the same pod catches those fines. That's a small add-on, not a new machine.
Bottled iced coffee removes every fit worry and removes your dose control with it. You can't brew it stronger for a glass full of ice, you can't use the bag of coffee you already like, and every serving brings a new bottle and cap. People who dislike prepacked pods usually say the same thing in different words. They want their own coffee in the brewer.
Don't assume the kit is automatically greener or cheaper. Washing water, paper liners, ice, and electricity all count, and so does replacing a warped plastic pod twice a year. Run an honest four-week test with a per-drink worksheet:
- Coffee cost: grams per glass times your bag price per gram
- Milk and ice: what you pour and freeze, per glass
- Paper liner: pack price divided by the number of liners, if you use one
- Pod cost: purchase price divided by glasses brewed so far
- Cleaning cost: descaler and filters spread across the drinks between cycles
Add those five lines and compare the total against your usual bottled spend for the same four weeks. The break-even point is the glass where your cumulative home cost, pod included, drops below what the same number of bottles would've cost. Households drinking iced coffee daily cross it fast. Someone brewing twice a month may not cross it for a long time, and that's a fair answer too. The worksheet tells you which one you are.
Gear That Belongs in the Kit
Build the kit around the method you've already chosen, not around a second appliance. Most kitchens already own the expensive part. What's usually missing is a scale, the right filter, and a pod that matches the brewer's needle.
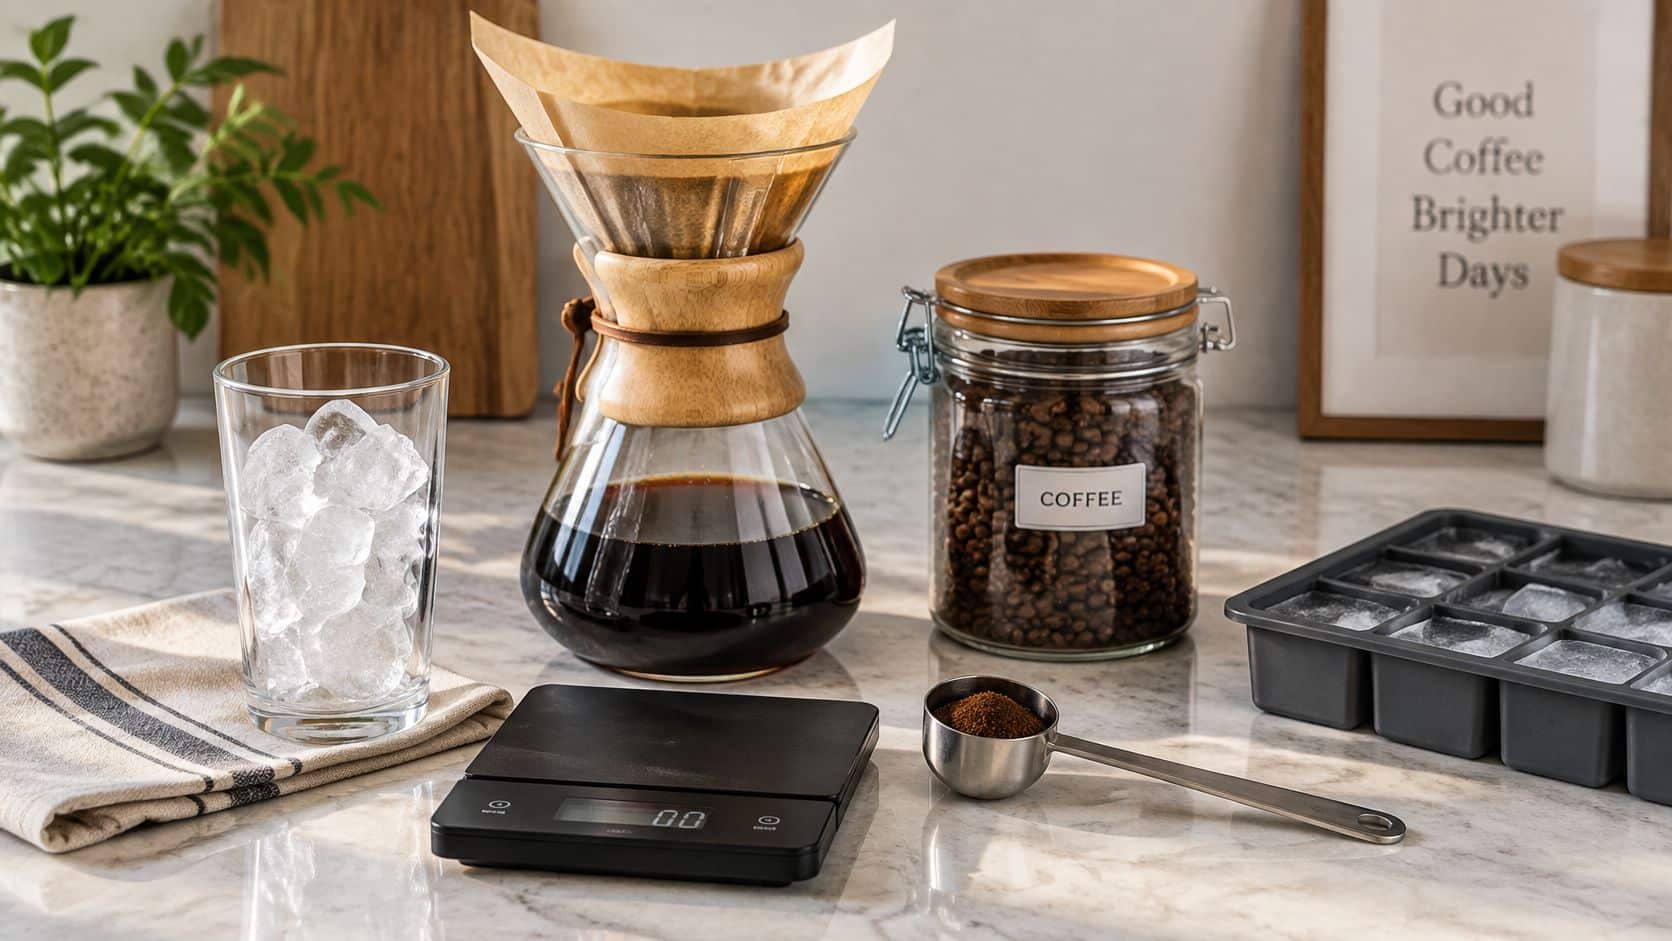
For hot-over-ice, you need the brewer you own, whether that's drip, pour-over, or a single-serve machine, plus a scale that reads grams, a sturdy glass that won't crack under hot coffee hitting cold ice, and ice made from water you'd happily drink. Stale freezer ice tastes like the freezer. Our notes on stackable ice trays for a small kitchen cover keeping enough cubes on hand without surrendering a whole shelf, and covered trays keep ice from picking up food odors.
For the overnight path, add a jar or French press with enough room for the grounds to stay fully wet, plus a fine paper or metal filter for the finished concentrate. Grounds packed tight against the glass steep unevenly. Room to bloom and settle matters more than a purpose-built vessel.
Pod and Accessory Match by Brewer
| Brewer | Part | Job |
|---|---|---|
| Keurig Classic, 2.0, K-Elite, K-Mini | Stainless reusable K-Cup pod | Fits single-needle brewers |
| Keurig K-Supreme, K-Slim, K-Crema | Stainless MultiStream pod | Matches the MultiStream needle pattern |
| Keurig K-Duo carafe side | Gold-tone mesh basket | Makes a larger iced batch |
| Any brewer with fine grounds | Disposable paper liner | Stops fines the mesh passes |
The single-serve path lives or dies on that table. A stainless refillable pod for single-needle Keurig models such as the Classic, 2.0, K-Elite, and K-Mini is a different part from the pod a K-Supreme, K-Slim, or K-Crema needs, because the needle pattern isn't the same. Buying the wrong one and forcing the lid shut is how leaks start. On a K-Duo, the gold-tone mesh basket on the carafe side is the right tool when you want a larger iced batch for two people instead of running single pods back to back.
Two small items prevent most complaints. Paper liners are your sediment control when grocery-store grounds run fine and slip through mesh. A small funnel, or filling to the pod's own line, keeps grounds off the rim, which seals against the brewer. Grounds on the rim mean a broken seal before the cycle even starts.
Skip the dedicated cold-brew tower unless your household already drinks concentrate most days. It's a beautiful object that solves a problem a jar solves for nothing. I'd spend that money on better coffee and a scale first.
Packing list: scale, filter, the correct pod for your machine, ice, and a glass that fits the pour. If all five are on the counter, you're ready to brew.
How to Brew a Glass That Stays Strong
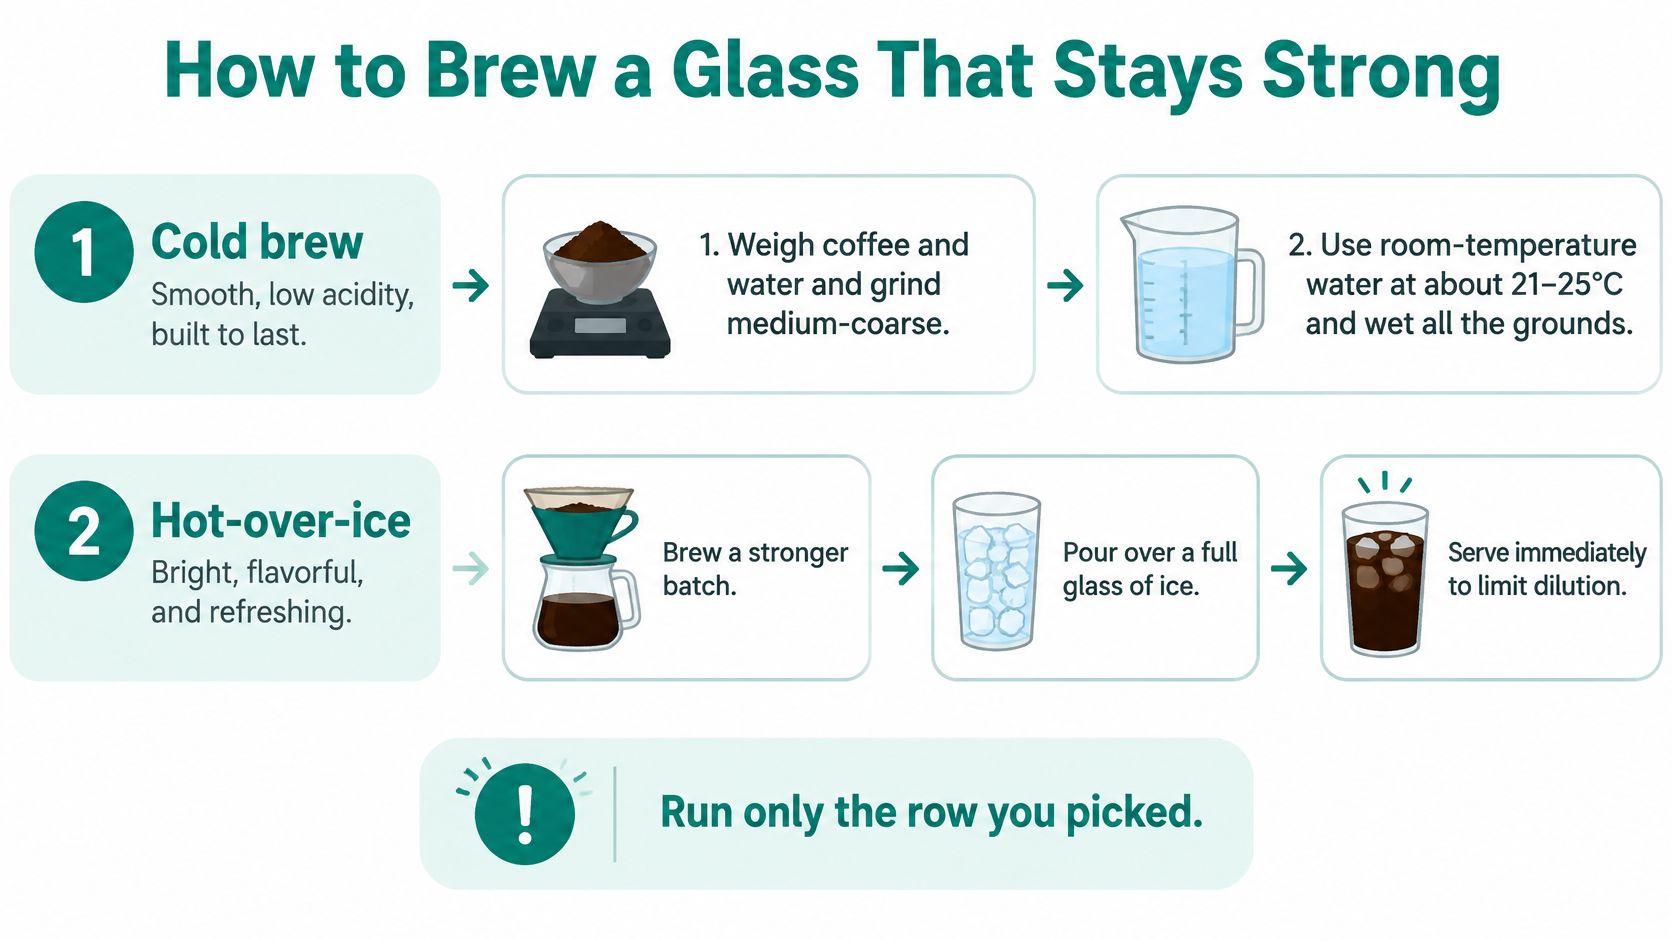
Two procedures follow. Run only the row you picked, and write down what you did, because the second glass is where a kit earns its keep. The cold brew path trades hours for smoothness. The hot-over-ice path trades nothing but asks you to dilute on purpose. Both land in the same glass.
Cold Brew Procedure
- Weigh and grind: Weigh your coffee and water, and grind medium-coarse so the filter can do its job without choking.
- Wet every ground: Add room-temperature water and make sure no dry pocket survives, since dry clumps never extract and the grounds around them over-extract.
- Stir once: Agitate at the start, then leave the jar still at a stable temperature.
- Steep 6–7 hours: Controlled experiments reported in Scientific Reports found caffeine and 3-chlorogenic-acid concentrations approached equilibrium at roughly 6–7 hours, with extraction proceeding rapidly during the first 180 minutes and slowing substantially afterward, using water at approximately 21–25°C.
- Filter: Pour through a fine paper or metal filter and let it drain fully.
- Dilute over ice: Pour the concentrate over a weighed ice mass and taste before adding milk, because milk hides a concentrate that's too weak or too strong.
That same body of work carries a warning about the extended steep. Longer immersion pulls more of everything out of the grounds, including the heavier compounds that make a concentrate taste dull and muddy, so an overnight jar is not automatically a better one. Higher extraction readings aren't the same as better flavor. Time and grind interact, so there's no single steep length that's right for every coffee, and chasing the biggest number is how a smooth concentrate turns heavy.
Keep the acid claim honest too. Cold extraction tastes softer and less sharp to many drinkers, but a gentler taste isn't zero acidity, and it isn't a guarantee of a dramatically different pH. Treat cold brew as a different flavor profile, smoother and rounder, rather than a health claim printed on a label.
Hot Over Ice and Pod Procedure
- Dose for concentrate: Fill a reusable pod to its line with no grounds on the rim, or dose a drip brewer for a deliberately concentrated batch.
- Add a liner if needed: Drop in a paper liner when your grounds are dusty and fine.
- Ice first: Put a weighed ice mass in the glass before you brew, not after.
- Brew small: Run the smallest sensible water volume straight onto the ice so the melt brings the drink to strength instead of past it.
- Stir and drink: Stir once and drink it. A glass that sits on the counter keeps diluting while you answer email.
Stronger isn't automatically better here. An extra-strong hot cycle can turn bitter before the ice ever gets a vote, and bitterness doesn't dilute away, it just gets colder. Coffee ice cubes, frozen from leftover brew, protect strength without pushing extraction harder, and a smaller water volume usually beats a harsh double dose. If you'd rather skip melt entirely on some days, Simply Hospitality's reusable ice cube guide explains how reusable cubes chill a drink without adding water, which suits a concentrate you've already diluted to taste.
Whichever row you ran, write down four numbers: coffee grams, water grams, steep time or cup size, and ice grams. That short note turns a lucky glass into a repeatable one, and it tells you exactly which single number to change tomorrow.
Fixes for Gritty Weak or Bitter Iced Coffee
Grounds in the glass come first because they're the complaint that makes people abandon a kit. Iced coffee isn't supposed to be gritty. Fines passed the mesh or collected in the exit needle, and both causes have a direct fix.
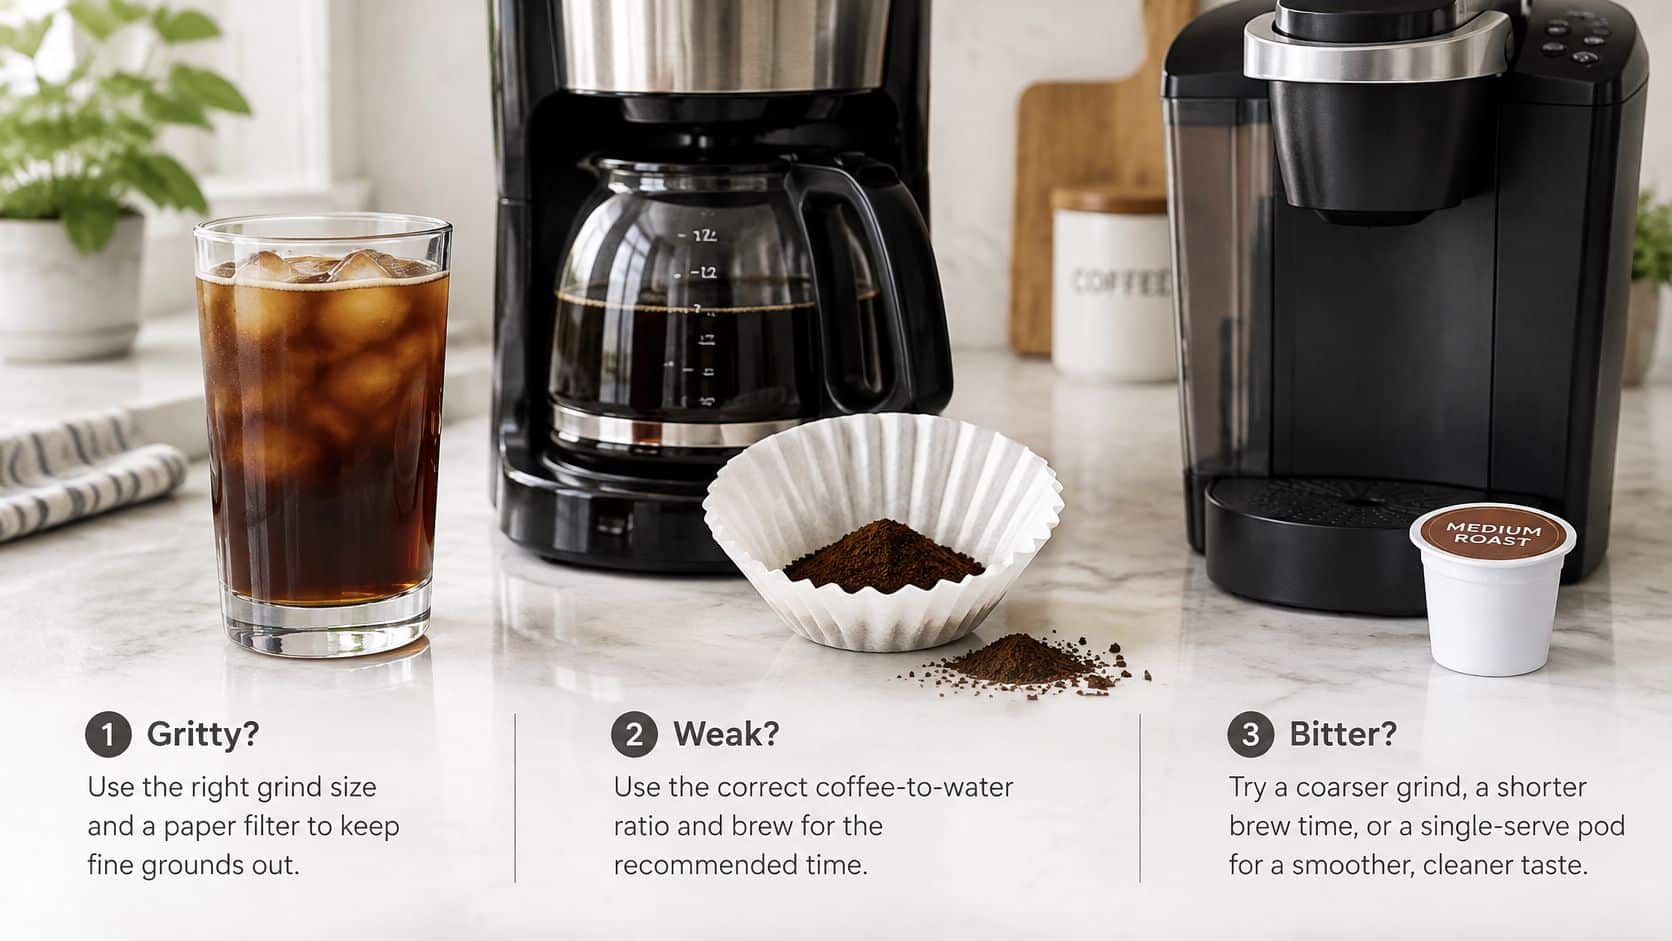
Symptom, Cause, and First Fix
| Symptom | Likely Cause | First Fix |
|---|---|---|
| Grounds in the glass | Fines passed the mesh or clogged the exit needle | Empty the pod, add a paper liner, clear the needle |
| Coffee spills over the top | Lid does not match the needle style or gasket sits too high | Use the pod made for that brewer |
| Pale, thin iced coffee | Ice melted into a normal-strength brew | Use less brew water or coffee ice cubes and drink promptly |
| Harsh bitterness | Concentrate too strong | Lower the dose rather than steeping longer |
| Hollow or papery taste | Stale oil in the mesh or mineral scale in the machine | Rinse the pod the same day and descale on schedule |
| Harsh cold brew | Over-steeping or dry clumps | Shorten toward 6–7 hours and check for clumps |
A stream that spills over the top usually traces to a lid that doesn't match the needle style, or a rubber gasket sitting too high to seal. Don't force the lid and hope. Switch to the pod made for that brewer. Forcing a near-fit bends parts and packs grounds where water should flow.
A pale, thin glass is almost always dilution. The ice was a full tray dropped into a normal brew, or the glass sat while the cubes disappeared. A review in PMC on cold brew chemistry reported cold brew was less acidic by approximately 0.20, 0.26, and 0.34 pH units than corresponding hot brews across three roast levels, while other research it summarized found comparable pH ranges of about 4.85–5.13 and lower titratable acidity in cold extracts. The practical lesson sits next to those numbers. Cold extracts generally contain fewer total dissolved solids than hot brews, so a cold glass starts leaner and tolerates careless dilution even worse. Standardize your coffee mass, water mass, and ice mass before you judge the coffee itself.
Grind size feeds several rows of that table, and our explainer on coarse coffee grind shows what medium-coarse should look like next to a coin. Harsh bitterness after an extra-strong hot cycle means the concentrate went too far. Back off the dose instead of steeping anything longer. A hollow, papery taste after weeks of use points somewhere else entirely, stale oil built up in the mesh or mineral scale inside the machine. Rinse the pod the same day you brew, and descale on the machine's own cadence so hard water doesn't flatten hot and iced cups alike. In that cleanup context, disposable paper liners and a universal descaler are the two add-ons that protect the cup and the machine after the pod is already in the drawer.
The video below walks through clearing a clogged needle and reseating a pod correctly, which is worth watching once before you blame the coffee.
Change one variable, ice mass or grind or time, then brew again. Changing three at once tells you nothing about which one fixed it.
Shop the Reusable Kit and Brew This Week
Match the pod to the brewer first, then add the two accessories that protect the cup. Everything else can wait until you've brewed a week of glasses and know what you reach for.
For a single-needle Keurig such as the Classic, 2.0, K-Elite, or K-Mini, our stainless steel reusable K-Cups come in a 2-pack at $19.95, and you fill them with the coffee already in your pantry. Two pods means one can dry on the counter while the other brews, which matters on a two-coffee morning. For a K-Supreme, K-Slim, or K-Crema, buy the MultiStream stainless 2-pack, also $19.95, instead of forcing a lid that doesn't match the needle pattern. The price is the same, the part is different, and that difference is the whole leak conversation settled before it starts.
Add the 100-pack of disposable paper filters at $12.95 when your grind runs fine. They fit Keurig and Ninja DualBrew pods and stop the sediment that mesh alone passes. At a liner per glass, that pack covers months of weekday brewing, and it's the cheapest fix in this entire guide for the most common complaint.
Keep the USA-made Coffee Machine Descaler on hand as well. It gives 10 uses at $23.95 and works as a universal descaling solution for Keurig, Nespresso, Breville, and other espresso machines, so one bottle covers every brewer in the house. Scale flattens flavor slowly enough that many blame the coffee bag. Descaling on schedule protects the machine you've already paid for and keeps both your hot and iced cups tasting like the coffee you bought.
Here's my honest recommendation on sequence. Order the pod that matches your machine and the paper filters together, since fine grounds are often the first surprise encountered. Add the descaler if you can't remember the last time you ran a descaling cycle, because that's your answer. Then brew one measured glass, coffee weighed, ice weighed, numbers written down, before you buy another bottle of ready-to-drink coffee.
Shop the reusable stainless pods, the paper filters, and the descaler at PureHQFilters.com today, and put your first weighed glass together this week while the method you picked is still fresh in your head. One good glass you can repeat beats a fridge door full of bottles you settled for.
PureHQ Inc. offers stainless reusable K-Cups matched to single-needle and MultiStream Keurig brewers, disposable paper liners that stop sediment, and a USA-made descaler that keeps scale from flattening your coffee, everything an iced coffee kit needs to brew strong at home. Visit PureHQ Inc. to pick the pod that fits your machine and brew your first measured glass this week.

