
Coffee Machine Care
Keurig Reusable Pod Review for 2026 Brews
Nov
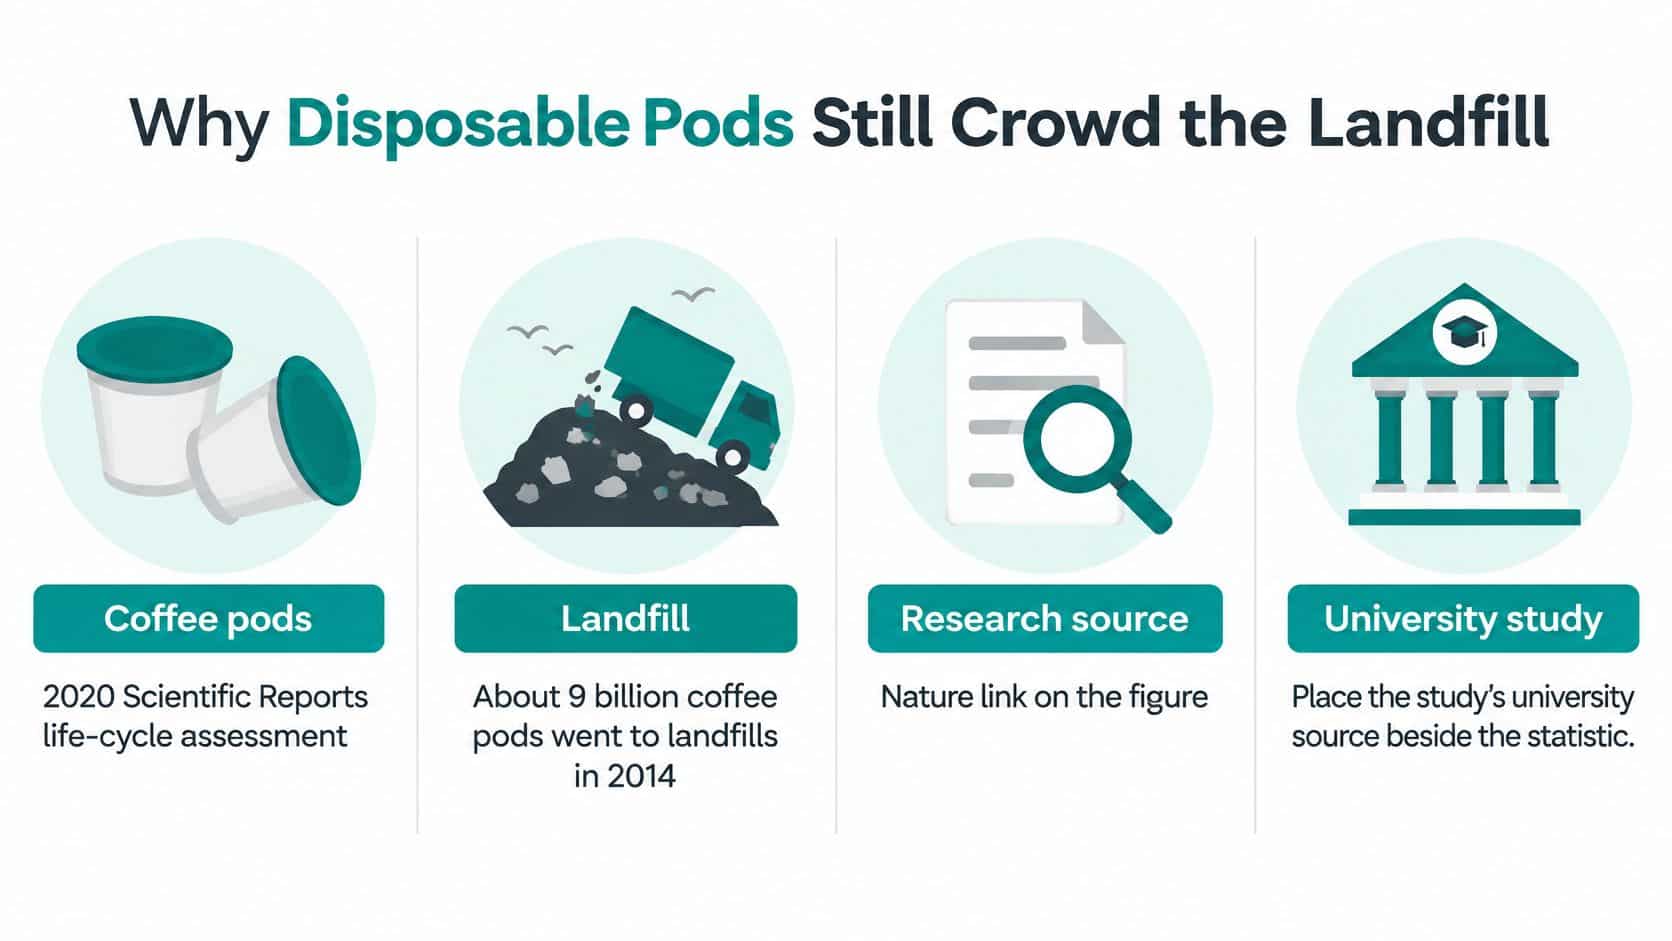
Approximately 9 billion coffee pods went to landfills in 2014, according to a 2020 Scientific Reports life-cycle assessment. That's a good reason to consider a refillable basket. It isn't a reason to tolerate watery coffee, grounds in your mug, or a pod that needs a shove to close.
A useful Keurig reusable pod review starts with those everyday problems. Stainless steel can be a sensible daily choice, but metal alone won't fix the wrong grind, an oversized brew, or a lid that doesn't clear your brewer's needles.
Why Disposable Pods Still Crowd the Landfill
Say you buy a bag of your usual grocery-store coffee and a reusable basket. You expect the same convenient morning cup without another disposable shell. Instead, the coffee tastes thin, the lid traps grounds, and rinsing takes longer than brewing.
The environmental promise doesn't help much if you stop using the basket. Durability, correct fit, and easy cleaning matter because they determine whether reusable brewing becomes a habit or an abandoned experiment.
Put the waste figures in context
The Scientific Reports assessment also modeled a university using 112,500 single-serve pods annually. Each plastic pod weighed approximately 3.0213 grams, producing about 340 kilograms of pod material at that usage volume; the modeled system's total annual energy consumption was 36,788 megajoules.
Those are figures for the study's modeled system, not a forecast for your kitchen. They also don't prove that every reusable filter has a lower total environmental impact. Manufacturing, washing, service life, and coffee dose all belong in that comparison.
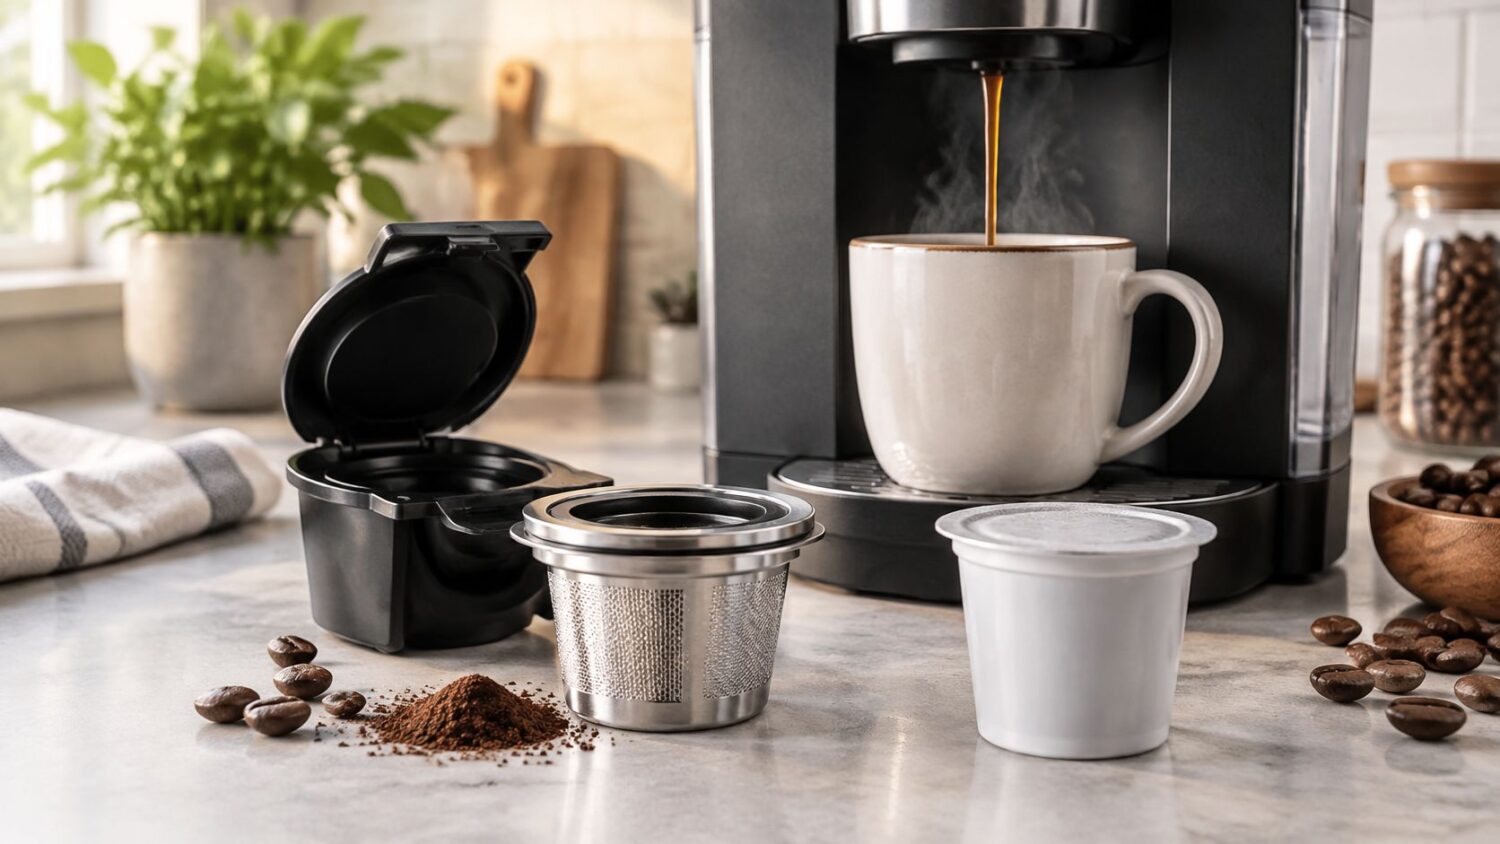
The waste picture is easier to understand when the individual shell and the repeated routine appear together.
Choose a routine you'll actually repeat
Treat the reusable basket as working coffee equipment, not a sustainability badge. Before buying, decide what would make you keep reaching for it:
- A dependable cup: The basket should complete the selected brew without leaving an unpleasant amount of sediment.
- A straightforward fit: You shouldn't need to improvise around the holder or force the handle closed.
- Manageable cleanup: Emptying and rinsing should fit your morning, including mornings when you're running late.
- A serviceable basket: Inspectable mesh and a sound rim matter more than an impressive material label.
For the disposable pods you still use, our K-Cup recycling guide offers a separate disposal checklist. Don't treat recycling and reuse as interchangeable purchasing decisions.
If coffee is part of a broader household effort, Fillaree's practical ways to reduce plastic waste provides useful context beyond the brewer.
I'd judge stainless, plastic, and Keurig's own filter on repeatable operation before choosing by appearance. A basket that earns its place beside the machine is more useful than one that merely looks durable.
Stainless Plastic and Official Pod Scorecard
Reusable pod scorecard for a Keurig owner
| Criterion | Stainless refillable pod | Plastic generic reusable | Official My K-Cup |
|---|---|---|---|
| Build in hot water | Stainless mesh basket rather than a plastic basket wall; check lid materials separately | Plastic body exposed to brewing water | Model-specific Keurig filter |
| Fill control | Weigh grounds to the marked line; don't tamp | Check for a fill mark before buying | Ground coffee only, sized for K-Cup settings; Keurig warns that overfilling can cause a short brew or dispensing error |
| Model fit | Buy the named single-needle or MultiStream version; never force it | Reject a fits-Keurig claim without a generation match | Use only the version and lid the manual names |
| Brew check | Three brews per cup size; log volume and sediment | Same check; inspect the spent bed for center channeling | Same check on approved models only |
| Cleanup and life | Dump, rinse, inspect mesh; use a compatible paper liner if helpful | Check for clinging grounds, staining, cracking, and seating changes | Follow Keurig's cleaning steps for that filter |
| Best for | Daily brewers who already buy ground coffee | A short, low-stakes trial | Owners whose manual requires that exact filter |
Our stainless steel refillable 2-pack for single-needle brewers includes compatibility with Classic, 2.0, K-Elite, and K-Mini series. That's a defined product category, not permission to put the same basket into every machine carrying the Keurig name.
Where stainless earns its place
I'd choose stainless for a regular brewing routine when the exact basket matches the machine. Its appeal is the reusable metal basket and inspectable mesh, not a promise of automatically richer coffee.
Don't turn that preference into an unsupported health ranking. A stainless basket description doesn't identify every lid, seal, or closure material, and it doesn't establish what particles are present in the finished drink.
Plastic makes sense as a cautious trial if you're unsure you'll tolerate filling and rinsing. I wouldn't assume every generic plastic basket is poorly made, but I also wouldn't buy an unmarked basket with an unclear compatibility claim just to save on the initial purchase.
Score performance rather than appearance
Run at least three brews per selected size as a practical comparison protocol. Keep the coffee and preparation consistent, then write down delivered beverage volume, visible grounds, flow interruptions, and minutes needed to rinse.
Use a measuring jug or a scale consistently. You're looking for repeatability, not pretending that a home test is a laboratory extraction study.
A basket that completes one attractive cup but interrupts the next brew hasn't passed. Neither has a premium-looking basket that takes more cleaning effort than you're willing to give it.
Stainless suits daily users who match the basket to their brewer's hardware. I'd reserve generic plastic for a short trial and choose the official filter whenever the manual requires that specific design.
Fit Leaks and Needle Clearance by Model
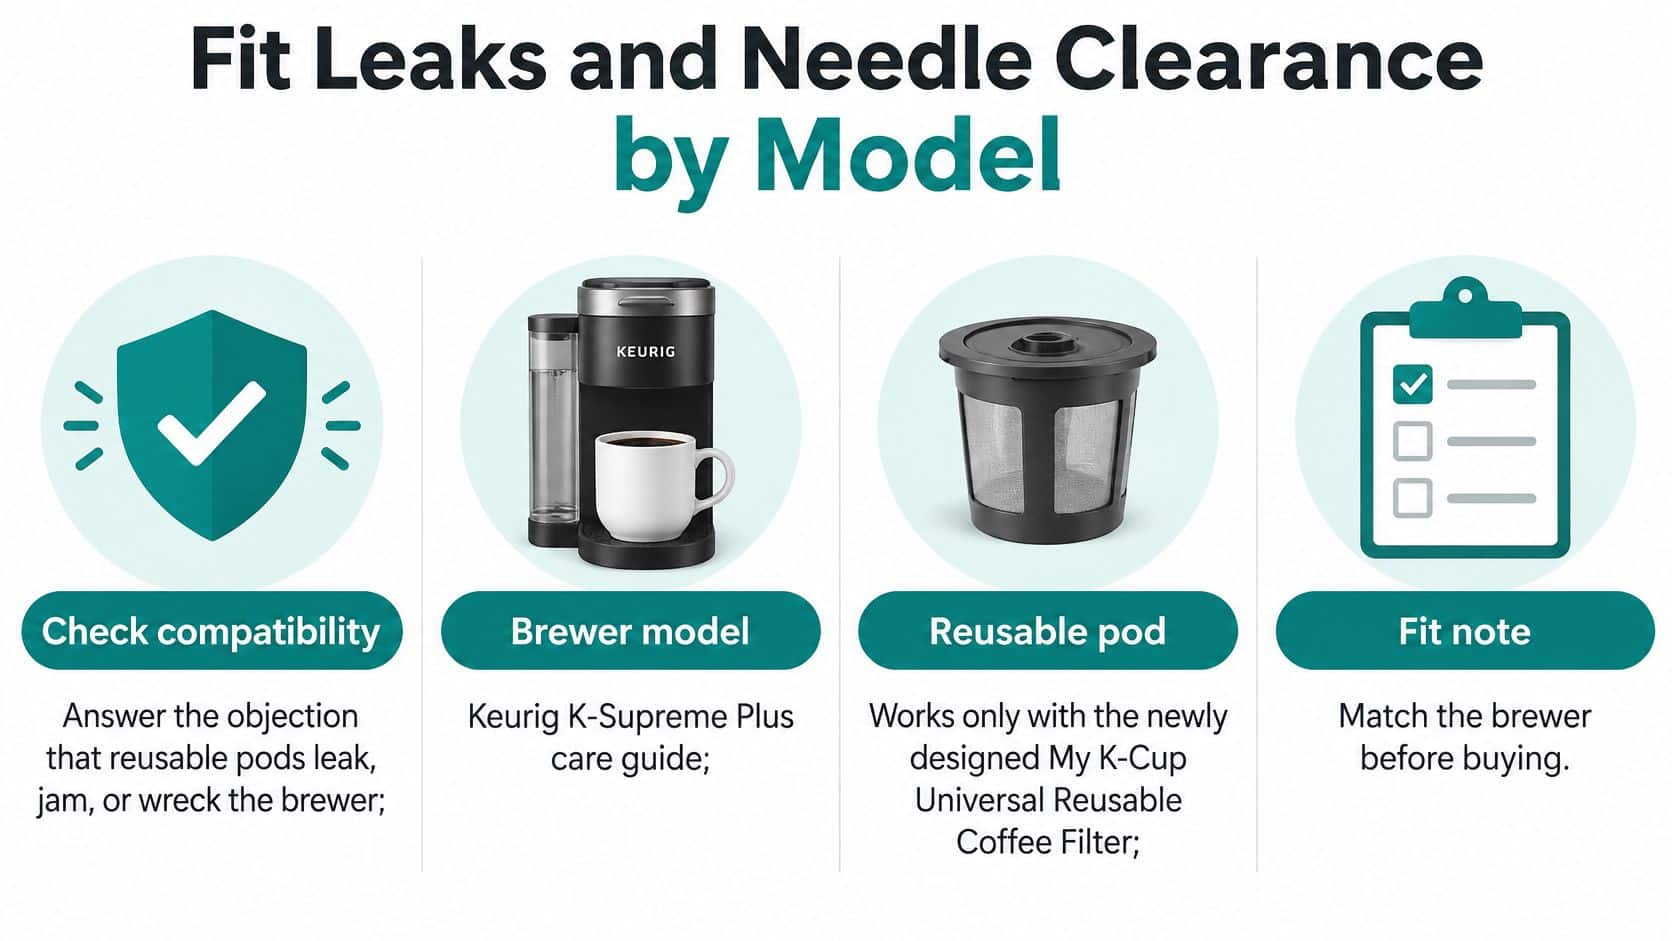
A reusable pod must fit the brewer's needle layout and holder. Never force it into place. The Keurig K-Supreme Plus care guide identifies the newly designed My K-Cup Universal Reusable Coffee Filter as the compatible option. Its lid has five holes to clear the brewer's multiple entrance needles. An older filter may not provide that clearance.
Check the machine before the basket
- Identify the exact brewer. Read the model label, including its generation. PureHQ's single-needle stainless pods fit Classic, 2.0, K-Elite, and K-Mini series. Its separate MultiStream stainless pods fit K-Supreme, K-Slim, and K-Crema.
- Read the brewer's accessory instructions. A seller's compatibility statement does not equal manufacturer approval. If the manual specifies the official filter, follow that requirement.
- Set the holder as directed. Remove or adjust holder components only when the brewer and filter instructions say to.
- Lower the empty basket gently. Check that it sits level. If it tilts, stands proud, or needs pressure, stop.
- Check closure without force. Don't use the handle to press an uncertain accessory into place.
Treat filter generation as part of compatibility, not a packaging detail. A model name alone does not confirm that an older filter clears the needles.
Diagnose leaks mechanically
If a compatible basket leaks, check its seating, rim, and lid before changing the coffee. Look for a tilted basket, grounds caught at the closure, a lid lifted by overfilling, or damaged mesh.
Don't run repeated cycles to see whether a questionable fit settles. A broad “fits Keurig” claim does not establish needle clearance.
Fit standard: The pod must sit level and close without force in the named brewer. A higher price cannot compensate for resistance.
Use this demonstration as a visual aid, while following your own model's instructions.
How Dose and Brew Size Change the Cup
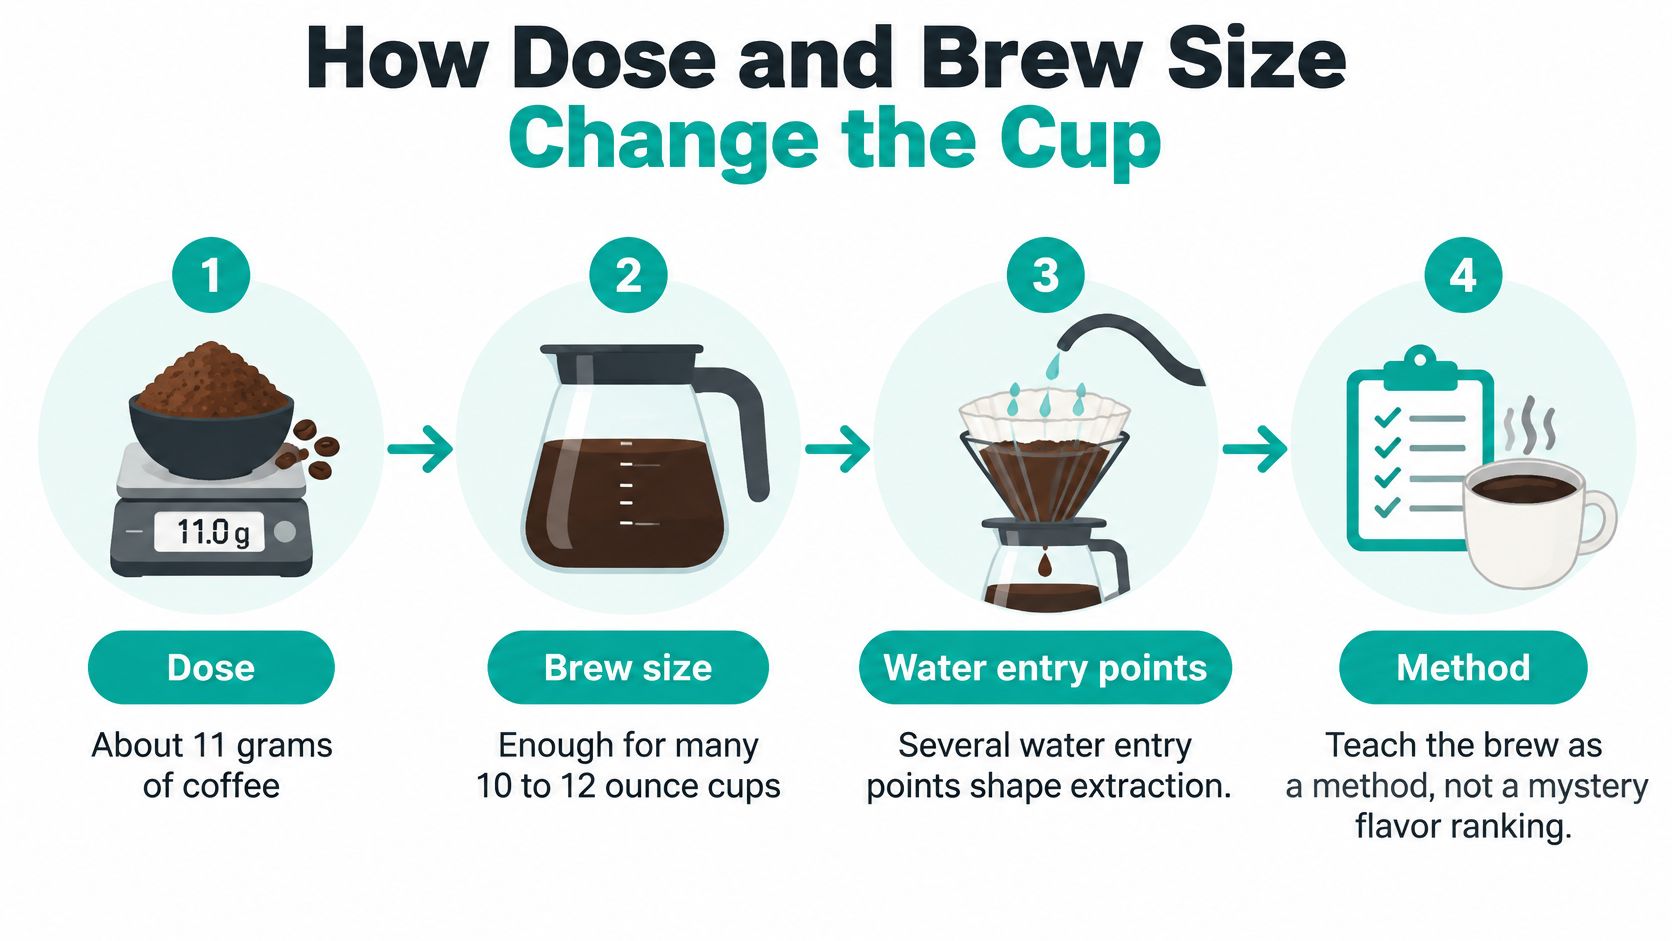
Start with a weighed dose, not a heaped scoop. Keurig's MultiStream-compatible reusable-filter specifications describe approximately 11 grams of ground-coffee capacity, enough for many 10–12-ounce servings, with multiple water entry points intended to distribute water through the bed, as described in its My K-Cup guidance.
That capacity isn't a universal loading instruction for every third-party basket. The basket's marked maximum takes priority. Roast density and grind change how much space a weighed dose occupies.
Build a repeatable recipe
- Start with a medium drip grind. Avoid espresso-like dust. Keep the same coffee while you establish a baseline.
- Weigh and level the grounds. Tare the empty basket on a small kitchen scale. Aim for the applicable capacity without crossing its fill line, then level the bed without tamping.
- Close the lid gently. If the lid compresses the grounds, remove some coffee. Don't treat resistance as a reason to push harder.
- Compare settings deliberately. As a home test, try a 6-ounce Strong brew, a 10–12-ounce standard brew, and an available travel-mug setting. Repeat each setting three times, using fresh grounds for every brew.
- Inspect and record. Check whether the spent bed is wet throughout. Record beverage volume, sediment, brew completion, and your judgement of strength.
Use the process graphic as a reminder to keep dose and water volume connected.
Brew settings and what the cup should do
| Brew setup | Dose and handling | What to record |
|---|---|---|
| 6 oz with Strong | About 11 g where the basket permits, medium grind, no tamp | Whether the bed wets evenly and the cup tastes fuller |
| 10–12 oz standard | Same weighed dose, below the fill line | Whether strength remains acceptable at the larger volume |
| Travel or large mug | Same dose and more water | Whether the cup becomes thinner; compare a smaller setting |
| Overfilled basket | Grounds above the line or compressed by the lid | Short brew or dispensing error; correct before continuing |
| Tea, cocoa, or fine powder | Not ground coffee | Don't test these in a coffee-only filter; avoid obstructed mesh and flow |
Change the smallest variable first
If the small cup tastes good and the large cup tastes weak, reduce brew volume before cramming in more grounds. If both disappoint, adjust grind modestly while keeping dose and setting unchanged.
Don't assume Strong guarantees a particular result. Compare it on your machine and retain the setting that produces a cup you like without interrupted flow.
A reusable pod is weak when dose, grind, and brew size are mismatched, not because mesh cannot make coffee.
Our guide to filtered water and coffee-to-water ratio provides additional context for separating coffee preparation from water-related taste concerns.
Cleaning Durability and Descaling Routine
Time cleanup from your first brew rather than estimating it after purchase. Start once the basket is safe to handle, and include emptying, rinsing, wiping, and the mess around the sink.
A pod that brews well but stays dirty on the counter isn't a practical daily solution. Make the routine simple enough to repeat.
Empty, rinse, inspect, dry
- Empty the spent grounds into a bin. Let the basket cool enough to handle safely, but don't leave the grounds to dry in place.
- Rinse the mesh under running water. Check the outlet openings and remove trapped grounds without digging at the mesh with a sharp tool.
- Wipe the lid and rim. On the compatible multi-needle lid, inspect every water-entry opening. Keep fingers away from the brewer's needles.
- Air-dry the parts. Leave the basket open so you can see whether any grounds remain.
For your own ownership test, log the minutes spent over ten brews. Count actual hands-on work, not unattended drying time.
Inspect function, not just staining
Use a recurring inspection checkpoint, such as every twenty brews, to compare baskets under the same routine. That's a suggested test interval, not a manufacturer replacement schedule.
- Mesh: Look for dents, tears, or areas you can't rinse clear.
- Rim: Check for cracks and distortion.
- Lid: Confirm that it closes squarely without a new gap.
- Seating: Retire a damaged basket that no longer seats correctly; don't force it back into service.
Record staining separately from damage. Appearance alone won't tell you whether the basket still closes and brews properly.
For brewer maintenance, our Coffee Machine Descaler provides 10 uses, is made in the USA, works universally with Keurig and other brewers, and costs $23.95. Use it on the descaling schedule and with the procedure in your brewer's manual, rather than treating basket rinsing as machine maintenance.
What a Reusable Pod Costs After Cleanup
Our single-needle stainless 2-pack and MultiStream stainless 2-pack each cost $19.95. The purchase decision isn't just which pack costs less, because the prices are equal. It's which pack matches your machine and whether you'll use it consistently.
Reusable pod prices and what they replace
| Item | Price | Fits | What changes |
|---|---|---|---|
| Single-needle stainless 2-pack | $19.95 | Classic, 2.0, K-Elite, K-Mini | Replaces a disposable shell whenever you brew loose grounds instead |
| MultiStream stainless 2-pack | $19.95 | K-Supreme, K-Slim, K-Crema | Provides a separate multi-needle-compatible option |
| Paper filters, 100-pack | $12.95 | Compatible reusable pods | Easier dump-out without adding a plastic pod |
Paper liners are optional cleanup help, not a requirement for calling the basket reusable. Try them if removing wet grounds is the part of the routine you dislike, and include their cost in your calculation.
Separate a quick estimate from real break-even
For a rough purchase-only estimate, divide the basket price by the price of the disposable pod you'd otherwise buy. That tells you how many avoided disposable purchases equal the upfront basket cost. It is not full break-even, because loose coffee and upkeep aren't free.
Use this fuller calculation:
Break-even brews = reusable purchase cost ÷ (disposable cost per cup − reusable running cost per cup).
Calculate coffee cost by multiplying your weighed dose by the bag's price per gram. Add any liner, cleaning allocation, replacement allowance, and cleanup labor you want to value. If the running-cost difference isn't positive, there's no financial break-even under those assumptions.
Count the waste pathway accurately
The U.S. Environmental Protection Agency's discussion of coffee-pod materials identifies original single-serve pods as polystyrene with limited recyclability and describes later polypropylene pods being collected and recycled into products such as bins, pallets, and outdoor furniture.
That doesn't mean your local collection accepts every used capsule. Check local acceptance rather than treating a material label as a disposal instruction.
A reusable filter avoids a single-use shell only when it replaces a disposable brew. Don't claim a universal savings percentage, and don't count a basket sitting unused in a drawer as avoided waste. Fit and daily follow-through determine whether the purchase changes anything.
Buy the Pod That Matches Your Brewer
Start with the full model name and the pod listing that explicitly matches it. PureHQ's stainless 2-pack for single-needle brewers fits Keurig Classic, 2.0, K-Elite, and K-Mini series. Its separate stainless 2-pack for MultiStream brewers fits K-Supreme, K-Slim, and K-Crema. The right pod is the one that clears the brewer's needles and fits as directed, not one with a similar shape.
Check your brewer's manual for loading instructions and any required filter. A third-party listing does not override the manual.
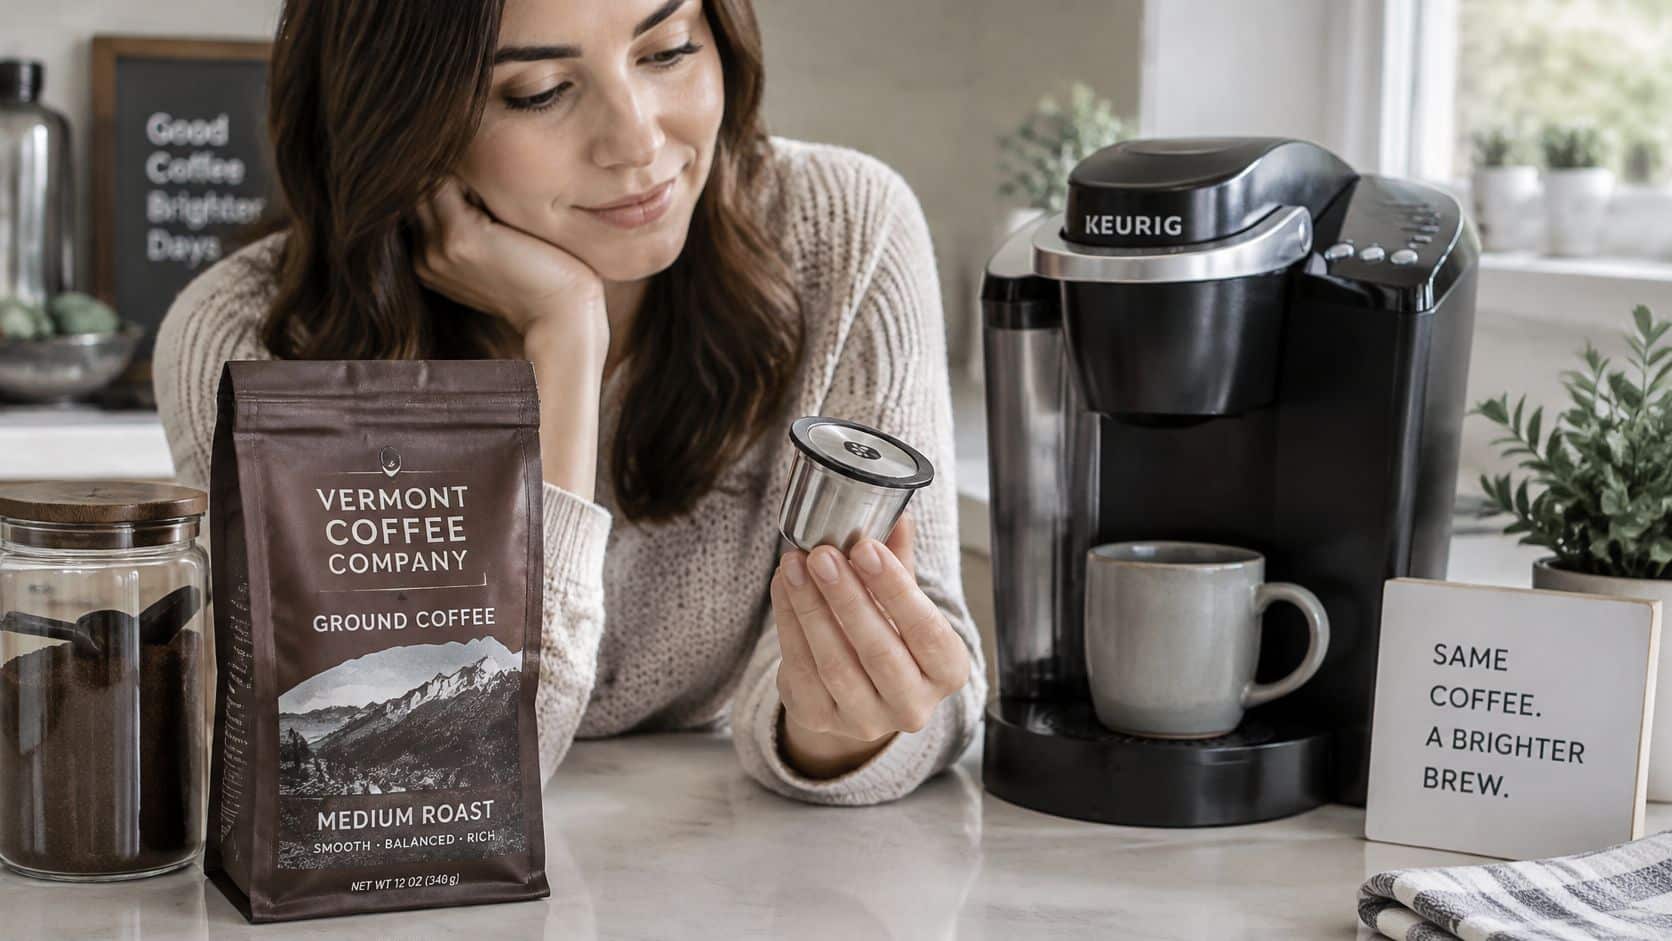
Match a combination brewer carefully
For a K-Duo Gen 2, choose a listing that names that generation. Check the dimensions and instructions in your brewer's manual before buying or inserting a reusable filter. A mismatch can interfere with proper fit or needle clearance, so don't force a basket that does not sit correctly.
PureHQ's Reusable K-Cups 4-Pack lists compatibility with K-Supreme, K-Slim, and K-Duo Gen 2. For K-Duo Gen 2 and Essentials owners who also brew carafes, its Reusable Mesh Coffee Filter value pack includes a gold-tone carafe filter and 2 refillable K-Cups.
Ninja DualBrew owners need a filter listed for their brewer. PureHQ sells a reusable coffee filter pod listed as compatible with the Ninja DualBrew Coffee Maker. Don't assume a Keurig pod fits because both machines brew single servings.
Use the model-by-model reusable K-Cup selection guide to compare options before checkout.
Give shared-machine cleanup an owner
A reusable pod works best when the person brewing is ready to empty and clean it. In a small office, assign someone to show users how to load and clean the pod before making refillables the default.
Use this purchasing checklist:
- Named machine: Record the complete brewer model and generation.
- Named accessory: Match the product listing, not a similar-looking basket.
- Named routine: Decide where grounds go and where clean baskets dry.
- Named owner: Assign responsibility for supplies and maintenance.
For a steady home routine or a breakroom with a designated cleanup owner, reusable brewing can make sense. In a shared space where nobody reliably handles the wet basket, keep disposables available.
Suzie C summed up the appeal of using her own coffee:
“Love This Product, I do not especially like prepackaged coffee pods, I like using the coffee that I buy and these are perfect.”
PureHQ Inc. sells stainless refillable pods, model-specific reusable filters, paper liners, and descaling supplies. Choose the listing that names your exact brewer model before checkout.

