
Coffee Machine Care
Cold Brew French Press Ratio: A Practical How-To Guide
Sep
You've left a French press steeping overnight, measured nothing, and now the first sip is both thin and strangely bitter. That frustrating combination usually doesn't mean the coffee is bad. It means the cold brew French press ratio, grind, and steep time weren't working together.
Cold water extracts coffee slowly, so the amount of water controls whether you make a concentrated base or a drinkable brew. Once you measure coffee and water by mass, you can adjust the result deliberately instead of guessing at every batch.
Why Your Cold Brew Tastes Off
You leave a French press steeping overnight, measure nothing, and take a first sip that is thin yet strangely bitter. Adding ice, milk, or water only creates more guesswork. The problem usually begins with three variables working out of step: the cold brew French press ratio, grind size, and steep window.
Scoops cannot provide a dependable starting point. Beans differ in density, so the same scoop may hold different masses from one coffee to another. Water markings also become less useful after grounds absorb liquid. Weighing both ingredients gives you a fixed reference.
Ratio turns guesswork into adjustment
A practical starting point is 1:8 by weight, such as 60 g of coffee with 480 ml of water for a 1 L press. That proportion produces a concentrate, which you can dilute with water, milk, or ice when serving. A French press cold brew ratio guide offers a useful comparison for setting up this kind of batch.
The number alone does not determine the flavor. Cold water extracts soluble compounds gradually, so a finer grind can extract more readily than a coarse one during the same steep. A coarse grind may need the longer end of your chosen window, while a finer grind can become harsh if left just as long. Ratio, grind size, and contact time work like three controls on the same brew.
Immersion research has examined ground-to-water ratios from 1:3 to 1:11 and steep times from 5 minutes to 18 hours, showing that both the proportion and contact period affect the result (research record).
Practical rule: If you cannot state the coffee mass, water mass, grind description, and steep duration, you do not yet have a recipe that can be improved reliably.
Record the ratio first. Then change one variable at a time. If the drink is too powerful, dilute it or use more water in the next batch. If it tastes weak, use less water, a finer grind, or a longer steep, but test only one adjustment at once. Log the ratio in grams before your next batch, and the next adjustment becomes a single-variable test.
The Core Coffee-to-Water Ratio
A ratio gives your cold brew a starting point, not a complete recipe. It compares the mass of coffee with the mass of water. For practical kitchen measuring, milliliters of water are close enough to grams, so 1:8 means one part coffee to eight parts water. A water-to-coffee ratio reference can help you compare this format with other brewing formulas.
For a standard 1 L French press, begin with 100 g of medium-coarse coffee and 800 ml of water for a concentrate. The grounds hold back some liquid, so the pressed coffee will measure less than the water added. This batch may produce roughly 700 ml, depending on the beans and how much liquid remains in the grounds or filter.
Measure the batch before brewing
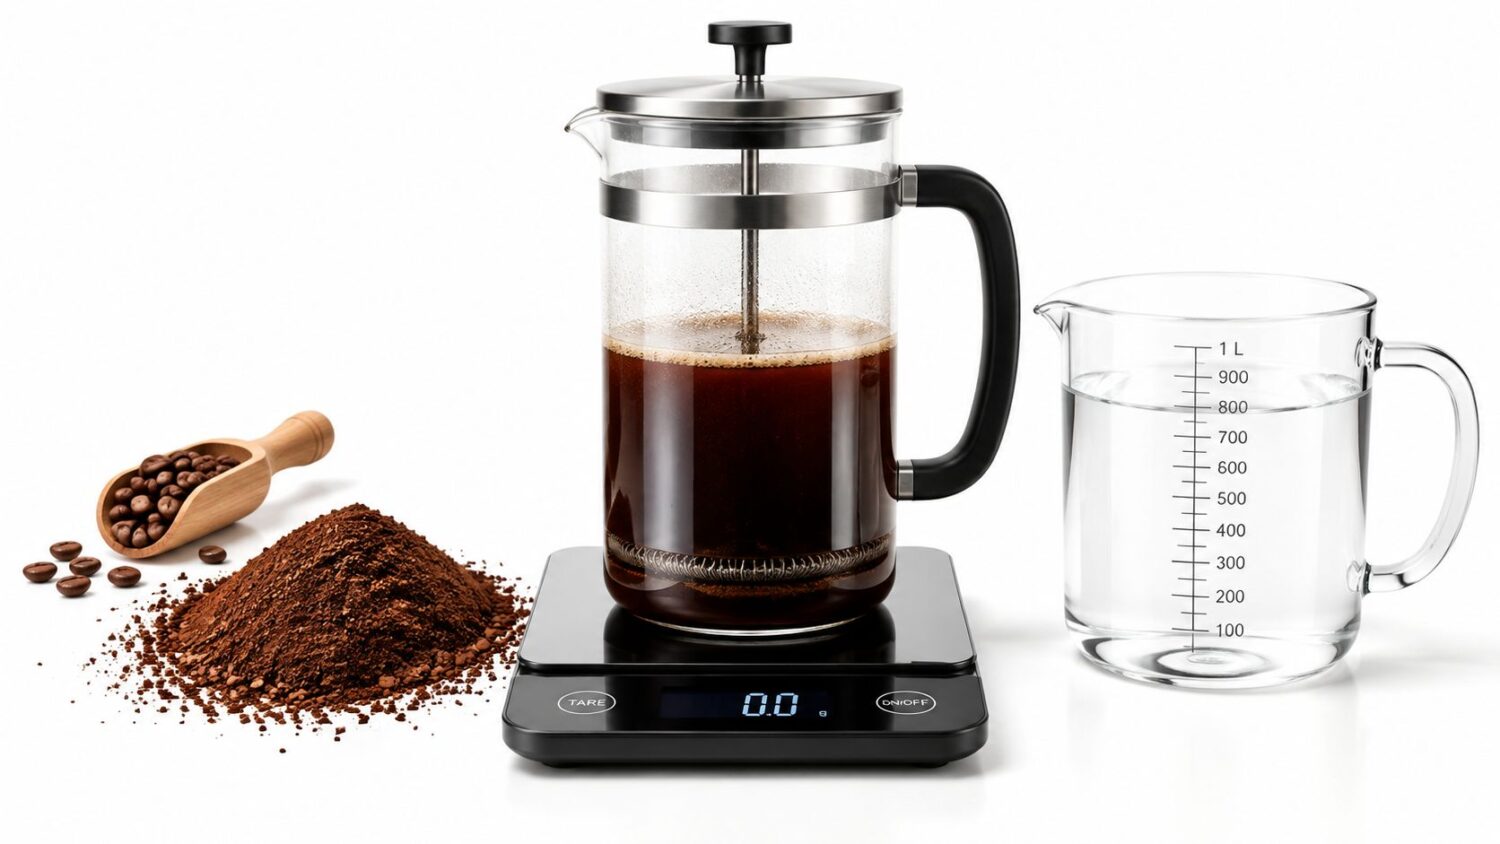
Set the empty French press on a kitchen scale and press tare. Add coffee until the display reaches the selected weight, then pour water until it reaches the matching water weight. If you weigh water in a separate vessel, record both amounts so the recipe remains easy to repeat.
The ratio sets the brew's starting strength. Grind size and steep time determine how readily water draws flavor from the grounds. Coarser coffee releases flavor more slowly, while finer coffee extracts more quickly. A longer steep can support a coarse grind, but the same window may make a finer grind taste harsh. These three controls work together, so changing one can make the original ratio feel stronger or weaker.
For broader kitchen ratio notes, you can explore Just Cook It's book page.
| Style | Coffee (g) | Water (ml) | Final Yield (ml, approx) | Best For |
|---|---|---|---|---|
| Concentrate, 1:8 | 100 | 800 | 700 | Diluting with water, milk, or ice |
| Ready-to-drink, 1:12 | 80 | 960 | 850 | Pouring and serving directly |
A leaner hot-style brew often uses 1:14 to 1:15, but that comparison is not a cold brew formula. Cold water extracts more slowly, and immersion brewing studies have examined how both coffee-to-water proportion and steep duration shape the result (immersion brewing research). The table's yield figures are approximate because coffee grounds retain different amounts of liquid.
Keep the ratio steady when changing beans. Then adjust grind size or steep time deliberately, so each new batch shows which variable changed the flavor.
Concentrate Versus Ready-to-Drink Bands
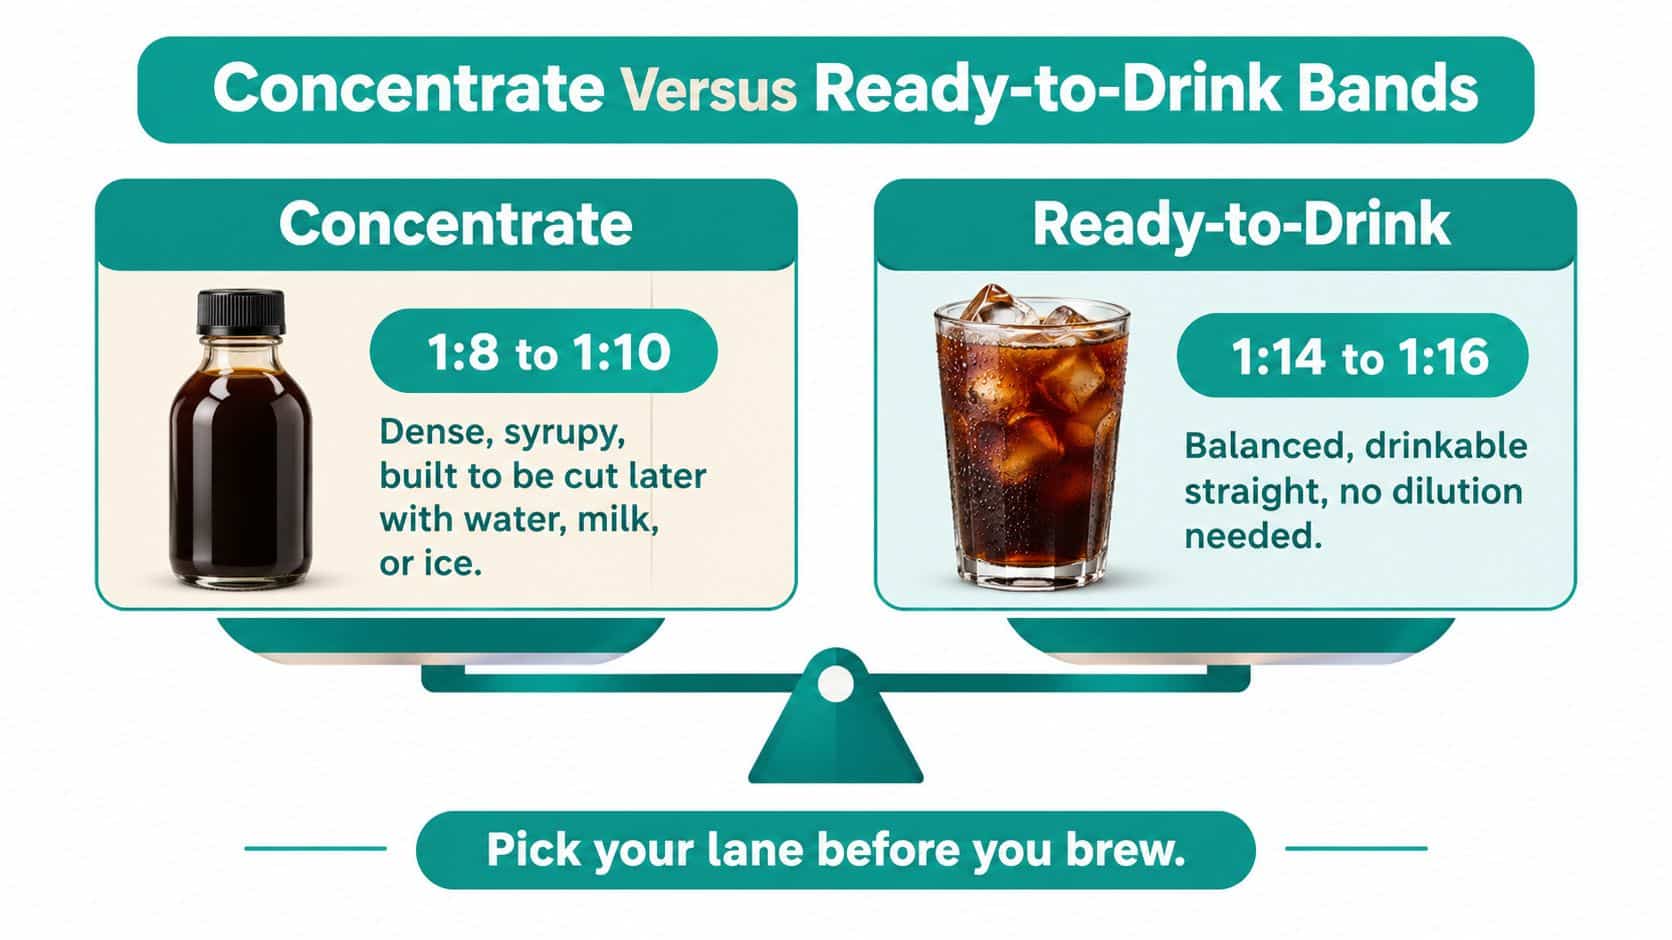
Your serving plan determines how much water belongs in the press. A 1:8 to 1:10 concentrate uses less water per gram of coffee, producing a dense base for later dilution. A ready-to-drink batch uses more water and commonly sits near 1:12, with documented recipes extending toward 1:15 (cold brew ratio examples).
Choose based on how you serve
Concentrate gives you control after brewing. Pour a smaller amount over ice, add water or milk, and adjust the body in the glass. A common starting point is roughly one part concentrate to one part diluent, though the coffee and your preference determine the final balance.
Ready-to-drink cold brew skips that mixing step. It usually feels lighter and more tea-like, which suits a sealed container that can pour directly into a glass. The tradeoff is flexibility. Once the brew is diluted, strengthening it requires adding concentrate rather than changing the pour.
| Concentrate | Ready-to-drink |
|---|---|
| 1:8 to 1:10 | 1:12 to 1:15 |
| Built for later dilution | Designed to serve directly |
| Useful with milk, water, or ice | Convenient for a quick glass |
| Lets you tune each serving | Gives a consistent pour |
Ice changes the practical strength of either style. A concentrate can tolerate melting ice because the added water is part of the serving plan. A ready-to-drink brew has less room for that dilution, so a glass packed with melting ice may taste thinner as it sits. Chilled cubes or a smaller ice load can preserve its balance.
The ratio also works with grind size and the steep window. A stronger concentrate formula does not automatically fix under-extraction from an unsuitable grind or an inconsistent steep. Treat the ratio as the starting strength, then keep the grind and brewing window consistent while you compare batches.
Choose one band before brewing, and adjust within it gradually. Moving from 1:8 toward 1:10 creates a less dense concentrate. Moving from 1:12 toward 1:15 produces a lighter ready-to-drink brew without changing the basic workflow.
Grind Size, Water, and Press Setup
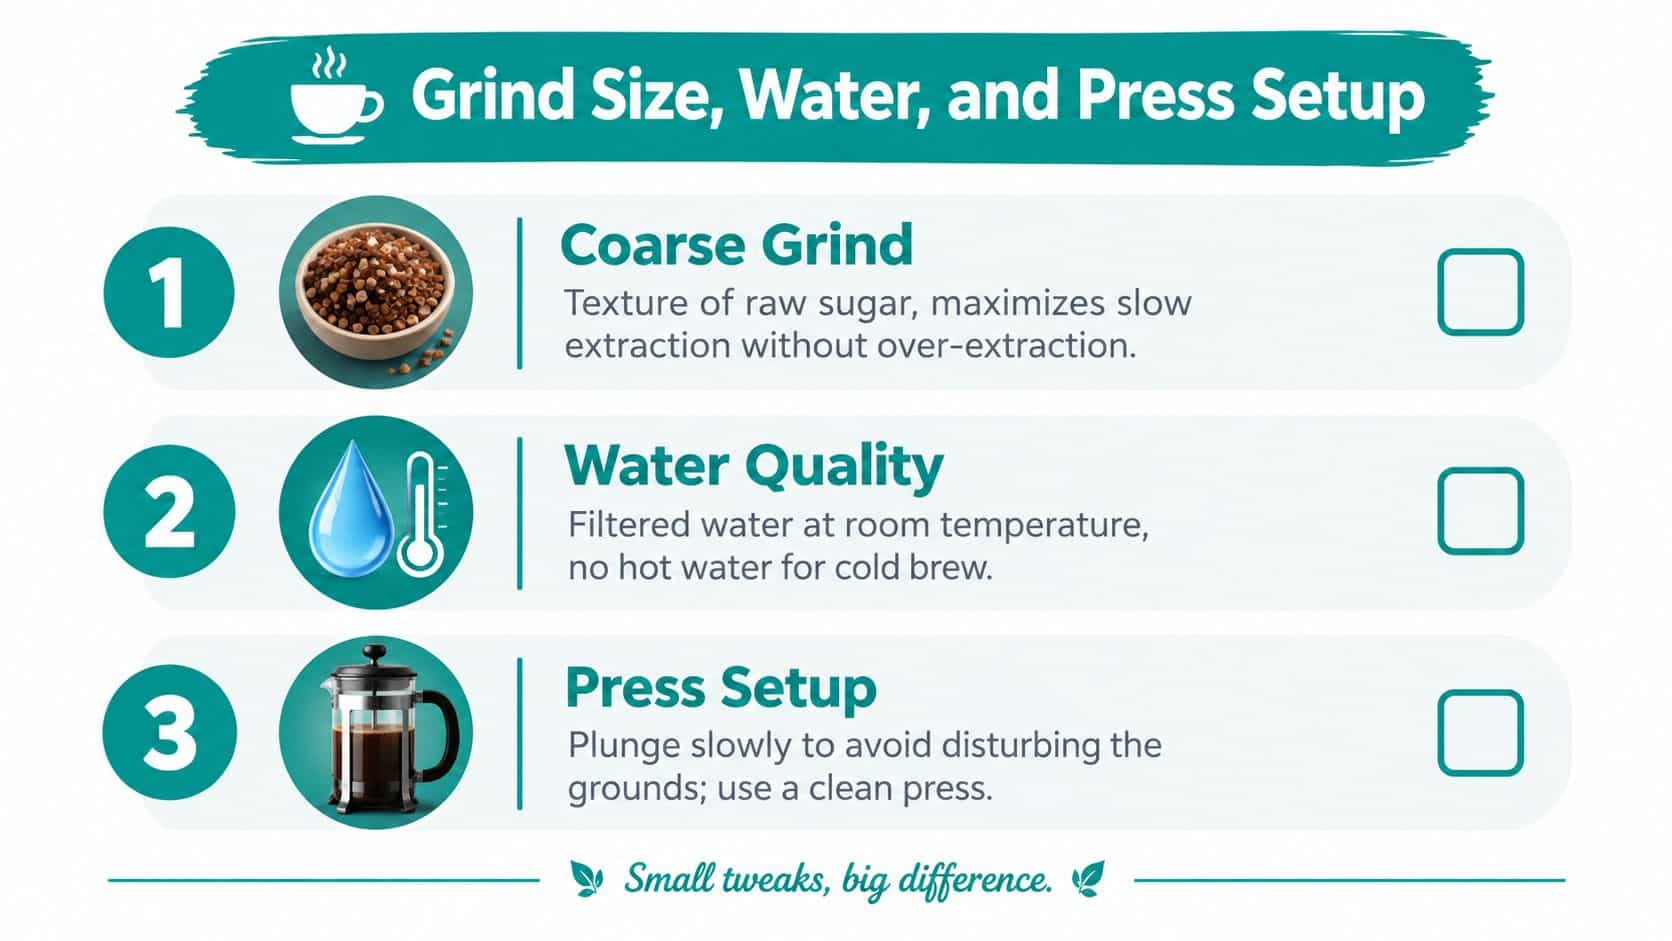
Ratio alone can't rescue a poor grind. Cold brew spends a long time in contact with the coffee, so a very coarse grind gives water access to the grounds without creating as much fine sediment. Aim for a texture similar to coarse sea salt or raw sugar.
Finer particles can extract aggressively during a long immersion and can pass through the metal mesh. That combination may leave the cup muddy, harsh, or gritty. A coarse bed also makes slow pressing easier because the filter encounters less resistance.
Build an even coffee bed
Rinse the press with a little water, then discard it. Add the grounds first, pour filtered water in a slow circle, and make sure the water reaches the entire bed. A gentle stir breaks up dry pockets and helps the grounds become evenly wet.
Use room-temperature or slightly cool water. Filtered water keeps strong chlorine or mineral flavors from competing with the coffee, and cold brew doesn't require boiling water. For readers refining their equipment, these French press grinding guidelines provide useful context for choosing a coarse setting.
Place the lid on the press with the plunger raised above the grounds. The filter should remain suspended while the coffee steeps. If you use freshly ground coffee, store any unused grounds in an airtight container, and review these ground espresso storage tips for practical storage principles that also apply to other ground coffee.
Don't press during setup. The plunger belongs at the end, after the water has had time to extract the coffee evenly.
Steeping Time and the Slow Press
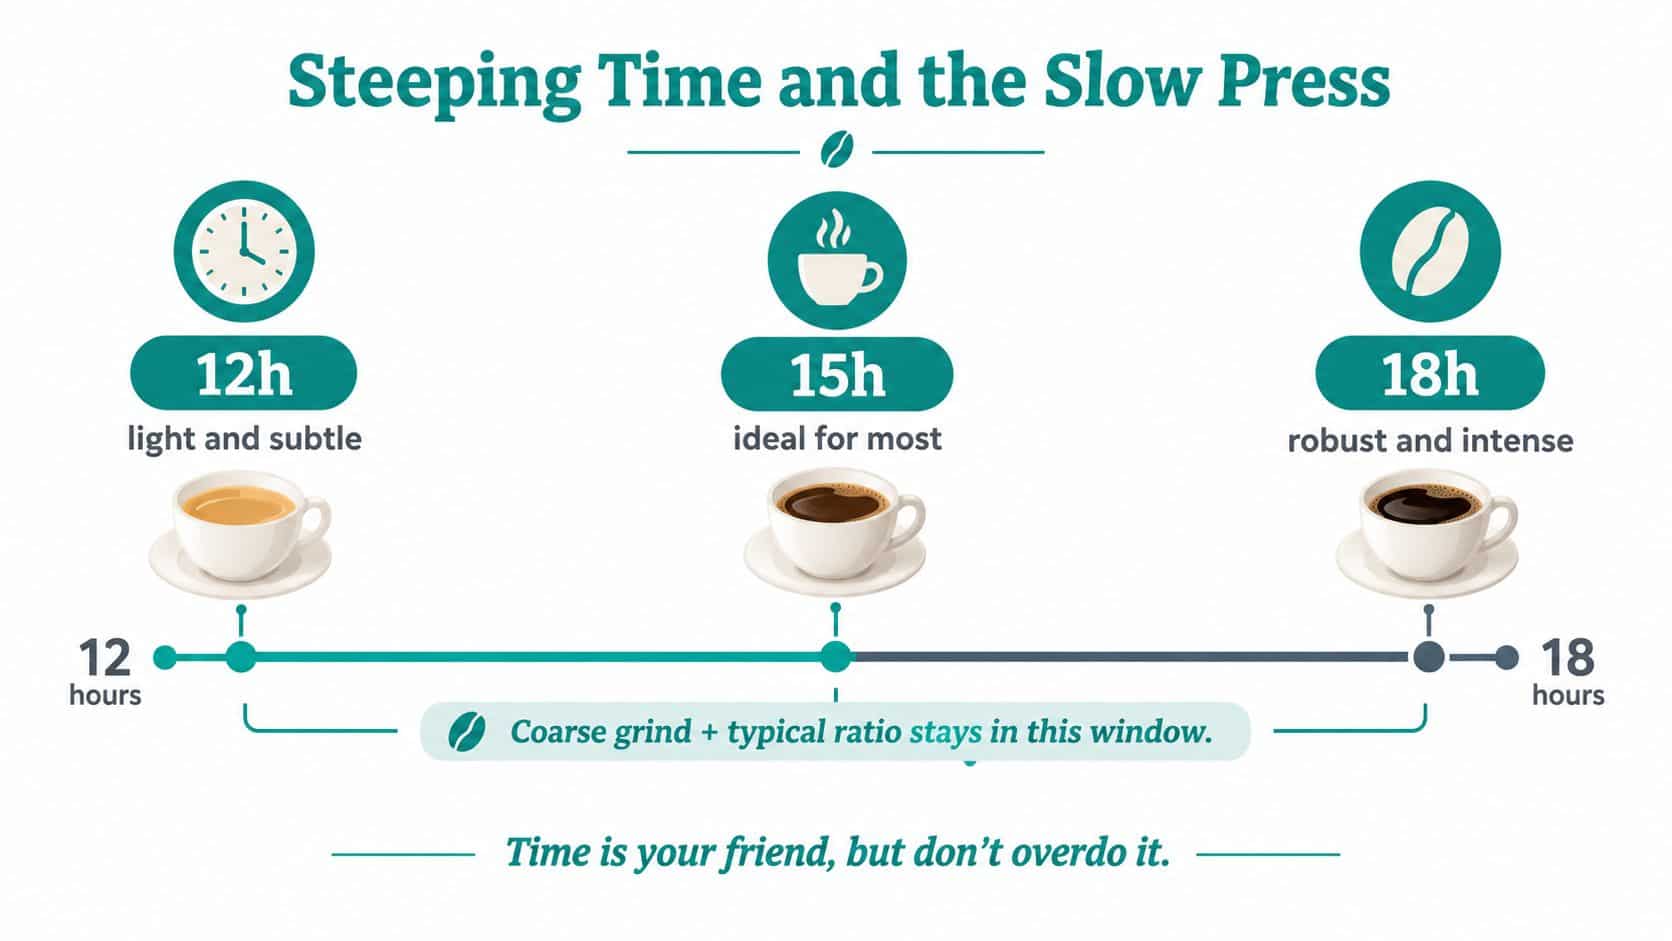
Temperature changes the pace of extraction. Refrigerator brewing moves more slowly and can produce a cleaner, more restrained cup, while room-temperature brewing develops flavor sooner and may taste fuller. Choose one setting for the batch, record it, and keep the coffee-to-water ratio and grind consistent so you can tell which change affected the result. This French press brewing time guide offers useful timing context for the method.
The ratio, grind, and temperature work as a set. A coarse grind releases flavor gradually, so it suits a longer cold-water steep. Finer grounds expose more surface area, like using smaller pieces of ice that melt faster, and may make the coffee taste developed sooner. A stronger ratio does not automatically fix a short steep, just as extra steeping time cannot always rescue an overly fine grind.
Read the coffee as it develops
Color and aroma provide clues, but use them alongside a timer. Early in the steep, the liquid may look pale and smell grainy. As extraction progresses, it darkens and develops fuller roasted aromas.
Taste the finished coffee before changing several variables. If it seems thin, extend the next batch modestly or increase the coffee in relation to the water. If bitterness rises and brightness fades, shorten the steep or return to a coarser grind. Change one factor at a time, otherwise the cause of the improvement stays unclear.
When the coffee reaches the desired strength, press with slow, steady pressure. Stop if the plunger meets strong resistance at the grounds. For the motion, follow this short demonstration:
Scaling Up, Serving, and Storing
Scaling a batch means multiplying the same coffee-to-water relationship, then checking whether the grind and steep window still suit the larger volume. For a 1.5 L batch at 1:8, use roughly 187 g of coffee with 1,500 ml of water. This follows the concentrate formula described earlier. A larger vessel changes the quantity, not the extraction logic.
| Vessel Size | Coffee (g) | Water (ml) | Approx. Yield |
|---|---|---|---|
| 1 L press | 100 | 800 | 700 ml |
| 1.5 L batch | 187 | 1,500 | 1,300 ml |
| 2 L pitcher | 250 | 2,000 | 1,750 ml |
Capacity also affects handling. Press the coffee into a clean carafe or bottle promptly after steeping, since liquid left among the grounds keeps extracting and may become heavier or muddier. If the metal mesh allows fine particles through, run the brew through a paper filter afterward. That extra pass can make storage and serving cleaner.
Serve and store with intention
Ice cools the drink quickly, but it also melts into the coffee. Pouring concentrate over a full glass of ice can therefore make the first sip stronger and the last sip thinner. Add chilled water, milk, or cream gradually, then taste again after the ice has had time to melt. Cold temperatures can also hide sweetness, so sweeten only after tasting the chilled drink.
Store the finished brew in a sealed container in the refrigerator. Storage guidance ranges from about one week to two weeks, depending on the recipe and format (cold brew recipe guidance). A tightly closed glass jar or bottle limits contact with air and helps retain aroma. For a warm serving, heat the diluted portion gently rather than reheating the entire stored batch. Repeated warming and cooling can flatten the flavor.
If the brew tastes gritty or bitter, change one variable at a time. A coarser grind can slow extraction and reduce sediment, while a shorter steep can limit heavy flavors. A paper-filter pass addresses texture directly. Changing the ratio, grind, and timing together makes the cause of any improvement difficult to identify.
Bringing It All Together
A balanced French press cold brew depends on three connected choices. Set the ratio around 1:8 for concentrate or near 1:14 for ready-to-drink coffee, choose a coarse grind, and use a 12 to 18 hour steep window before pressing slowly (practical ratio and method guidance).
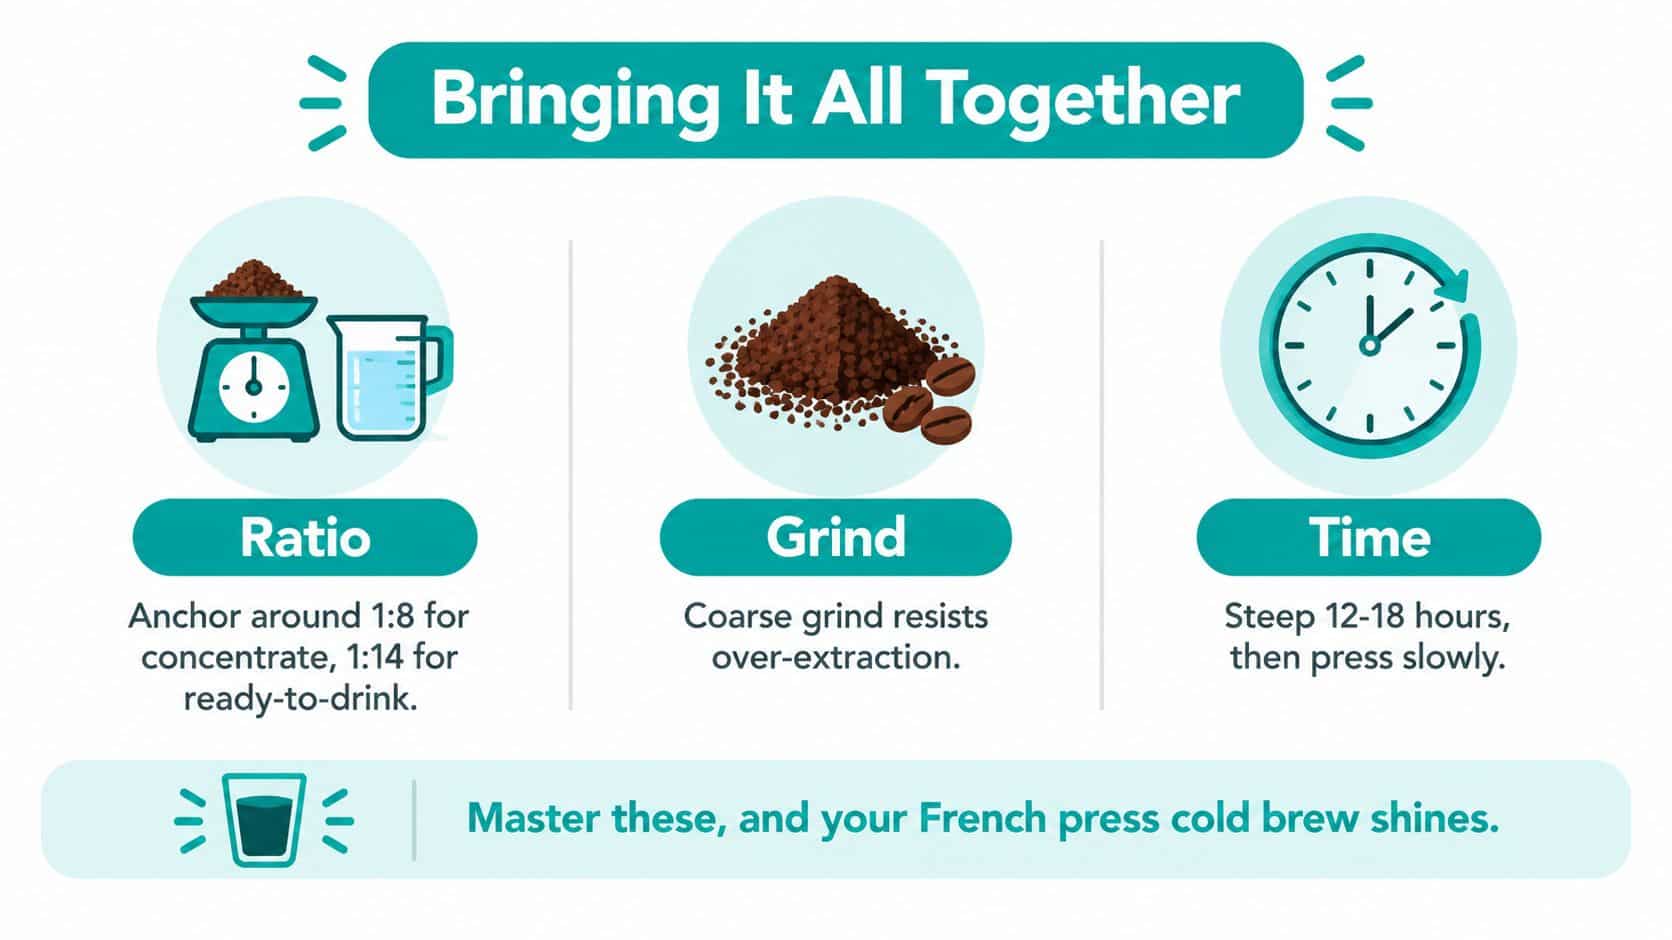
These levers interact. A finer grind changes how quickly water reaches soluble compounds, while a longer steep increases contact. Water quality, press capacity, and the container you use after brewing also shape the final experience, so keep those details consistent when comparing batches.
A well-meshed filter can reduce sediment, and a tight-fitting lid can help protect the stored brew from unwanted exposure. For broader home coffee maintenance, PureHQ Inc. offers reusable pods, water filters, cleaning tablets, descaling solutions, and other accessories for compatible coffee systems.
Visit PureHQ Inc. to explore reusable brewing accessories, filtration products, and maintenance supplies for a cleaner home coffee routine. Choose the tools that fit your setup, then put your new ratio, coarse grind, and measured steep window to work in the next French press batch.

