
Coffee Machine Care
How to Clean K Cup Coffee Makers the Right Way
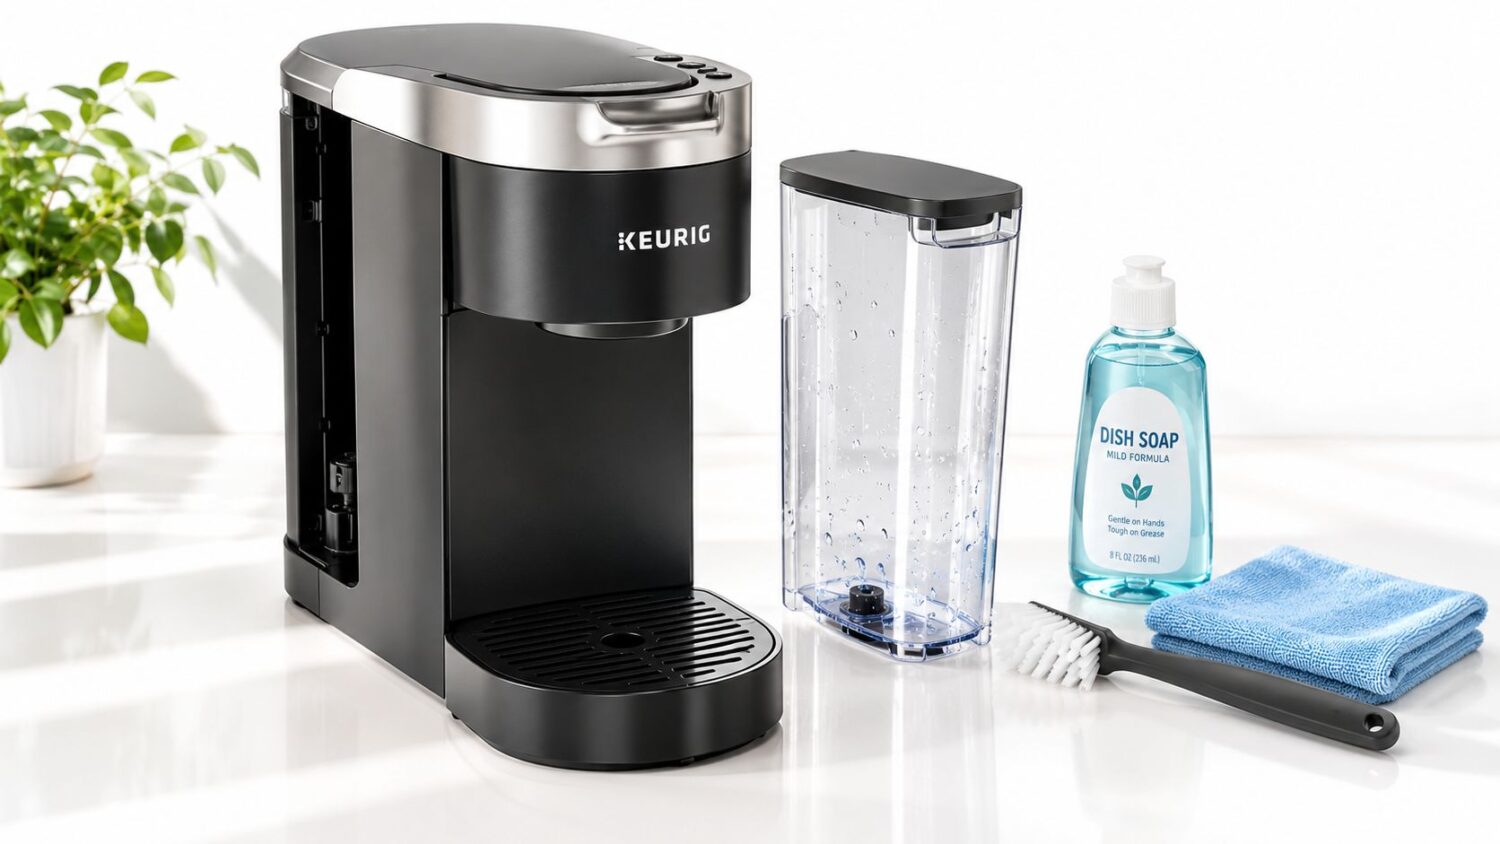
Oct
Your coffee tastes sour, the brew slows to a trickle, and you blame the pod. That's rarely the problem. Old coffee oils coat the pod path, minerals coat the heating element, and water sits warm and dark in the reservoir between brews. Learning how to clean K Cup coffee makers properly means handling all three problems separately, not wiping the outside and hoping hot water fixes the rest. The routine below fits heavily used kitchen machines and lightly used office brewers, because the deciding factors aren't model names. They're water hardness, idle time, and whether you're cleaning the parts you can't see.
Why Your K Cup Coffee Maker Deserves More Attention
A reader scenario repeats in small offices every Monday. Someone fills the reservoir on Friday, brews two cups, and leaves the rest sitting through the weekend. By the next week the water smells faintly musty, a slippery film forms on the reservoir wall, and the coffee carries a sour aftertaste no fresh pod can mask.
That film matters more than most owners realize. An NSF-related household germ study reported yeast or mold in roughly 50% of tested coffee-maker reservoirs and coliform bacteria in about 10%, findings NSF uses to identify the reservoir as a potential germ hotspot when owners don't clean it regularly. Those results came largely from conventional coffee makers, so they don't prove half of all Keurig brewers are contaminated. They do show what stagnant water and residue can support when nobody empties and washes the container.
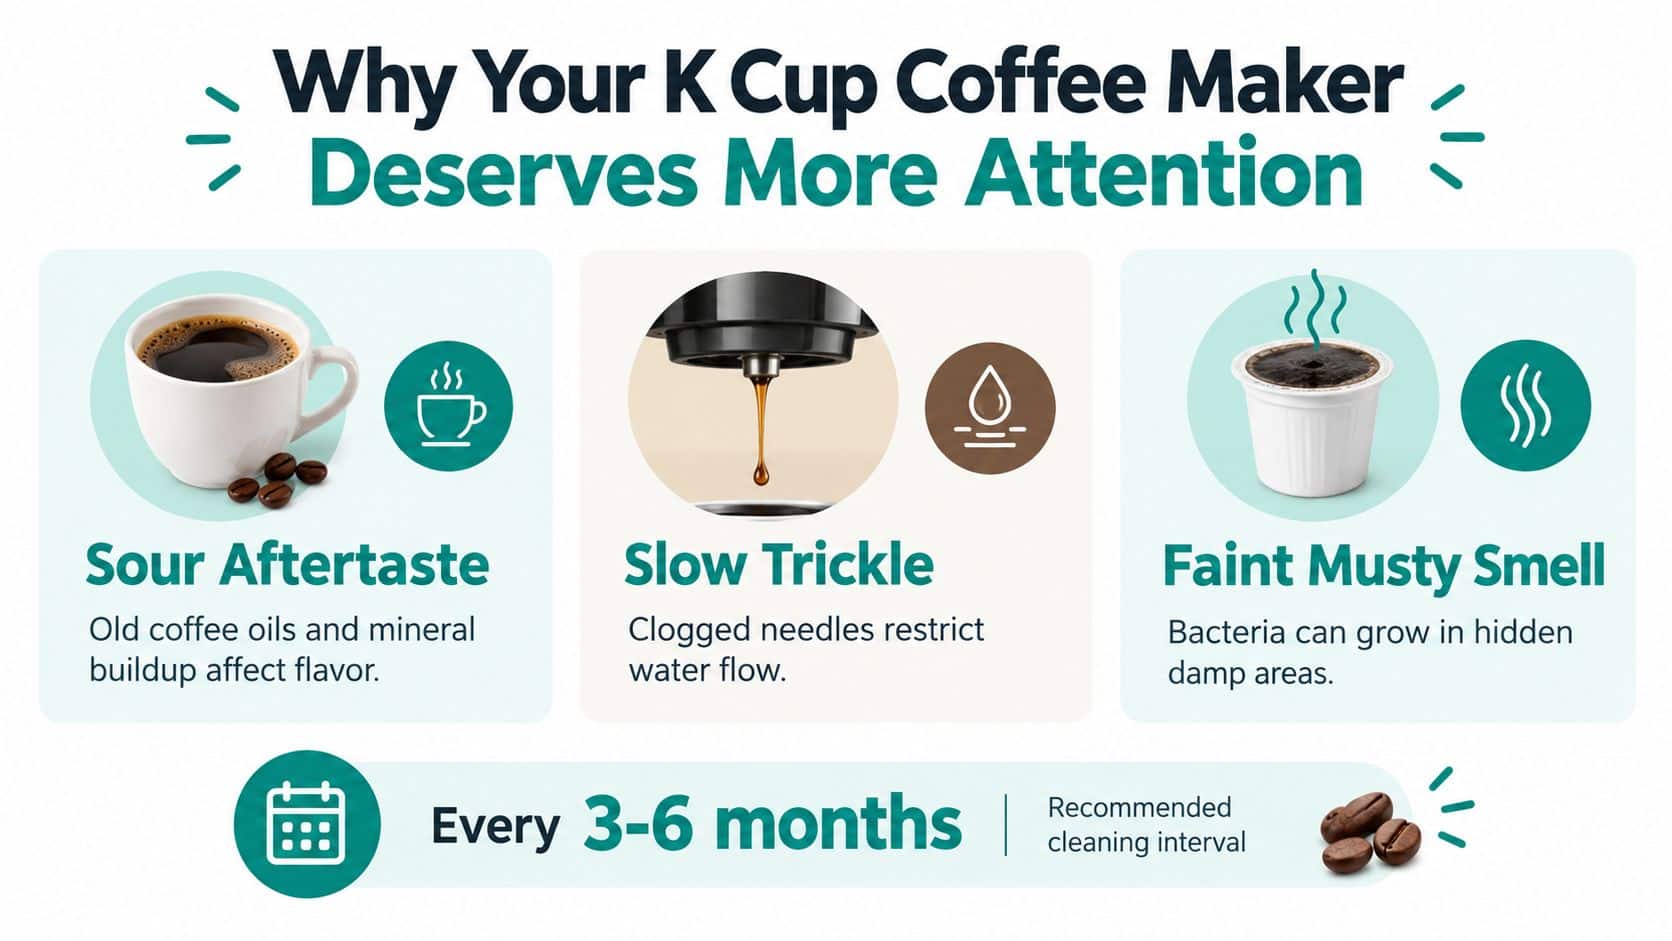
Three Problems That Need Different Fixes
Owners often treat cleaning as one job. It is three.
- Microbial growth: Standing water in the reservoir, lid, and drip tray retains moisture where yeast, mold, and bacteria can develop.
- Coffee residue: Oils and compacted grounds collect in the pod holder and around the needles, souring flavor and restricting flow.
- Mineral scale: Calcium deposits build on water-contact parts and make the brewer work harder to heat and move water.
Washing the reservoir doesn't remove scale from hidden tubing. Descaling doesn't scrub coffee oils from a reusable pod. A hot brew cycle doesn't clean a damp drip tray.
Practical rule: If you see slime, smell mustiness, or notice recurring sediment, clean now. Don't wait for a descale light to give you permission.
Machines that sit idle need special attention, because a lightly used brewer can hold the same water for days. That's the opposite of what most calendar-based advice assumes, and it's why reservoir discipline belongs at the center of your routine.
Washing the Removable Parts You Can Reach
Start with the parts your hands can reach and soap can clean. The image below shows the setup worth copying, with the brewer broken down before any water goes back in.
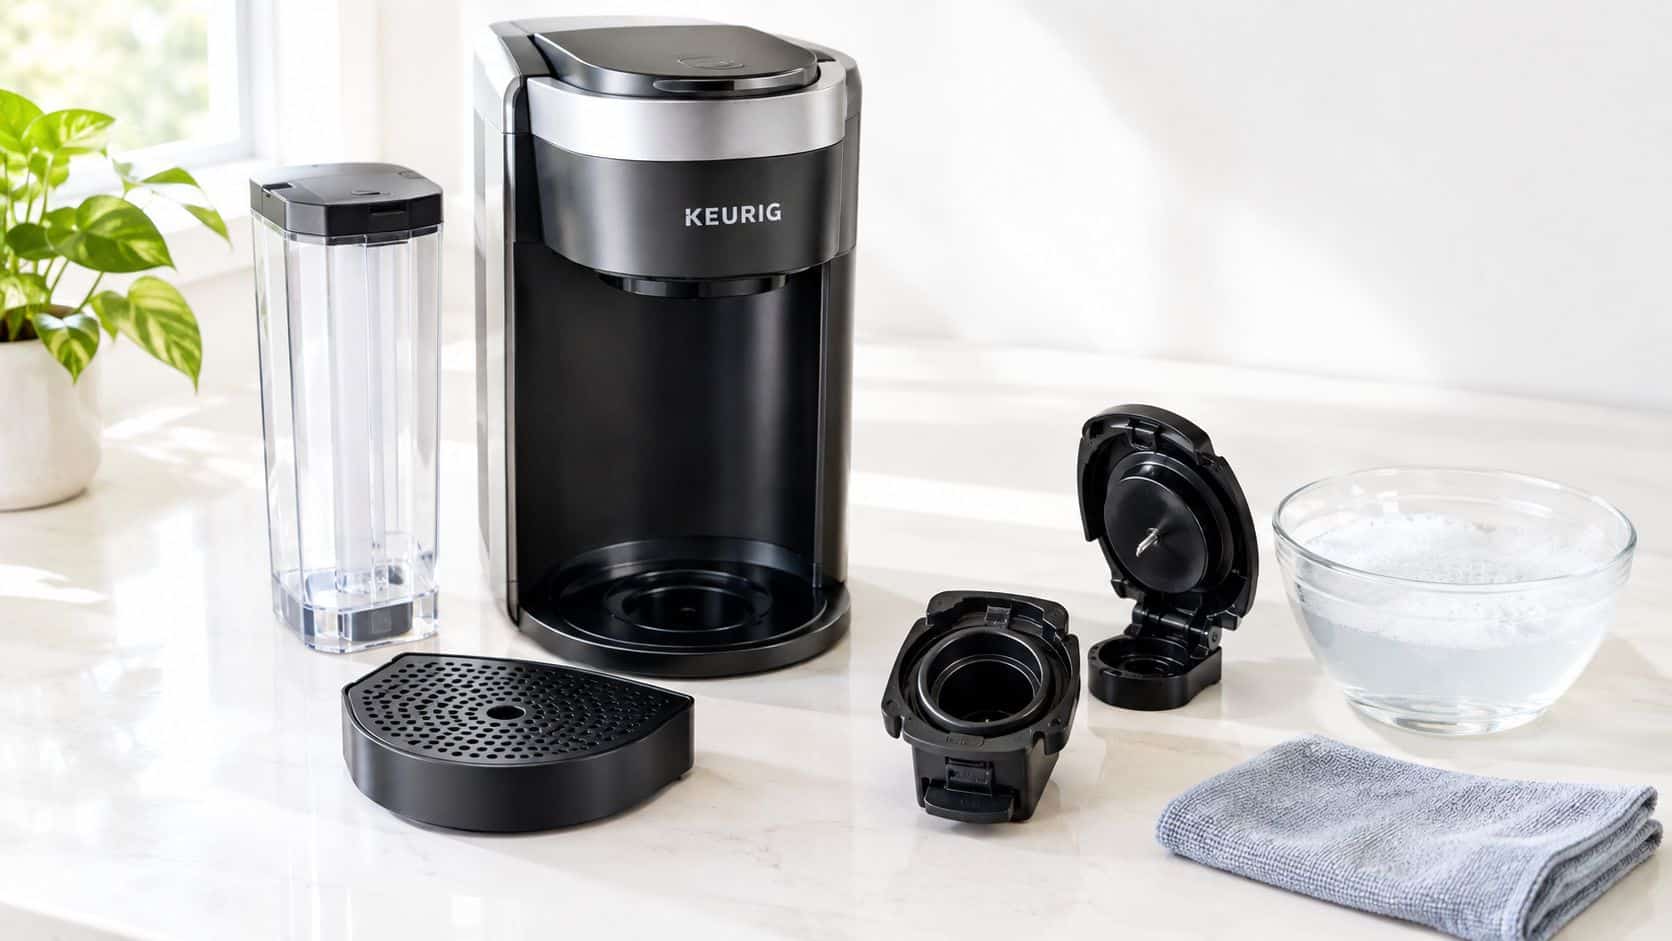
Keurig's published cleaning guidance tells owners to wash the water reservoir, lid, and drip tray with warm soapy water and to air-dry removable parts before reassembly, and to unplug the brewer and let it cool before any cleaning step. Follow that order. Unplugging first protects you and the machine, and cooling prevents burns when you handle the pod area.
The Sink Routine That Works
Remove the reservoir, lid, drip tray, and pod holder assembly. Wash each compatible part in warm water with mild dish soap, using a soft sponge or brush for corners and the reservoir outlet. Rinse until no soap film remains, because detergent residue will flavor the next cup just as surely as old coffee will.
Set everything on a clean towel and let it air-dry completely. Reassembling damp parts traps moisture against seals and in the pod holder, recreating the conditions you just removed. It's the most common reason a freshly washed machine smells stale again within days.
Owners often ask whether the dishwasher is safe. Treat hand-washing as the default unless your manual explicitly approves dishwasher use for that exact part. Repeated high heat can warp plastic reservoirs and holder assemblies, and a warped reservoir may seat poorly and leak. Hand-washing takes minutes and avoids that gamble.
The video walkthrough below shows the handling order in real time, which helps if your reservoir or tray releases differently from the model you owned before.
Once parts are dry, reassemble them, fill with fresh water, and run a pod-free cleansing brew. Discard that water. If it carries soap odor or visible particles, rinse and repeat before you brew coffee.
Cleaning the Pod Holder, Needles, and Reusable K Cup
Slow flow usually starts here, not in the pump. Each pod leaves behind fine grounds and oils, and reusable pods add loose coffee that packs around the holder and puncture points. Owners who descale faithfully still get weak, bitter cups because nobody clears this area.
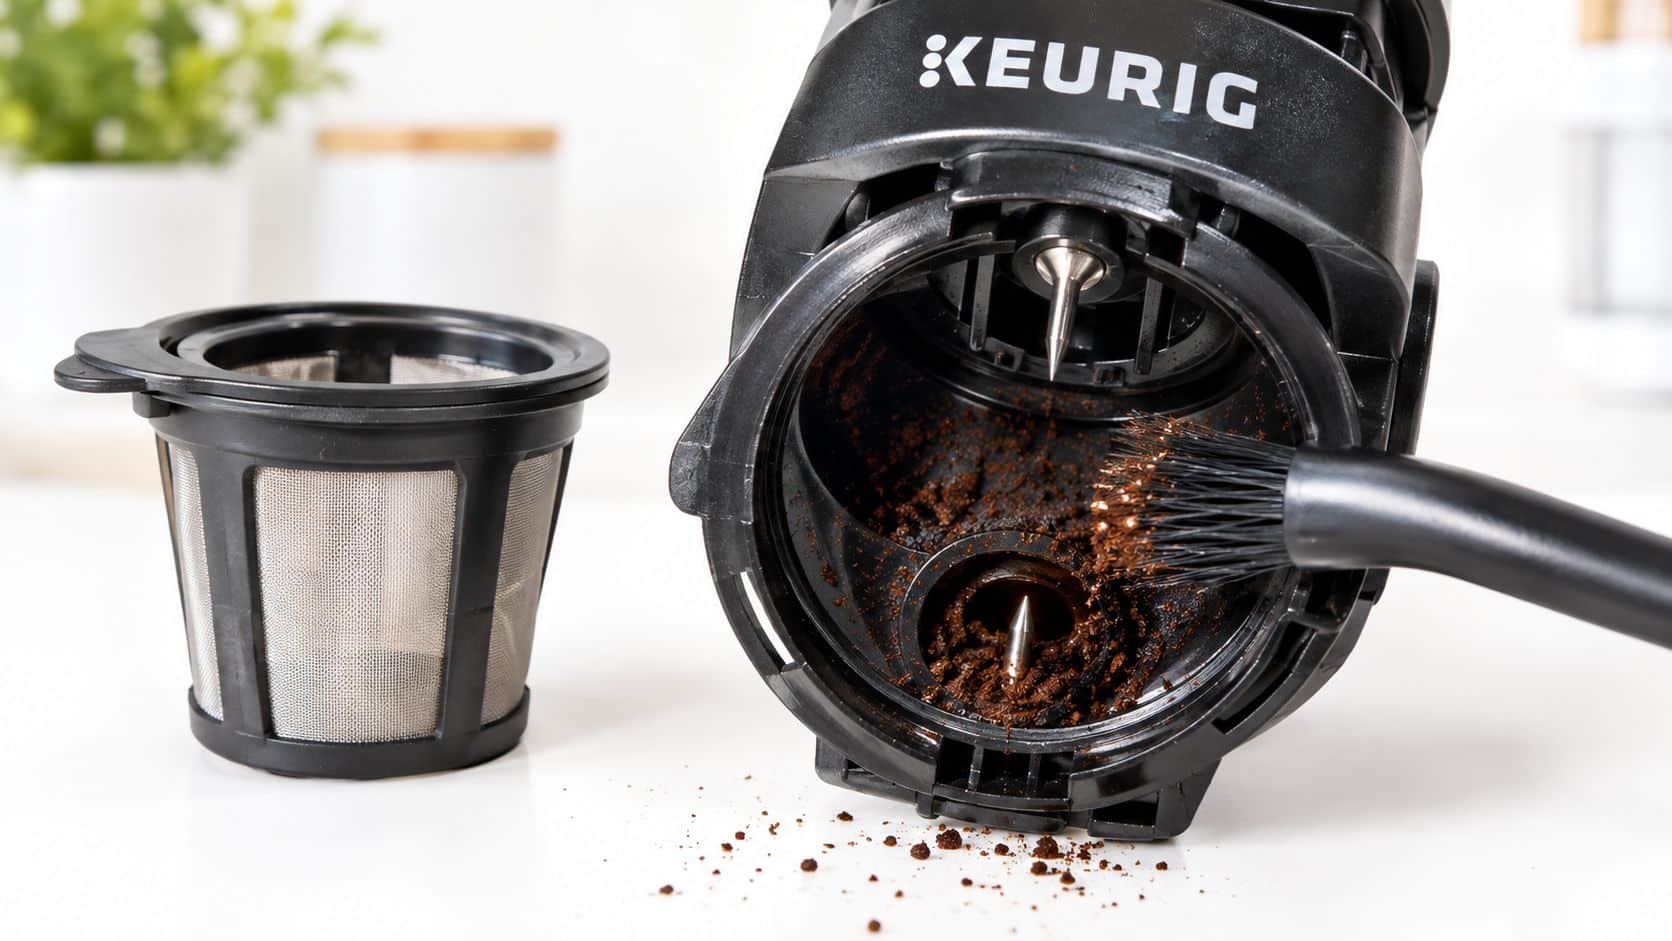
The photo below shows the kind of small-brush work that loosens residue before you rinse it away.
Clearing Needles Without Bending Them
Unplug the brewer and remove the pod holder. Keurig's cleaning documentation instructs owners to inspect the pod holder and entrance and exit needles for compacted coffee particles and to clear them only with the model-approved tool or a careful nonmetallic method to avoid damaging the puncture system.
Don't force a metal pin, knife tip, or screwdriver into the needle. Metal tools can bend or break the puncture assembly, turning a cleaning job into a parts replacement. Work gently, rinse the holder under running water, and check that water passes through freely before you reinstall it.
Reusable Pods Need Their Own Habit
Empty a reusable K Cup promptly, rinse out the grounds, and wash it with mild soap when oils build up. Never leave a damp reusable pod sitting closed in the holder between brews, because wet grounds sour quickly and transfer that smell to the brew head. If you want the detailed routine, follow this guide on cleaning reusable coffee pods so grounds and oils don't linger and match it to your pod type.
Finish with acceptance checks, not guesswork. Run water with no pod installed and confirm unobstructed flow, no visible sediment, no sour odor, and a normal brew volume. If grounds still appear in the mug, inspect the holder again before you assume the machine needs descaling.
Choosing the Right Descaler for Your Machine
Vinegar starts most arguments about descaling, and both sides oversimplify it. Vinegar can dissolve mineral deposits, but instructions differ by model and some manuals don't endorse it for current brewers. Its odor can also linger through repeated rinses, which tempts owners to stop rinsing early and drink the evidence.
A purpose-made, Keurig-compatible descaler, including the universal descaling solution from PureHQ Inc., is formulated for single-serve brewers and comes with dilution and rinse directions written for that use. That's a practical advantage, not a magic one. You still have to follow the full cycle.
Descaler Options for Keurig and Similar K-Cup Brewers
| Option | Best For | Watch Outs |
|---|---|---|
| Premium compatible descaler | Owners who want model-focused dilution and rinse guidance with less lingering odor | Confirm compatibility with your exact model and follow the label exactly |
| White vinegar | Older models whose manuals explicitly permit it | Strong odor and taste can persist, and guidance varies by model |
| Generic universal solution | Households with several small appliances | Directions may not match single-serve reservoir size or rinse needs |
The common objection is safety. Owners worry a third-party product could damage seals, void coverage, or leave residue. Check three things before you buy. The label should state compatibility with your brewer type, publish a clear rinse protocol, and avoid requiring you to guess dilution. If your manual specifies a descaler type, that instruction wins over marketing claims.
Rinse completeness separates good products from shortcuts. Keurig's descaling documentation specifies a reservoir-level dilution, a powered-on dwell of roughly 30 minutes for solution cycles, and at least 12 fresh-water rinses on certain models before the next beverage. Any option that promises a quick single rinse deserves skepticism.
For a model-by-model breakdown of ingredients, compatibility, and rinse demands, compare the options in this guide to the best descaler choices for Keurig brewers before you stock up. A compatible water filter can support taste between cycles, but it doesn't replace descaling or washing.
Running a Full Descale Without Missing a Step
Most failed descales don't fail because the solution was weak. They fail because owners skip preparation or stop rinsing while chemical taste remains. Work in order and treat scale removal and residue removal as two separate control points.
The process graphic below maps the sequence before you start emptying anything.
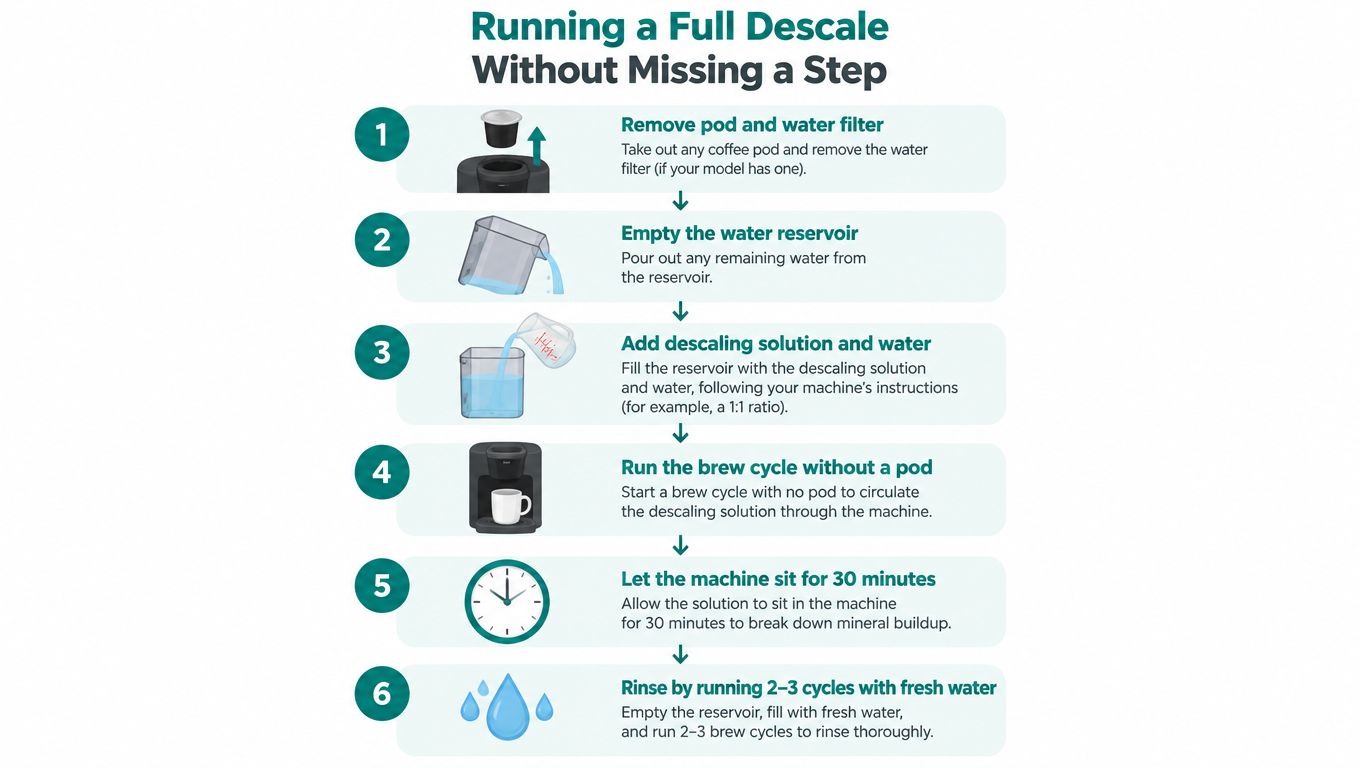
The Complete Cycle
- Remove the pod and water filter: Take out any K Cup and the charcoal filter, then empty the reservoir completely.
- Prepare the machine: Disable Auto Off if your model requires it, so the brewer stays powered during the dwell.
- Add solution correctly: Pour in the specified descaler and add water only when the product instructions call for dilution. Don't exceed the reservoir MAX line.
- Run cleansing brews: Place a large ceramic mug on the tray and run the largest hot-water cycle with no pod. Discard each mugful and repeat until the low-water indication appears.
- Let the solution dwell: Keep the brewer powered on for the dwell period covered in the descaler section above, so the solution keeps working on internal scale.
- Rinse until neutral: Empty and rinse the reservoir, refill with fresh water, and run repeated maximum-volume rinses until no odor or taste remains and any descale indicator turns off.
Leaving the charcoal filter installed is the mistake I see most often. The filter can retain descaler and release it into later cups, so the machine tastes chemical even after diligent rinsing. Remove it first, every time.
Use ceramic, never a paper cup that can soften under hot liquid. Don't brew through a pod to speed things along, and don't cut the rinse sequence short because the water looks clear. Taste and smell are your acceptance tests, along with restored flow and stable volume.
A descale is finished when plain rinse water tastes like plain water. Clear-looking water with a chemical smell means you keep rinsing.
Setting a Maintenance Schedule That Actually Fits
Calendar reminders help, but they ignore the two variables that determine buildup. Hard water loads the heating element faster, and idle time lets reservoir water stagnate. A busy family brewer and a weekend-only office machine shouldn't follow identical habits.
Keurig's manufacturer documentation places normal descaling in a 3 to 6 month range and recommends descaling roughly every 3 months for many Keurig models, with hard-water conditions requiring more frequent treatment because calcium deposits accumulate on the heating element and other internal components. Treat the shorter end as your ceiling if your kettle scales quickly.
Use Triggers Instead of Dates Alone
- Flow slows or volume drops: Inspect the needles first, then descale if the path is clear.
- The descale alert appears: Run the full cycle rather than resetting and postponing it.
- Water sits unused: Empty the reservoir, let it dry, and run a cleansing brew before the next coffee.
- Residue becomes visible: Wash the holder, tray, and reservoir that day instead of waiting for a weekly slot.
The counterintuitive case is the lightly used machine. It runs fewer cycles, so owners assume it stays cleaner, yet its water can sit warm and undisturbed for days. That brewer needs stricter reservoir discipline than a machine emptied and refilled daily through constant use.
For storage, don't seal a wet machine in a cabinet. Clean it, dry the removable parts, and follow your manual's storage guidance before and after long breaks. This usage-based view of how often to clean a coffee maker based on hardness and idle time will help you set intervals that match your kitchen rather than a generic chart.
Heat isn't a shortcut around any of this. Brewing sends hot water through the coffee path, but it doesn't scrub the reservoir walls, dry the drip tray, or dissolve established scale on its own.
Bringing It All Together and Keeping Your Brewer Happy
That last point deserves emphasis because it drives most neglect. Consumer reporting citing health experts notes that brewing heat does not replace regular cleaning and descaling, and recommends discarding unused reservoir water daily and allowing the container to dry to limit microbial growth in single-serve machines. Hot coffee in your mug doesn't mean the water path behind it is clean.
A Routine You Can Actually Repeat
Keep the plan small enough that you'll follow it on busy weeks.
- Daily: Dump unused reservoir water when the machine will sit, leave the lid open to dry, and empty the drip tray.
- Weekly: Wash the reservoir, lid, tray, and pod holder with warm soapy water, then air-dry before reassembly.
- Monthly: Inspect the holder, needles, and any reusable pod for compacted grounds, oil film, or slow flow.
- Quarterly: Descale on the interval your water hardness demands, then rinse until taste and odor are fully neutral.
Accessories support this routine when they solve a specific problem. Paper liners inside a reusable pod can make grounds disposal cleaner, and a compatible charcoal water filter can improve taste between descales. Neither item cleans the machine for you. A reusable pod still needs rinsing after use, and a filter still needs removal before descaling so it doesn't trap solution.
Judge the result in the mug and at the brew head. You want normal flow, consistent volume, no sediment, and no sour or chemical smell from a plain-water cycle. If one check fails, fix that pathway directly instead of repeating a full descale out of habit.
Consistent small habits beat occasional heroic deep cleans. Owners who manage standing water, wash the parts they can reach, clear the needles gently, and descale completely spend less time troubleshooting bad cups.
Keep your brewer on that routine with reusable K Cups, compatible water filters, paper liners, and universal descaling solution built for Keurig models including K-Classic, K-Supreme, K-Slim, and K-Duo. Shop the maintenance supplies that fit your machine at PureHQ Inc. and make your next cup taste like the coffee you bought.

