Coffee Machine Care
How to Improve Water Quality for Better Coffee
May
You buy fresh beans. You clean the grinder. You tweak grind size, water temperature, brew ratio, and still get a cup that tastes flat one day and harsh the next. That usually means the problem isn't your coffee. It's your water.
For most home brewers, how to improve water quality sounds like a municipal issue, not a kitchen issue. But the fastest way to get better-tasting coffee and protect a Keurig, Ninja, Breville, or espresso machine is often a point-of-use fix right where you brew.
Why Your Water Is Ruining Your Morning Coffee
A lot of coffee frustration starts the same way. You finally buy beans that smell amazing out of the bag, then the brewed cup tastes dull, sour, chalky, or weirdly bitter. You blame the roast, then the grinder, then the machine. Meanwhile, the actual problem is flowing straight from the tap.
Good beans can't outrun bad water
Coffee is mostly water, so poor water quality shows up in the cup fast. Chlorine can flatten flavor. Hard water can leave your coffee tasting heavy while also building scale inside the machine. Water that sits too long in a reservoir or internal line can add a stale note that makes even expensive beans taste cheap.
Most advice about water quality focuses on watersheds, septic systems, fertilizers, or stormwater. Those matter, but they don't help when you're standing in your kitchen wondering why your morning brew tastes off. The U.S. EPA's guidance on actions to protect water quality highlights practical local action, and that matters here because coffee drinkers usually have the most control at the point of use.
Practical rule: If your coffee tastes wrong across multiple beans and brew settings, stop adjusting the coffee first. Check the water.
The signs are usually easy to spot
If your brewer spits, slows down, leaves white residue, or needs repeated cleaning, minerals are probably part of the story. If the coffee smells fine but tastes muted, a taste-and-odor issue like chlorine may be the bigger culprit. If hot water looks or smells different from cold water, it's also worth learning how plumbers diagnose hot water issues because the problem may sit upstream of the coffee machine.
The broad lesson is simple. Household treatment matters when centralized systems aren't enough for your specific use, and brewing coffee is a perfect example. You don't need to overhaul the city's water supply. You need to improve the water entering your machine.
Uncovering Your Water's True Profile at Home
Before you buy a filter, descale, or switch machines, test the water you're brewing with. "Hard water" is too vague to be useful. Guessing leads people to buy the wrong cartridge, under-descale, over-descale, or chase flavor problems that were never caused by coffee in the first place.
The reason to test first is the same reason water agencies measure before acting. The U.S. EPA explains that statistically representative monitoring supports better water-quality decisions. At home, the scaled-down version of that idea is straightforward: better decisions come from better data, not guesswork.
What to test in a coffee setup
For brewing, focus on the issues that change flavor and machine health.
- Hardness: This tells you how aggressively minerals may form scale inside a brewer or espresso machine.
- TDS: A high reading can point to mineral-heavy water, while a low reading can point to water that may brew thin or oddly sharp coffee.
- Taste and odor clues: Chlorine or chloramine usually show up in flavor before the cause is widely recognized.
If you're also worried about safety rather than just taste and scale, this guide to identifying harmful bacteria in household water gives useful context on when a basic strip test isn't enough.
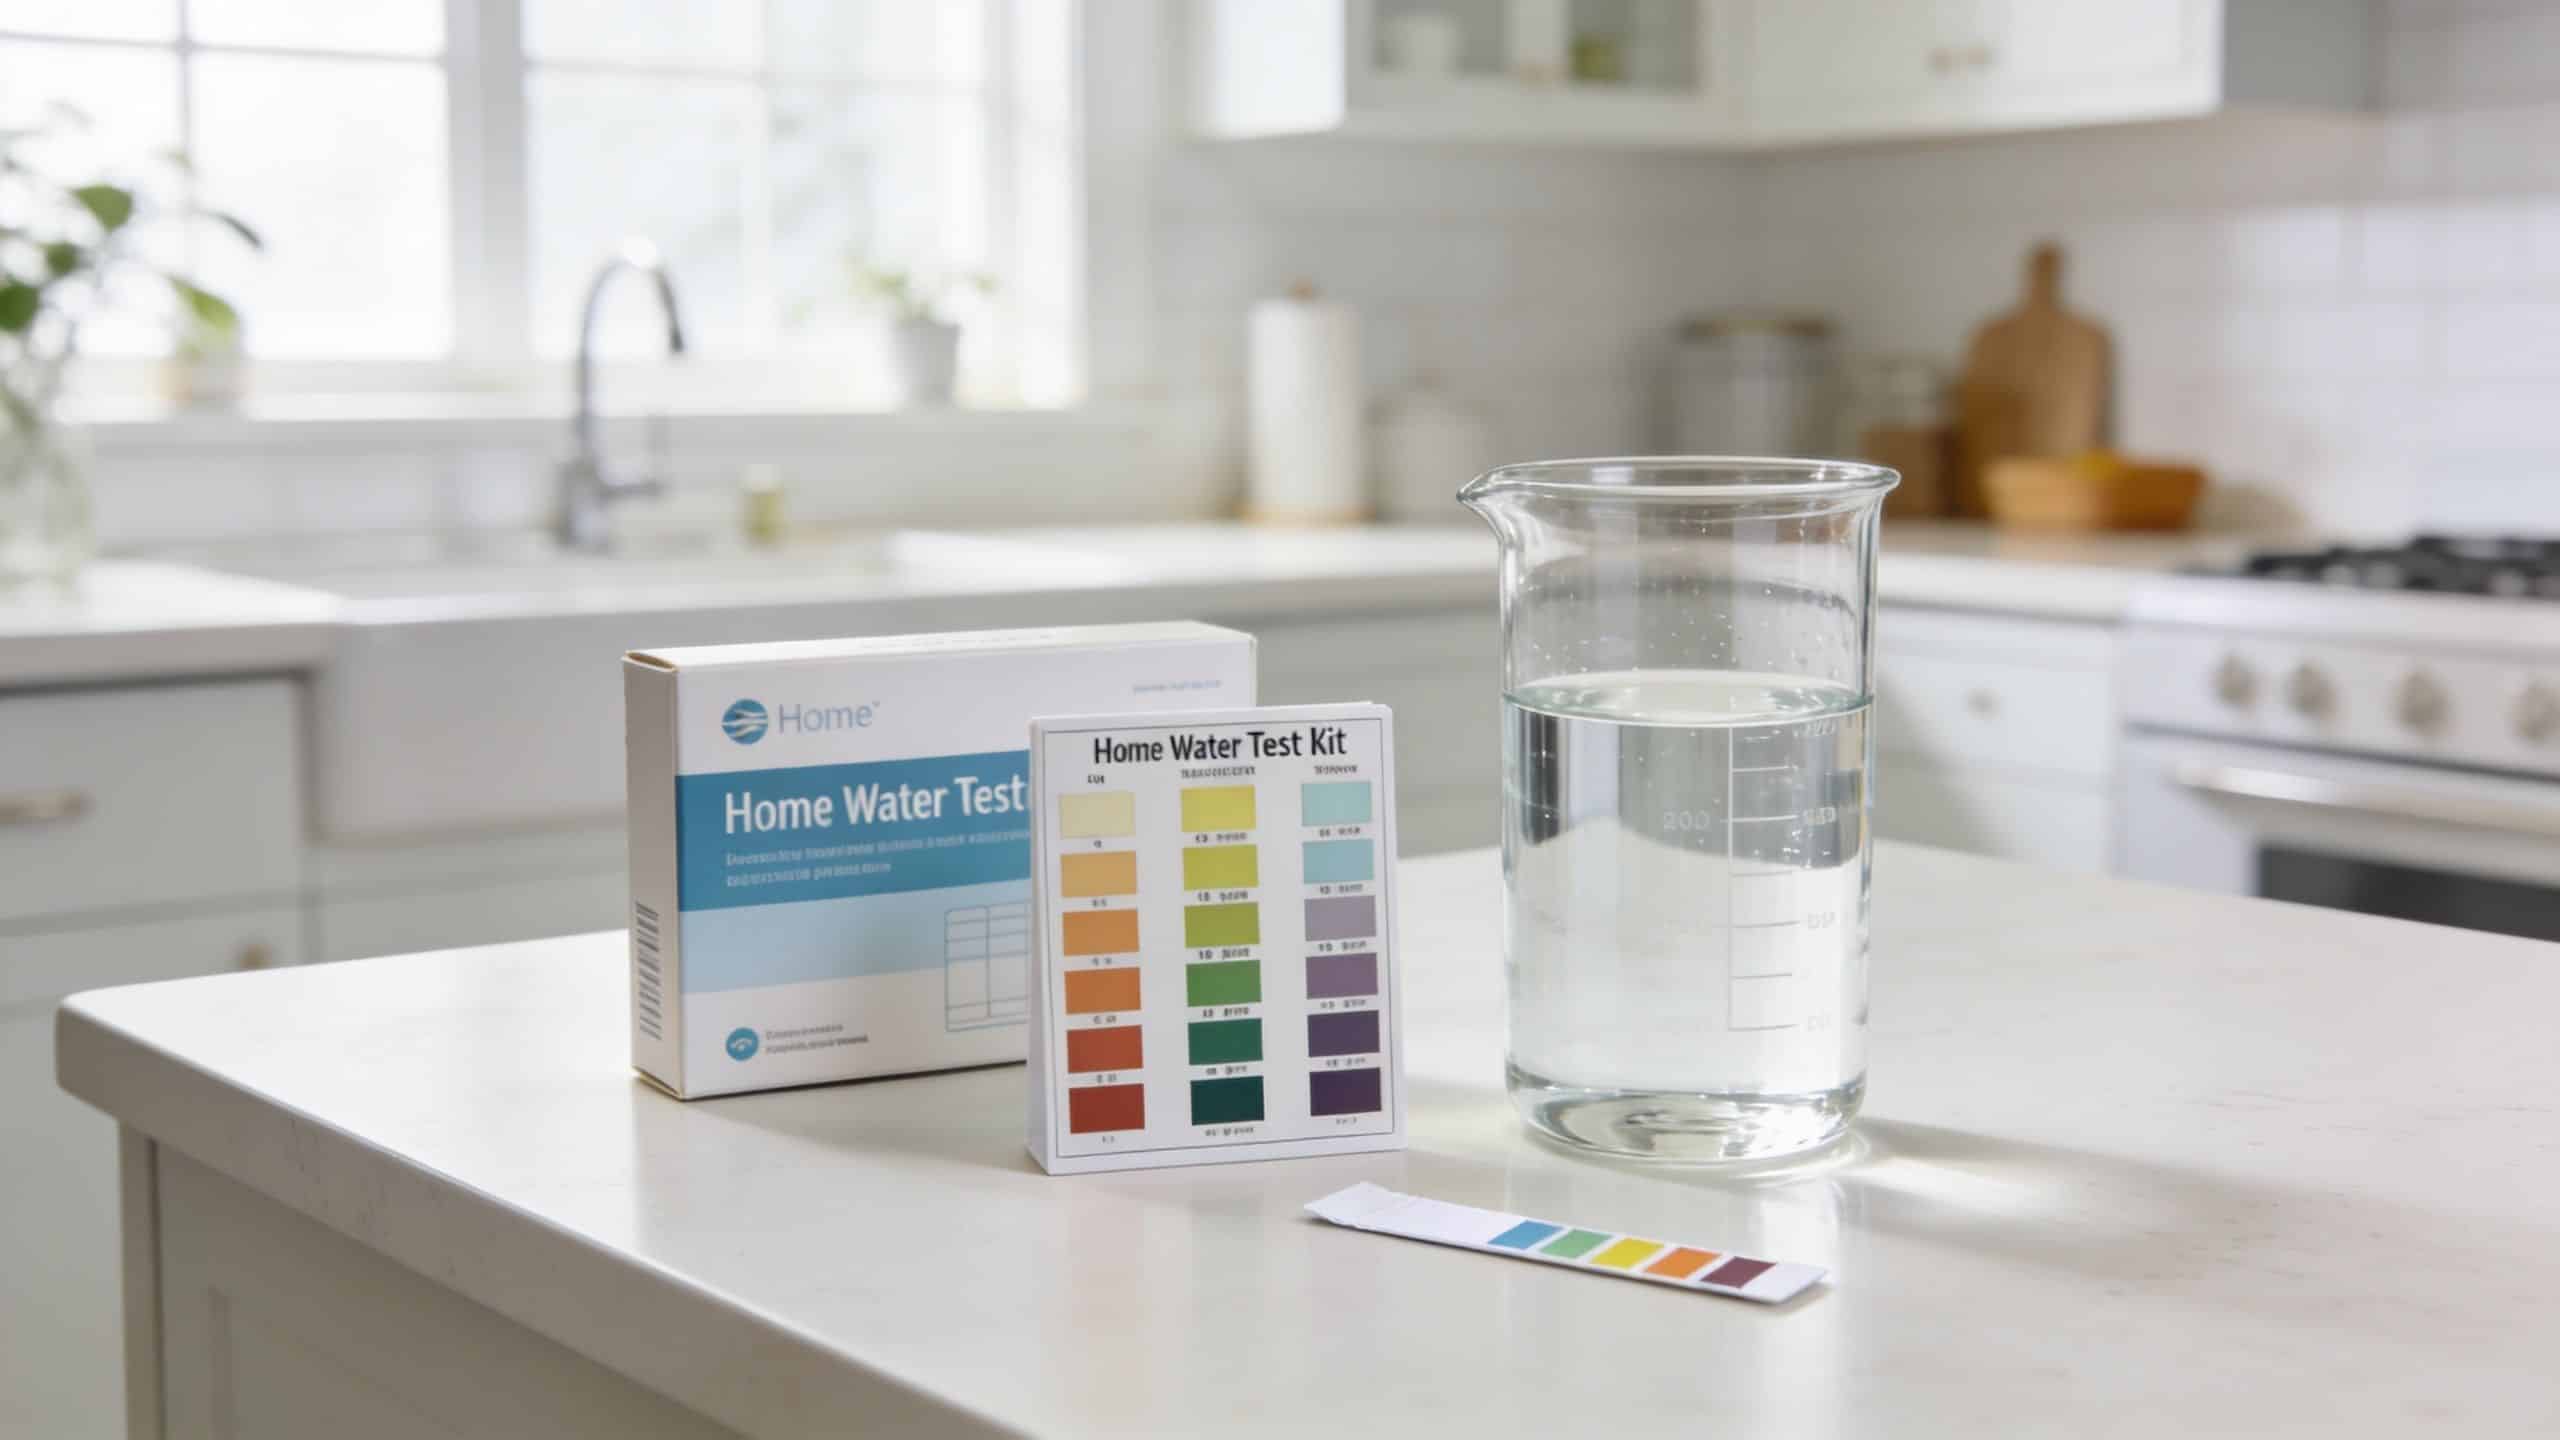
How to do a useful home test
Run cold tap water for a moment, then fill a clean glass. Test the water you'll really use. If you fill your coffee maker from a fridge dispenser, test that. If you use tap water and a built-in machine filter, test both before and after filtration on different days so you can see whether the filter is still doing anything.
A simple workflow works well:
- Test the source water from the tap or dispenser.
- Write down the result instead of trusting memory.
- Taste the water plain. If it tastes bad alone, it won't taste good in coffee.
- Match the result to the fix instead of shopping by brand name.
For a practical replacement schedule after you've identified your setup, PureHQ's guide to coffee maker water filter replacement is a useful next read.
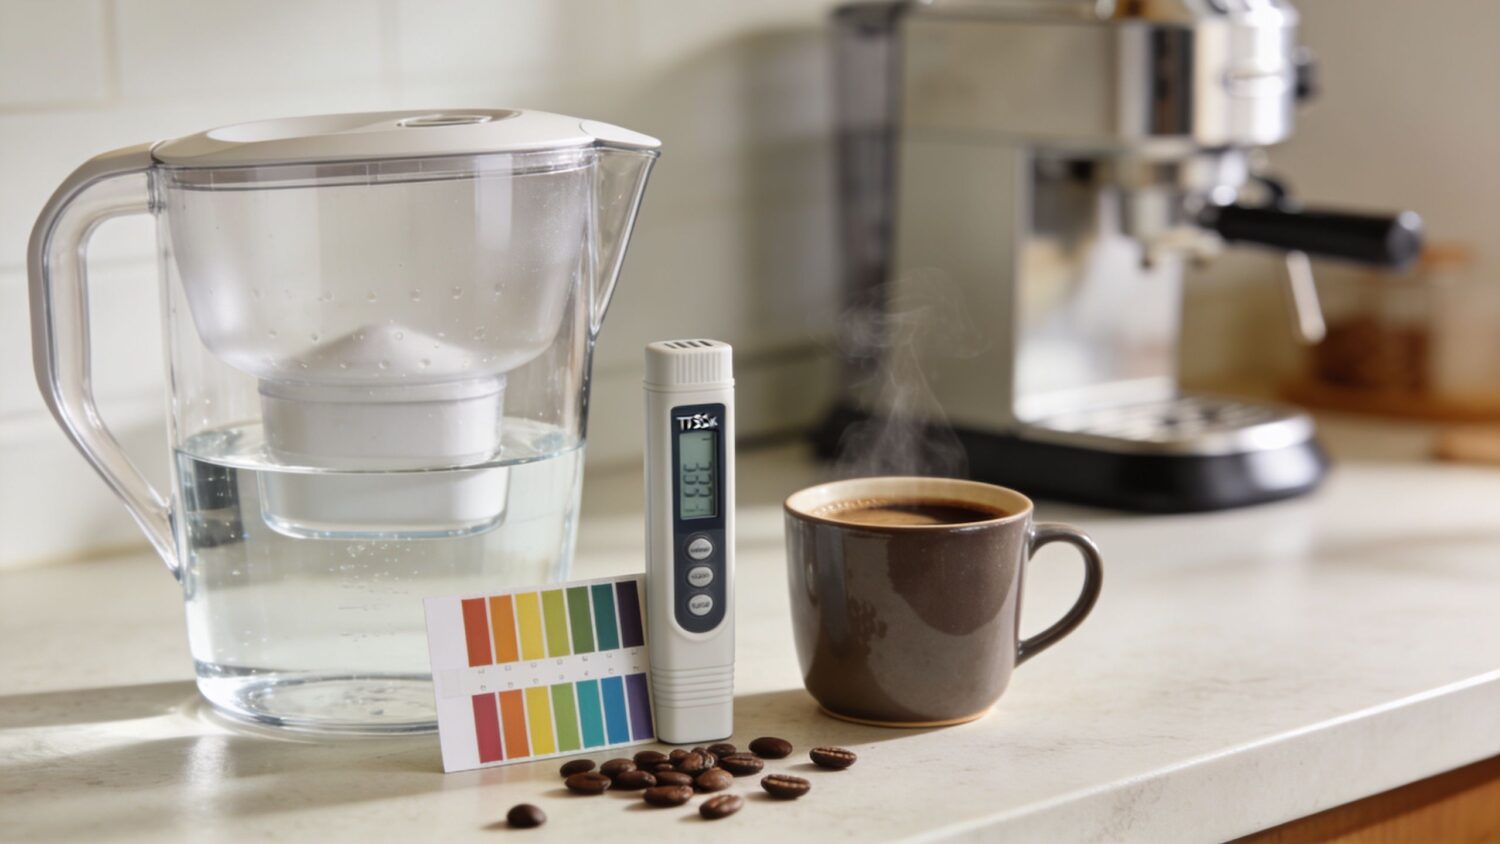
Here's a quick visual walk-through before you buy anything:
Test strips don't need to be fancy to be useful. They just need to help you stop guessing.
Choosing Your Ideal Water Filtration Method
Once you know what's in your water, the filter aisle gets a lot less confusing. The right question isn't "Which filter is popular?" It's "Which filter medium targets my actual problem?"
The logic matches modern water-quality work. The discussion of water-quality analysis tools and targeted variables points to the same principle: pick the right tool for the right problem. In a kitchen, that means activated carbon for chlorine and taste issues, and ion-exchange media for hardness and scale control.
Two filter types that matter most for coffee
Activated carbon filters are the first fix when your water smells like a swimming pool or leaves coffee tasting flat. They improve taste by targeting chlorine-related issues, and they're common in reservoir filters and pitcher-style systems.
Ion-exchange filters matter when hardness is the bigger problem. These help reduce the mineral load that creates scale inside heating elements, tubing, and brew heads. If your machine keeps needing descaling or leaves residue, this type of media deserves a close look.
Some systems combine both approaches. That's usually the most practical route for coffee drinkers because taste and scale often show up together.
Pitcher, reservoir, or dedicated machine filter
Different filter formats solve different annoyances.
| Method | Best use | Main upside | Main trade-off |
|---|---|---|---|
| Pitcher filter | General taste improvement before filling the brewer | Flexible and easy to start | May not address hardness enough for scale-heavy water |
| In-reservoir coffee maker filter | Daily convenience in Keurig or similar brewers | Water gets treated where you brew | Limited by machine compatibility |
| Espresso machine specific cartridge | Machines sensitive to scale and flavor shifts | Built for brewing equipment | Replacement fit matters more |
A generic pitcher can help a lot with taste, but it isn't automatically the right answer for hard water. If your machine is the main concern, a brewer-specific filter often makes more sense because it's designed around the reservoir and flow pattern you use.
What works and what usually disappoints
People often buy the cheapest compatible cartridge and hope for the best. That's where trouble starts. Poor fit can cause bypass, which means water slips around the media instead of through it. A loose cartridge may not leak visibly, but it can still perform badly.
For model-specific guidance beyond the basics, this overview of Northern Colorado water filters is useful for comparing broader home options with point-of-use approaches.
If you're choosing specifically for espresso gear, PureHQ's article on the best water filter for espresso machine breaks down the machine-focused side of the decision.
One product-level option in this category is PureHQ's fine-grain charcoal filters, which are designed for popular brewer models and target common taste issues associated with brew water.
If chlorine is the problem, carbon is the fix. If scale is the problem, carbon alone usually isn't enough.
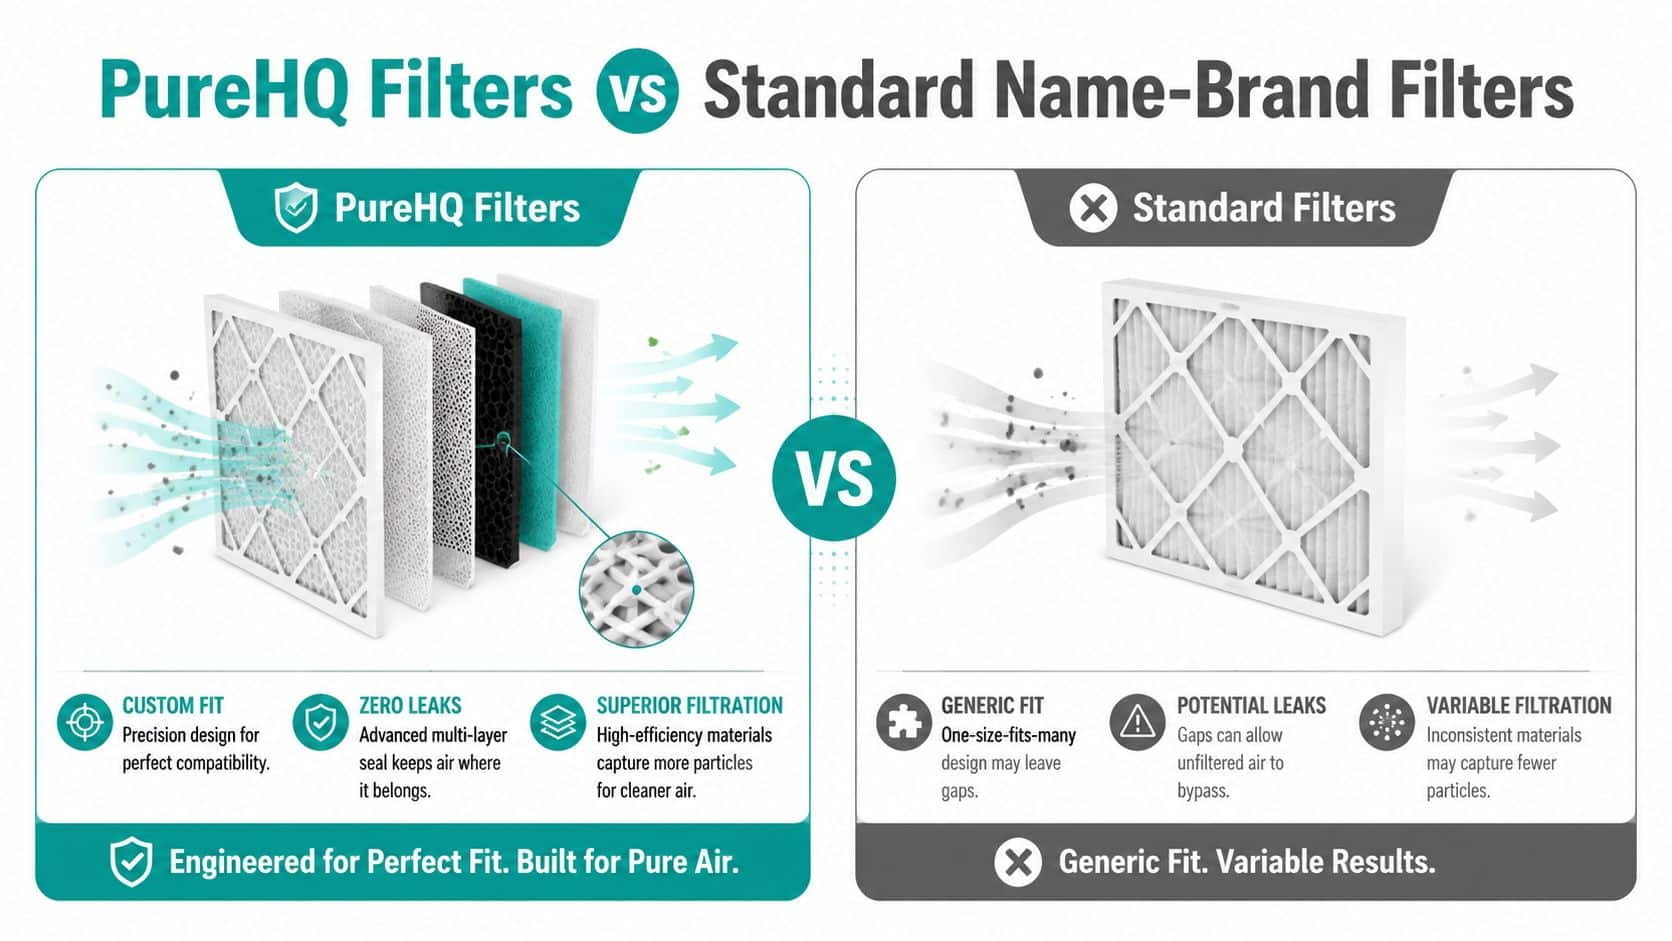
PureHQ Filters vs Standard Name-Brand Filters
A fair objection comes up here. Third-party filters can feel risky. If the fit is off, you worry about leaks, bypass, or a machine that still scales up and brews bad coffee. That's a valid concern, especially with brewers that rely on a snug cartridge fit inside a small reservoir.
Filter Comparison PureHQ vs. Standard OEM
| Feature | PureHQ Premium Filters | Standard OEM/Generic Filters |
|---|---|---|
| Filtration media | Fine-grain coconut shell charcoal | Varies by brand and generic source |
| Fit approach | Precision-molded fit for compatible brewer models | OEM fit or variable generic fit |
| Material callout | BPA-free materials | Varies by manufacturer |
| Main use case | Improving brew-water taste in compatible coffee machines | Depends on exact product |
| Compatibility confidence | Designed around named brewer families | Strong with OEM, inconsistent with some generic replacements |
| Leak and bypass concern | Lower when the cartridge matches the model correctly | Generic versions can create fit uncertainty |
| Long-term value | Often chosen for savings with machine-specific compatibility | OEM often chosen for brand familiarity |
The real question isn't OEM or third-party
The question is whether the cartridge fits the machine correctly and uses the right filtration media for your water problem. A well-made compatible filter can be a practical choice. A sloppy one wastes money and leaves you blaming the machine.
Here's the objection I hear most often: "I don't want to save a little on filters and wreck a coffee maker." That's sensible. The fix is to buy by model compatibility, media type, and construction details, not by the vague promise that a cartridge is "universal."
Look for these signs before you commit:
- Machine-specific fit: A filter should clearly state the brewer families it fits.
- Defined media: "Charcoal" is more useful when the product explains the filtration material rather than hiding behind generic wording.
- Basic material transparency: BPA-free construction and clear replacement guidance are better signs than flashy packaging.
- Reasonable support: If a seller can't answer fit questions, that's a red flag.
A standard manufacturer filter is the safe default when you want brand continuity. A strong compatible filter makes sense when it matches the machine properly and solves the same practical problem: better taste with less hassle.
Protect Your Investment with Smart Descaling
Filtration helps, but it doesn't erase the need to descale. If your water carries minerals, some of them will still end up inside the machine over time. That's where people lose good brewers. They wait for the descale light, run a random cleaner through the machine, and hope everything resets.
The better approach comes from quality-control thinking. Water-treatment guidance recommends defining the problem, using root-cause analysis, and improving the control system itself. For coffee gear, that means don't wait for a warning light. Build a preventive schedule around your water hardness and your actual usage.
A better descaling routine
If your strip test shows hard water, descale sooner and stay consistent. If your water is softer and you're filtering effectively, you can usually stretch the interval. The key is to make the schedule part of ownership, not an emergency response after flow slows down.
A simple routine works:
- Tie descaling to hardness: Harder water means you shouldn't wait for symptoms.
- Watch machine behavior: Slow flow, odd noise, and unstable brewing are cues to act.
- Keep notes: Write the date on the descaler bottle or store it in your phone.
Maintenance insight: The goal isn't to force a machine into a tighter routine than it can realistically hold. The goal is to improve the system so performance stays stable.
Skip improvised chemistry
Vinegar is the classic shortcut, but shortcuts can create their own problems. A dedicated, citric acid-based descaling solution is the safest way to dissolve minerals without harming sensitive internal components. If you want a machine-safe option and a more detailed breakdown, PureHQ's guide to the best descaler for coffee machine is worth keeping handy.
Descaling also pairs well with small maintenance items. If you're already ordering water filters, it's smart to keep descaler or cleaning tablets on hand so you don't wait until buildup is obvious.
Quick Remedies and Water Handling Tips
If you're waiting on test strips or replacement filters, you can still improve today's coffee.
The biggest quick win is operational, not chemical. A drinking-water case summary covering utility strategies noted that operational fixes such as flushing dead ends and reducing water age can resolve quality problems, and the same idea applies at home in a smaller way through distribution-system water-quality strategies. Run a fresh-water cycle before brewing if your machine has been sitting. That clears stale water from the lines and usually gives a cleaner cup.
Three fast moves that help
- Use fresh, cold water: Don't brew with water that's been sitting in the reservoir for days.
- Flush before the first cup: A plain water cycle helps if the machine sat overnight or through the weekend.
- Be careful with temporary hacks: Boiling may change taste, but it doesn't solve every brew-water issue. Diluting very hard water with a small amount of distilled water can help in some setups, but it works best as a stopgap, not a long-term plan.
The bigger pattern is simple. Test first. Match the filter to the problem. Descale on purpose, not when the machine begs for help. That's how to improve water quality in a way you can taste every morning.
If you're ready to stop guessing and make your brewer easier to live with, shop PureHQ Inc. for coffee-machine water filters, descalers, and maintenance accessories that support cleaner flavor and better machine care.
