
Coffee Machine Care
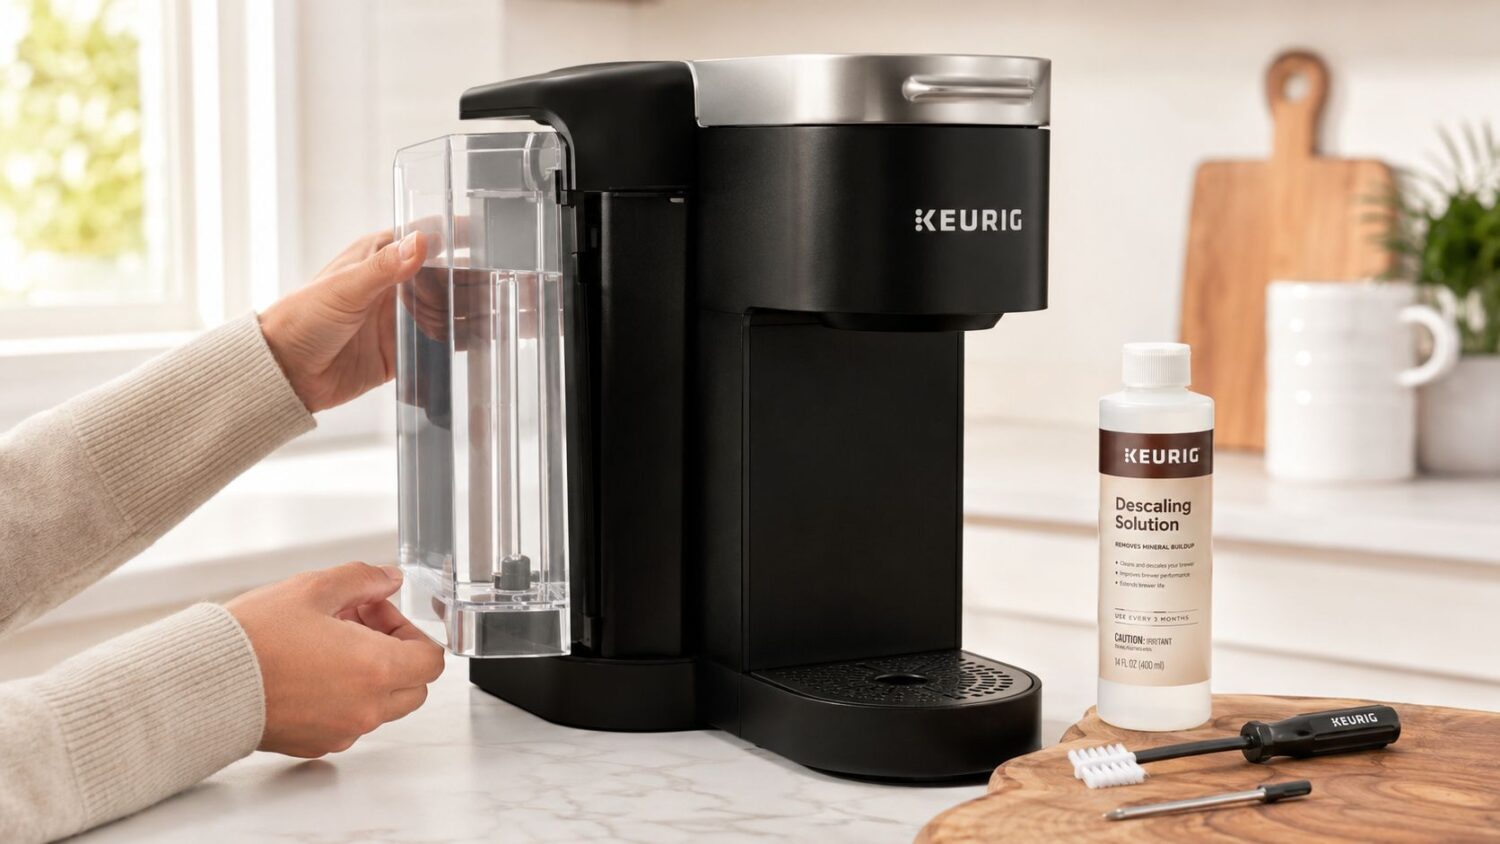
Water Level Indicator Not Working? Your Keurig Fix Guide
Jul
You fill the reservoir, set the mug down, press brew, and the machine answers with the same insult it gave you yesterday. Add Water. The tank looks full. Your cup stays empty.
That kind of water level indicator problem feels bigger than it usually is. In most Keurig-style machines, the issue isn't some mysterious board failure. It's usually a simple mechanical problem you can check at home in a few minutes.
That Morning You Dread Full Tank Empty Cup
If you own a Keurig long enough, this morning eventually happens. The reservoir is sitting there with plenty of water, the light says otherwise, and the machine refuses to cooperate when you need coffee most.
I've seen people jump straight to "the sensor is dead" or "the machine's done." Most of the time, that isn't what happened. One of the most useful troubleshooting facts is that approximately 70% of water sensor errors in Keurig machines occur due to reservoir misalignment, where the tank doesn't click securely into place and the machine can't read the water level correctly, according to this Keurig low water sensor troubleshooting write-up.

That matters because it changes how you respond. If the water level indicator says empty when the tank is full, you probably don't need a repair shop. You need to check the tank seating, the float movement, and the basic water path before you assume anything expensive.
What this usually feels like in real life
The pattern is familiar:
- You refill the tank: The machine still flashes the warning.
- You remove and replace the reservoir: It works once, then fails again.
- You tap the side or jiggle the tank: The light flickers or clears for a moment.
- You start wondering about replacement: Even though the machine brewed fine last week.
Those are classic signs of a simple fault, not a catastrophic one.
Practical rule: If your Keurig says it's out of water while the reservoir is visibly full, start with alignment and movement problems before you blame electronics.
A coffee maker's water level indicator exists for a reason. Most coffee machines use one to stop dry heating, control fill behavior, and protect internal heating parts from running without enough water, as described in this overview of liquid level sensor functions in coffee machines. When the system misreads the reservoir, the machine is trying to protect itself. It's just doing it at the wrong time.
The good news is that the fix is often boring, quick, and very doable on a kitchen counter.
How Your Keurig Actually Knows It Needs Water
A lot of people imagine a Keurig uses some complicated digital measurement system. Most don't. The basic idea is much simpler.
Keurig machines primarily detect water levels using float sensors that respond to water buoyancy, and some models use magnetic or capacitive sensing for more precise readings, as explained in this article on how Keurig detects water. That means your water level indicator often depends on a part that physically rises and falls with the water.
The simple version
Inside the reservoir or near its sensing point, a float moves as the water level changes. When water is high enough, the float reaches the position the machine expects. When water drops too low, that position changes and the machine turns on the warning.
That also explains why these faults are often mechanical.
A stuck float doesn't rise. Mineral film can slow it down. A reservoir that sits slightly crooked can put the sensing point in the wrong place. None of that requires advanced electronics to cause a problem.
Why the warning can be wrong
The machine isn't "thinking" about how much water you poured in. It only reacts to what the float or sensor position tells it at that moment. If the moving part can't move freely, the reading can stay low even when the tank is full.
Common reasons include:
- The float can't travel freely: Scale or residue can make it drag.
- The tank isn't seated correctly: The machine can't line up with the sensing area.
- The water path has trapped air: Water isn't moving where the system expects it to.
- The contact area is dirty: Some models rely on a clean interface between reservoir and machine.
The machine only knows what the sensor can report. If the float sticks, the warning light can lie.
Why this matters before you troubleshoot
Once you understand that the water level indicator is usually tied to a very basic movement or contact point, the repair gets less intimidating. You're not trying to fix a hidden computer fault. You're checking whether the reservoir sits right, whether the float moves, and whether water can travel without obstruction.
That mindset saves time.
It also keeps you from replacing a machine that may only need a cleaning and a proper reseat.
Diagnosing Why Your Water Level Indicator Is Lying
A bad water level indicator usually leaves clues. The key is to check the easy failures first, in the order they most often happen.

Start with the obvious fit issue
Take the reservoir off and put it back on slowly. Don't just drop it into place. Press until it sits flat and secure.
If you want a broader look at how these assemblies fit together, this guide to coffee maker parts helps show where the removable tank and sensor-related areas usually sit on single-serve machines.
Look for these signs:
- The tank rocks slightly: That usually means it isn't fully seated.
- The warning clears when you push on the tank: Alignment is probably your issue.
- The problem started after cleaning or refilling: The reservoir may be off by a little.
Check whether the float is physically stuck
A float problem often looks random. One brew works. The next doesn't. The warning may disappear if you move the machine or refill the tank.
Remove the reservoir and inspect the area where the float moves. You may not always see the part clearly, but you can often spot signs of scale, cloudy residue, or a piece that isn't moving naturally.
A few clues point toward mineral buildup:
- Cloudy film inside the tank
- Yellowish or white deposits near corners or seams
- A float window or chamber that looks dirty
- A machine that improved briefly after rinsing
Don't miss the airlock
This one catches people off guard because the tank can be full and properly seated, yet the machine still behaves as if it isn't getting water. Air bubbles trapped in the water line or valve can block the sensor from detecting water, and a common fix is to prime the reservoir by lifting and reseating it 2 to 3 times or pumping it up and down 20 times to push water through and clear the bubbles, based on this demonstration of the priming method.
If the machine sounds like it's trying to pull water but won't settle into a normal brew, trapped air is a strong suspect.
A quick diagnosis checklist
Use this order before you do any deep cleaning:
Power and response
Confirm the machine powers on normally and the warning is the main issue.Reservoir seating
Remove, reseat, and press the tank into position.Visible buildup
Look for scale or residue in the tank and around the float path.Prime the system
Reseat the reservoir repeatedly if an air bubble may be trapped.Reset behavior
Unplug the machine briefly and test again after reassembly.
If the light changes when you move the tank, you're usually dealing with alignment. If it changes after rinsing or tapping the reservoir, the float likely needs cleaning. If the machine acts starved for water even with a full tank, air in the line becomes more likely.
Your Practical Guide to Cleaning and Minor Repairs
Good troubleshooting gets you close. Cleaning and a few small corrections usually finish the job.

Clean the reservoir the right way
Start by unplugging the machine and removing the reservoir. Empty it fully. Rinse it with warm water and inspect the inside walls, the lower corners, and any channel where a float might travel.
Use a soft cloth or non-abrasive sponge. You're trying to remove film and scale without scratching the plastic. Scratches can trap more residue later.
Focus on:
- The bottom of the tank: Deposits settle there first.
- Any narrow side chamber: Floats often travel in these spots.
- The reservoir outlet area: Buildup there can affect water flow.
- The machine contact point: Wipe the area where the tank meets the brewer.
Free a float without forcing it
If you can see the float, check whether it moves smoothly when the tank is tilted or refilled. If it hesitates, don't jab it with anything sharp.
A safer approach works better:
- Fill the reservoir partway with warm water.
- Gently swirl to loosen residue.
- Drain and repeat.
- Use a soft cloth or soft brush on accessible areas.
- Refill and watch whether the float moves more freely.
If your machine has heavy scale, a deeper cleaning may help. Many owners use vinegar, but if you want a clearer explanation of the trade-offs, this guide on how to clean a Keurig with vinegar lays out why cleaning method matters.
Shop habit that helps: If a tank looks clean but the float still sticks, the residue is often a thin mineral film rather than visible debris.
Clear trapped air and test again
After cleaning, reinstall the tank and prime the system. Lift and reseat the reservoir a few times if you suspect an airlock. Then run a water-only cycle.
Give the machine one full test before you decide the repair failed. Some brewers need a cycle or two before the water path fully stabilizes again.
A visual walkthrough can help if you prefer to see the process in action.
When a minor repair probably isn't enough
At-home fixes work well for stuck floats, residue, poor seating, and simple airlocks. They won't solve every problem.
You may be beyond a basic repair if:
- The reservoir is cracked or warped
- The float is visibly damaged
- The warning never changes despite cleaning and priming
- The machine won't pull water at all after multiple tests
In those cases, replacement parts or a new reservoir may be the practical next step. But it makes sense to rule out the easy mechanical issues first, because those are still the most common troublemakers.
Prevent Future Failures with Better Water
A water level indicator usually stops acting up when the inside of the system stays cleaner. That's why water quality matters more than most owners think.
Hard water leaves mineral deposits behind. Those deposits don't just affect taste. They also coat reservoir surfaces, slow float movement, and interfere with the parts that need to sense water consistently.
Why prevention beats repeated troubleshooting
Manufacturers of standard single-serve coffee machines recommend descaling approximately four times a year to reduce mineral buildup that can obstruct probes and hurt sensor accuracy, according to this single-serve machine user manual. That's not cosmetic maintenance. It's sensor maintenance.
Filtered water helps because it reduces the material that turns into scale in the first place. Descaling helps because even careful owners still get buildup over time. The combination is what keeps the machine predictable.
If you're not sure whether your brewer uses a built-in filter or accepts one, this guide on whether your Keurig has a water filter is a useful starting point.
Maintenance Strategy Comparison
| Factor | PureHQ Filter + Descaler | Unfiltered Tap Water (No Maintenance) |
|---|---|---|
| Mineral buildup | Reduced with ongoing filtration and regular cleaning | Builds up faster, especially in hard water areas |
| Float movement | More likely to stay free and responsive | More likely to stick from residue |
| Water level indicator reliability | More consistent over time | More prone to false low-water warnings |
| Taste | Cleaner brewing water usually improves cup quality | Off-flavors can show up sooner |
| Owner effort | Simple routine upkeep | Repeated troubleshooting when issues appear |
| Long-term machine behavior | Better odds of steady operation | More scale-related interruptions |
The common objection
A lot of owners think filters and descaling products are optional because the machine still brews for a while without them. That's true until performance starts getting inconsistent.
The practical trade-off isn't "buy maintenance items or don't." It's this:
- Use better water and clean on schedule: Fewer annoying warning lights and less scale.
- Ignore water quality: More stuck parts, more false warnings, and more time spent trying to coax one more brew out of the machine.
If you're already cleaning a stubborn reservoir, it makes sense to keep a filter and descaler on hand. They solve different parts of the same problem. One reduces what enters the machine. The other removes what still accumulates.
Frequently Asked Questions About Water Level Indicators
Why is the Add Water light still on after I cleaned everything
Check the reservoir seating again and run a water-only cycle after reassembly. If the warning changes when you press on the tank, alignment is still the likely culprit. If the machine sounds like it's struggling to draw water, try the priming method again because trapped air can linger after cleaning.
Is vinegar okay for every descaling job
A lot of owners use it, but it isn't always the best choice for every machine or every buildup pattern. If you're trying to protect seals, internal passages, and coffee taste, a descaling product made for brewers is usually the safer route.
Can I reset the machine
Many models respond to a simple hard reset. Unplug the brewer, wait briefly, reconnect it, then reinstall the reservoir and test a brew cycle. That won't free a stuck float, but it can clear a temporary logic issue after you've fixed the physical problem.
What if I live in a hard water area
Then prevention matters more, not less. If your local supply leaves frequent scale in kettles, taps, or showerheads, your coffee machine is dealing with the same minerals. Homeowners dealing with limescale problems may also want to look at broader solutions for Eastbourne hard water when appliance buildup keeps coming back.
When should I stop troubleshooting and replace parts
If the reservoir is warped, cracked, or the float assembly is visibly damaged, cleaning won't restore normal operation. The same goes for a machine that still won't detect water after repeated seating, cleaning, priming, and reset attempts.
Water level indicator problems are frustrating because they stop the whole brew process. The upside is that most of the common failures are simple. Start with fit, movement, and buildup. That's where the main fixes usually are.
Protect your brewer before the next false low-water warning starts. Shop PureHQ Inc. for coffee machine water filters, reusable pods, and descaling solutions that help Keurig and other home brewers stay clean, reliable, and ready for the next cup.


Pingback: Water in Keurig Not Coming Out: Quick Fixes That Work