Reusable K-Cups
Finally, a Reusable K-Cup That Actually Fits the Keurig K-Mini (Tested & Verified)
May
Finding a reusable K-cup for the Keurig K-Mini that actually works is harder than it should be — and most people only discover why after ordering one that doesn't fit.
The K-Mini has a narrower cup holder than every other Keurig model. Drop in a standard reusable pod and the lid won't fully close. You're left with a machine that won't brew, grounds everywhere, or a weak incomplete cup that leaves you wondering what went wrong. Even Keurig's own My K-Cup Universal Filter gets complaints from K-Mini owners for this exact reason.
We tested multiple reusable K-cups in a K-Mini. Here's what actually works — and why.
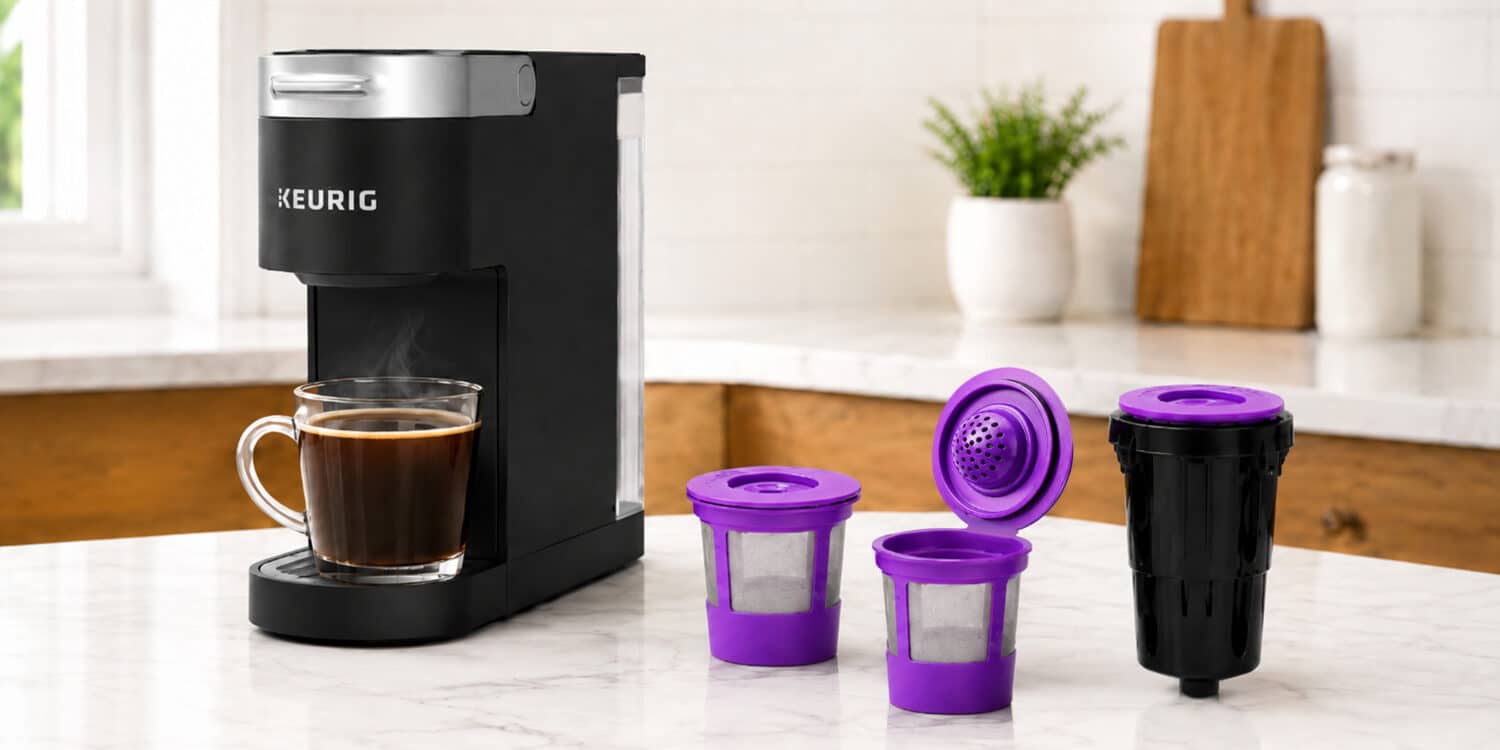
Finally — a Reusable K-Cup That Actually Fits
Includes the replacement adapter your K-Mini may require. Most pods don't come with this.
Why Some K-Mini Models Need a Special Adapter

Keurig designed the K-Mini to be their most compact single-serve brewer. To hit that size, the K-Mini's cup holder sits at a different depth than every other Keurig model. In many units, when you drop a standard reusable K-cup in without the right adapter, the pod sticks up too high — and the lid simply cannot close over it.
That's the whole problem. No lid closure, no brew. You're left standing there pushing down on the handle wondering what you're doing wrong — when the real issue is just that the pod is sitting too tall inside the machine.
This is why even Keurig's own My K-Cup Universal Reusable Filter generates complaints from K-Mini owners — it doesn't account for the K-Mini's cup holder depth and doesn't include an adapter. The PureHQ K-Mini pack comes with the replacement adapter in the box so you're covered either way.
Setting It Up — 60 Seconds, No Tools
-
Try your existing adapter first. Drop the reusable K-cup into the cup holder as-is. Close the lid gently — if it closes smoothly with no resistance, brew as normal. You may not need to swap anything.
-
If the lid won't close — swap the adapter. Open the K-Mini lid and remove the existing cup holder adapter. It pulls straight out — no twisting or tools required.
-
Snap in the PureHQ replacement adapter. It fits into the same slot and clicks into place exactly like the original.
-
Fill the reusable K-cup with medium-grind coffee to the max line — about two-thirds full. Don't pack the grounds down tightly.
-
Close the lid — it should close smoothly with no resistance. If it still feels like you're forcing it, check the adapter is fully seated.
-
Brew on any size setting. 6oz or 8oz produces the strongest cup. 12oz can come out watery with a reusable pod.

⚠️ Getting leaks with the original adapter?
If you've tried the pod with your existing holder and you're getting leaks or overflow — swap in the PureHQ replacement adapter. This fixes the fit for units where the cup holder depth is slightly shallower. The adapter is included in every PureHQ K-Mini pack for exactly this reason.
Compatible Models — What Fits What
The adapter included in PureHQ's K-Mini pack covers the entire K-Mini family. The K-Express and K-Iced don't need the adapter swap — the standard pod fits those models directly.
| Model | Compatible | Adapter May Be Needed? | Notes |
|---|---|---|---|
| Keurig K-Mini | ✓ Yes | Try first — swap if lid won't close | Varies by manufacturing batch |
| Keurig K-Mini Plus | ✓ Yes | Try first — swap if lid won't close | Same cup holder as K-Mini |
| Keurig K-Mini Go | ✓ Yes | Try first — swap if lid won't close | Same cup holder as K-Mini |
| Keurig K-Express | ✓ Yes | No adapter needed | Standard fit — pod seats directly |
| Keurig K-Iced | ✓ Yes | No adapter needed | Standard fit — pod seats directly |
| Keurig K-Supreme / K-Slim | ✗ No | — | MultiStream — requires a different product |
Model-Specific Setup Notes
The process is the same across all K-Mini models — try with the existing adapter first, swap if needed. Here are the specifics for each variant:
Keurig K-Mini Setup
The original K-Mini — the most common model. Try the pod with your existing holder first. If the lid won't close or you get leaks, the existing adapter pulls straight out from the top of the cup holder compartment.
- Try pod with existing adapter — brew if lid closes smoothly
- If not: open lid, pull out the existing adapter
- Press the PureHQ adapter into the slot until it clicks
- Fill pod with medium-grind coffee, close lid, brew
Keurig K-Mini Plus Setup
The K-Mini Plus adds a removable reservoir and cord storage. The cup holder mechanism is identical to the standard K-Mini — same try-first approach applies.
- Try pod with existing adapter — brew if lid closes smoothly
- If not: open lid, remove existing adapter, snap in PureHQ replacement
- Brew as normal — the removable reservoir makes refilling easier between cups
Keurig K-Mini Go Setup
The K-Mini Go is battery-powered for portability. The cup holder is the same design as other K-Mini models — try first before swapping.
- Try pod with existing adapter — brew if lid closes smoothly
- If not: open lid, remove existing adapter, snap in PureHQ replacement
- Fill only to the 6oz mark — the smaller reservoir means less water capacity per fill
Tips for the Best Brew with Your Keurig K-Mini Reusable K-Cup
- Use medium grind. Fine grinds clog the mesh filter and cause overflow. Coarse grinds produce weak, under-extracted coffee. Most grocery store pre-ground coffee is medium grind and works perfectly.
- Fill to the max line only. Overfilling restricts water flow through the grounds. Two-thirds full is the sweet spot for most reusable K-cups.
- Brew at 6oz or 8oz. The 12oz setting pushes more water through less coffee — the result is watery. Smaller brew sizes give you stronger, better-tasting coffee from a reusable pod.
- Rinse immediately after brewing. Tap out the grounds while wet, rinse the mesh filter under warm running water, let air dry. Ten seconds of maintenance keeps the filter clean and performing well long-term.
- Use a paper filter for zero sediment. Drop one disposable paper filter inside the reusable K-cup before adding coffee. You get a cleaner, sediment-free cup without any extra waste.
Troubleshooting — Common Keurig K-Mini Reusable K-Cup Issues
| Problem | Most Likely Cause | Fix |
|---|---|---|
| Lid won't close with existing adapter | Cup holder depth on your unit needs the replacement adapter | Swap in the PureHQ replacement adapter — it lowers the pod to the correct height |
| Coffee leaking or overflowing | Pod overfilled, or existing adapter needs replacing | First reduce coffee to two-thirds capacity; if leaks persist, swap the adapter |
| Weak or watery coffee | Too coarse a grind, or brew size too large | Switch to medium grind; brew at 6oz or 8oz instead of 12oz |
| Grounds in the cup | Grind too fine — passes through the mesh | Switch to a coarser grind, or add a paper filter inside the reusable pod |
| Machine won't start brew cycle | Lid not fully closed | Remove pod, try with replacement adapter, close lid firmly until it clicks |
Keeping Your K-Mini in Top Shape
Switching to reusable pods saves money — but the K-Mini's small reservoir means mineral buildup happens faster than in larger Keurig models. Staying on top of descaling keeps your coffee tasting clean and your machine running properly.
- Descale every 3 months with tap water, every 6 months with filtered water. The K-Mini's compact design means scale accumulates quickly in the heating element.
- Use a Keurig water filter — it removes minerals before they enter the machine, extending the time between descaling cycles and improving coffee taste.
- Clean the pod needle monthly — use a paperclip to gently clear the needle inside the cup holder. Coffee oils and grounds build up on the needle and can affect extraction over time.
- Empty the reservoir when not in use — standing water promotes mineral deposits inside the tank and internal lines.
⚠️ Descale light won't turn off?
Vinegar often fails to trigger the machine's sensors properly. Use a purpose-made descaling solution to clear the light and protect your brewer. We've written a complete guide to the Keurig descale light covering every K-Mini model.
The Math That'll Make You Feel Silly for Waiting This Long
Let's be honest — most of us know reusable pods are the smarter move, but we keep buying disposable ones anyway. The convenience trap is real. You're tired, it's 7am, and the last thing you want is to think about switching anything.
But here's the number that might actually change your morning routine forever:
A box of 24 name-brand K-Cups runs about $16–$20, which works out to roughly $0.70–$0.83 per cup. If you brew two cups a day — which is pretty average for a K-Mini owner — that's about $500 a year on pods alone.
PureHQ's reusable K-cups cost less than most people spend on coffee pods in a single week. A bag of decent ground coffee runs about $10–$15 and makes 40–60 cups — roughly $0.20–$0.30 per cup. Two cups a day at that rate? Under $150 a year. The pods pay for themselves in about 10 days.
The coffee doesn't get worse. Most people find it gets better — because you're finally using the beans you actually like instead of whatever happened to be on sale in pod form.
Which Should You Get — the 3-Pack or Stainless Steel?
Honestly? Both are great choices for your Keurig K-Mini reusable K-cup setup — it comes down to where you are in your reusable pod journey.
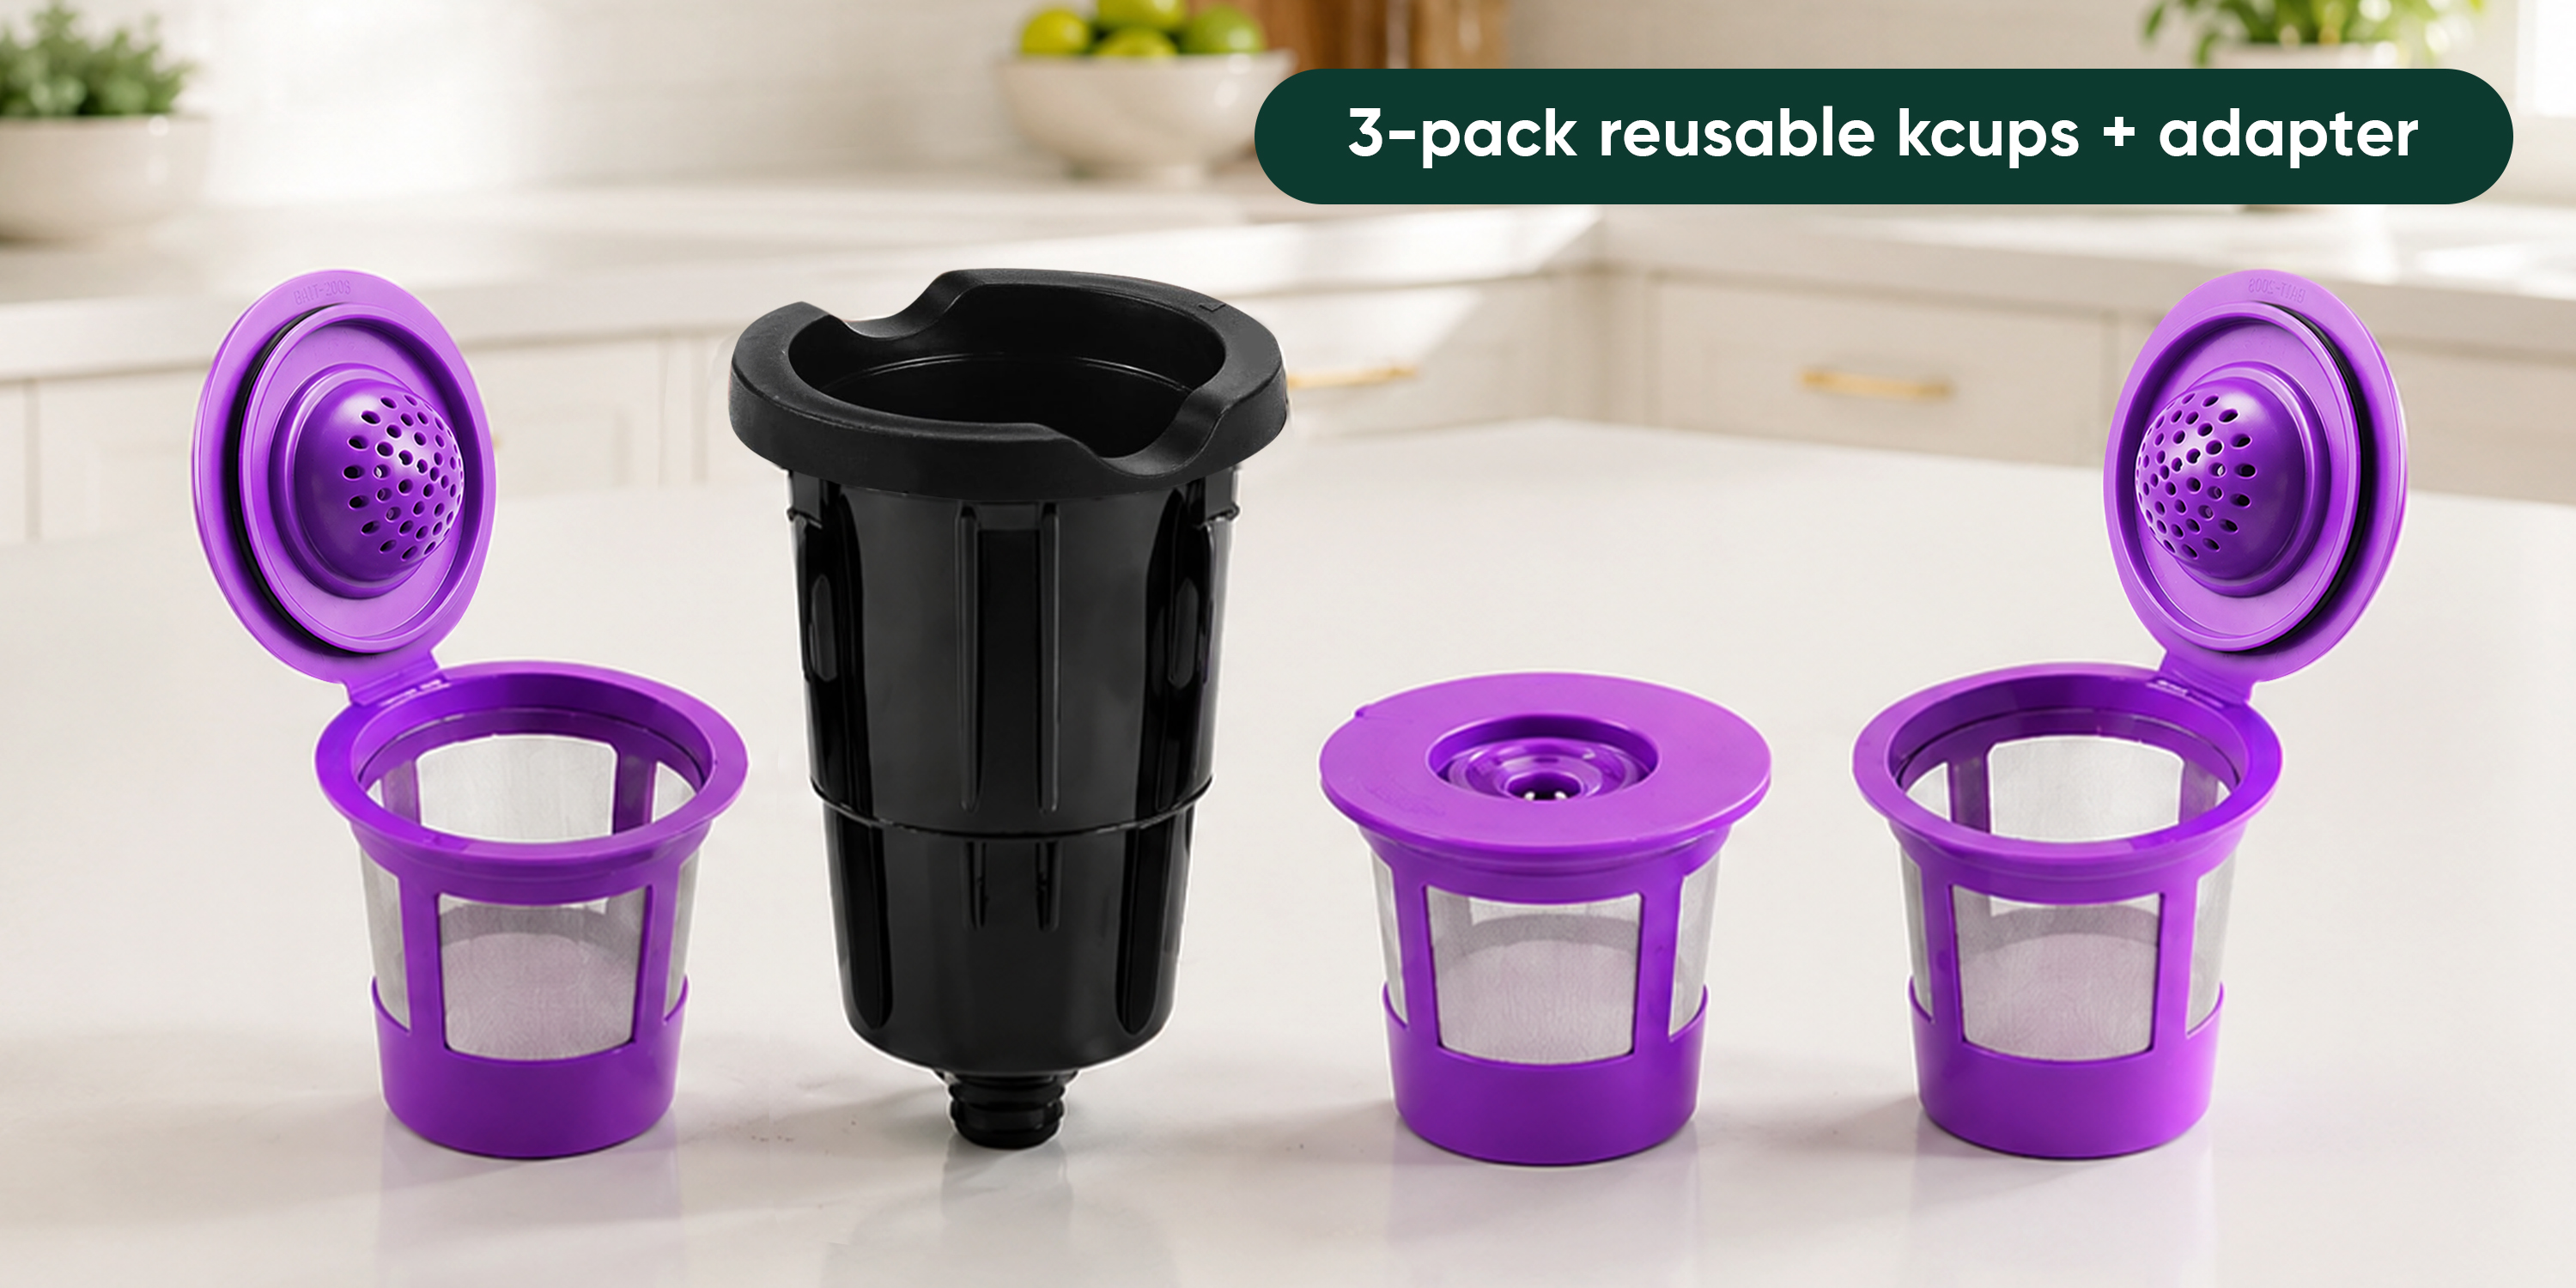
The BPA-free 3-pack with adapter is what most K-Mini owners start with. It comes with the replacement adapter already in the box, gives you three pods for rotation, and is made from food-grade, BPA-free materials that hold up well to daily brewing. Easy to fill, easy to rinse, easy to love. If you're switching from disposable pods for the first time, this is the right starting point.
The stainless steel 2-pack is for owners who've already made up their minds and want a long-term investment. Food-grade 304 stainless steel is completely inert — it doesn't absorb coffee oils or odours over time, so your hundredth cup tastes as clean as your first. Buy it once and never think about it again.
The Moment It All Clicks (Literally)
We hear some version of this story constantly — and it never gets old.
Someone orders a reusable K-cup for their K-Mini. It arrives. They try to use it. The lid won't close. They force it. They're annoyed, it's before 8am, and they're Googling "why won't my reusable K-cup close" while the coffee maker sits there, unhelpfully silent.
Then they find the answer: the adapter. They swap it out — literally 30 seconds, no tools — and try again. The lid closes smoothly. The machine starts. Coffee comes out exactly like it's supposed to. And there's this small but genuinely satisfying moment of oh — that's all it was.
That's what we aimed for with the K-Mini pack. A reusable K-cup for the Keurig K-Mini that actually does what it's supposed to — fits properly, brews well, and gets out of the way so you can enjoy your coffee and get on with your morning.
Because that's all it should ever be, really — a good cup of coffee, made simply, without the fuss.
Frequently Asked Questions

Stop Wasting Money on Pods You Don't Need
PureHQ's K-Mini pack includes the replacement adapter — so you're covered whether your unit needs it or not.
See all K-Mini compatible products

Pingback: Stainless Steel vs. Plastic Reusable K-Cups: Which is Safer? - PureHQ
Pingback: Tips for the Best Taste and Performance Using Reusable K-Cups in Keurig Coffee Makers - PureHQ
Pingback: The Best Reusable K-Cup for Your Keurig Brewer (and Your Wallet)