
Coffee Machine Care
Descaling Solution Target: How to Choose and Use One
Nov
The International Coffee Organization recorded global demand at approximately 168 million 60-kilogram bags in calendar year 2018, according to published ICO consumption data. Every one of those bags ends up in a machine that heats water, and that water carries dissolved minerals which stay behind long after the coffee is gone.
That leftover mineral layer is the descaling solution target. Most owners either set a quarterly reminder and never think about it again, or they wait until the brewer flashes a warning. Both habits fail somewhere. A household in a soft-water city wastes acid and rinse water on a machine that doesn't need the treatment, while a busy breakroom in a hard-water town lets scale bake onto the heating element for months.
The fix is a schedule built from three inputs: your water hardness, your daily brew volume, and the cycle your own brewer's manual specifies. Get those right and descaling is a twenty-minute job with a predictable result. Get them wrong and you'll either chase a descale light that won't clear or replace a machine years before you should.
How Often to Descale Based on Use and Water Hardness
Water hardness and daily brew volume set the descaling interval. Hard water leaves more mineral residue in the machine, so it generally calls for more frequent descaling than soft water. Check your local supply rather than assuming the water is the same everywhere. A walkthrough on testing water hardness explains strip and drop methods, and Praz Pure Water's hardness guide explains the soft-to-very-hard bands.
| Situation | Descale interval | Notes |
|---|---|---|
| Average use, up to 8 pods a day | Every 3 months | Descale sooner if the brewer's light turns on |
| More than 8 pods a day | Every 6 to 8 weeks | For heavier household or office use |
| Hard water, with average use | Earlier than the average-use interval | Check the brewer's alert and instructions |
| Soft water, with average use | Use the average-use interval as a starting point | Adjust based on the alert and daily volume |
Keurig's maintenance guidance sets a workload-based reference: a brewer making more than eight pods per day should be descaled every six to eight weeks, while average use calls for every three months. Treat those intervals as starting points, not a universal calendar. Your local water hardness and the machine's own instructions may call for a different schedule.
Practical rule: Start with the row closest to your daily use. If your water is hard, move to a shorter interval, and follow the brewer's descale alert and cycle instructions.
Daily volume matters because each brew sends more mineral-bearing water through the machine. A busy office brewer running pods through the day can need attention sooner than a household brewer used less often, even when both draw from the same supply.
For soft water, avoid adding an arbitrary fixed schedule without checking the machine's guidance and alert. For hard water or heavier use, shorten the interval rather than waiting for visible scale. If you measure hardness in ppm as calcium carbonate, use the result to understand where your supply falls on the hardness scale, then pair that with your pod volume.
Reassess the schedule when the machine's signal does not match your estimate. Slower flow, cooler coffee, or a descale light returning earlier than expected can indicate that your current interval is too long. Follow the brewer's specified descaling cycle and rinse directions each time, since a generic interval cannot replace the machine's own instructions.
What Limescale Does to Your Coffee Machine
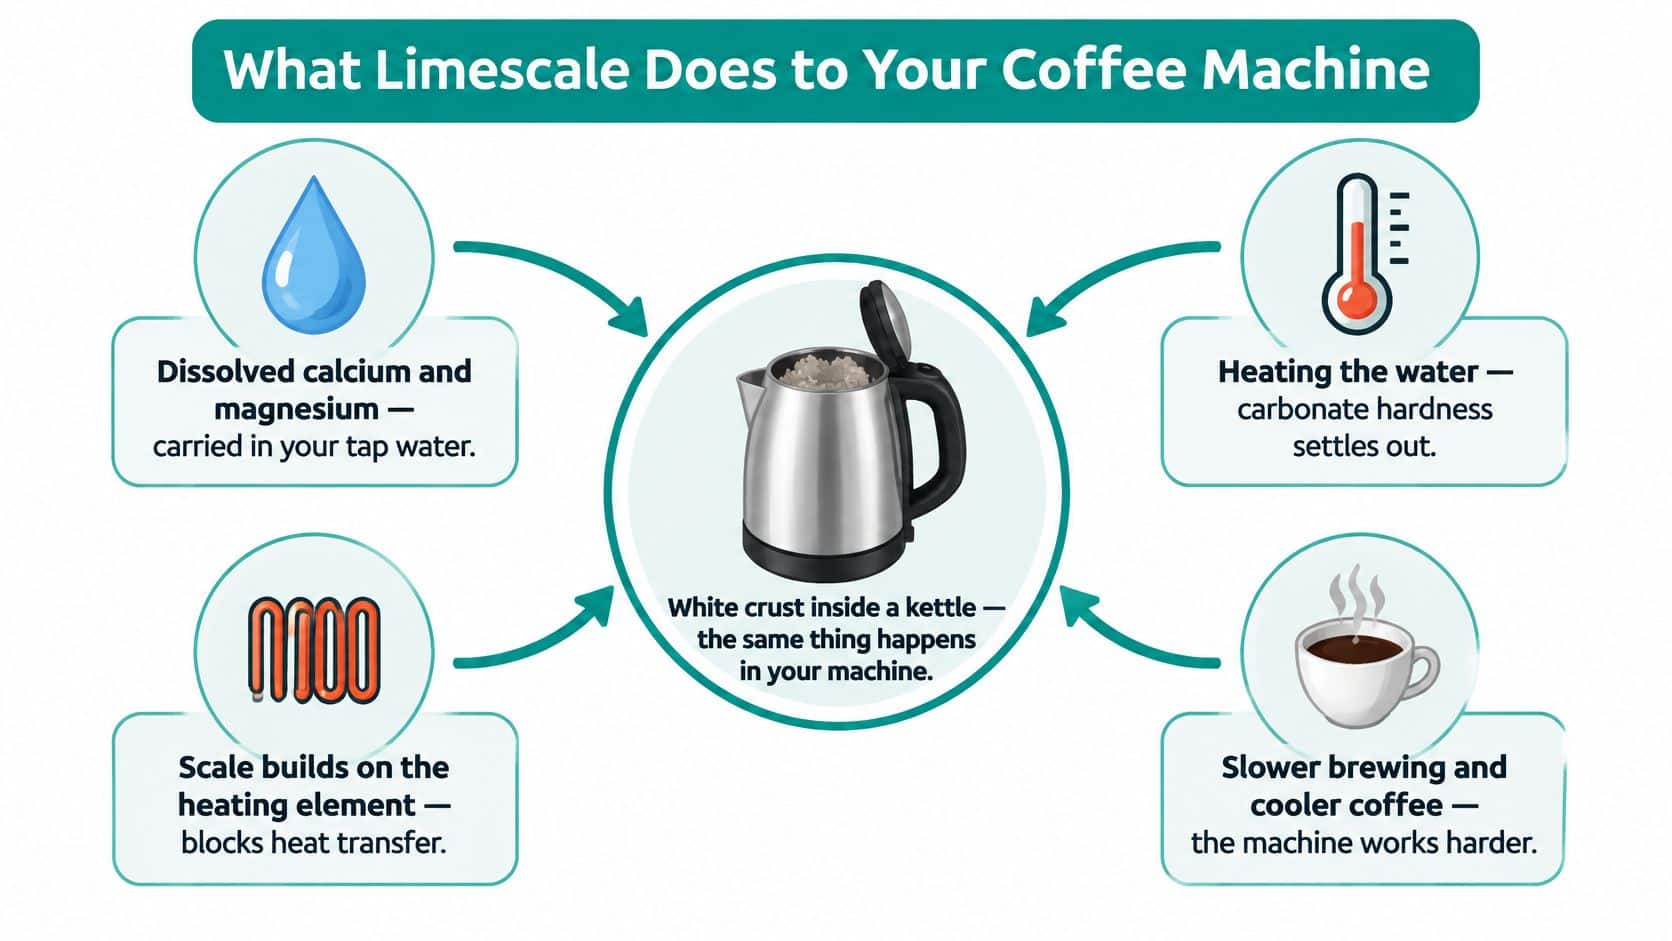
A year of boiling tap water can leave a kettle's heating element coated in white scale. Coffee machines can develop the same buildup inside boilers, heating elements, valves, and narrow water pathways, where it is harder to see.
Water hardness comes from dissolved minerals, including calcium and magnesium. Heating hard water can leave mineral deposits on internal components, as explained in the U.S. Geological Survey's guidance on hard water. High hardness and alkalinity promote scale in boilers. The buildup insulates heating surfaces, so the machine may take longer to reach brewing temperature, while narrowed passages can restrict flow and interrupt a brew cycle.
Scale affects both performance and upkeep. The USGS notes that mineral buildup can reduce equipment life and heating efficiency, increase heating costs, and clog plumbing. The practical priority is keeping the machine working properly. Changes in taste are less predictable, so prioritize maintenance according to your water and the brewer's own descaling instructions.
Check the hardness figure on your municipal water report and use it to judge how quickly scale may build. Daily pod volume also matters: more brewing sends more water through heated components, so a high-use machine may need attention sooner than a lightly used one on the same supply. Follow the interval guidance for your water and use the brewer's descale alert as an additional cue.
If your report shows hard water, or you cannot find a hardness figure, reducing the mineral load before it reaches the boiler may help limit deposits. Compare best water filters for limescale and choose a filter compatible with your water setup. A filter does not replace descaling; follow the brewer's specified cycle and rinse instructions when maintenance is due.
Labeled Descalers Compared With Generic Options
The objection arrives in every aisle: a generic acid descaler costs less and looks identical, so what does the labeled bottle buy you? The answer is in the instructions, not the chemistry.
Keurig states that calcium deposits build up inside a brewer according to the mineral content of the water, and that the resulting scale is non-toxic but can hinder brewer performance. The manufacturer recommends descaling every three to six months to help maintain the heating element and other water-contacting internal parts, and tells owners with higher-mineral water to descale more often, per Keurig's descaling instructions. Notice what the goal is: removing internal mineral buildup, not winning an acid-strength contest.
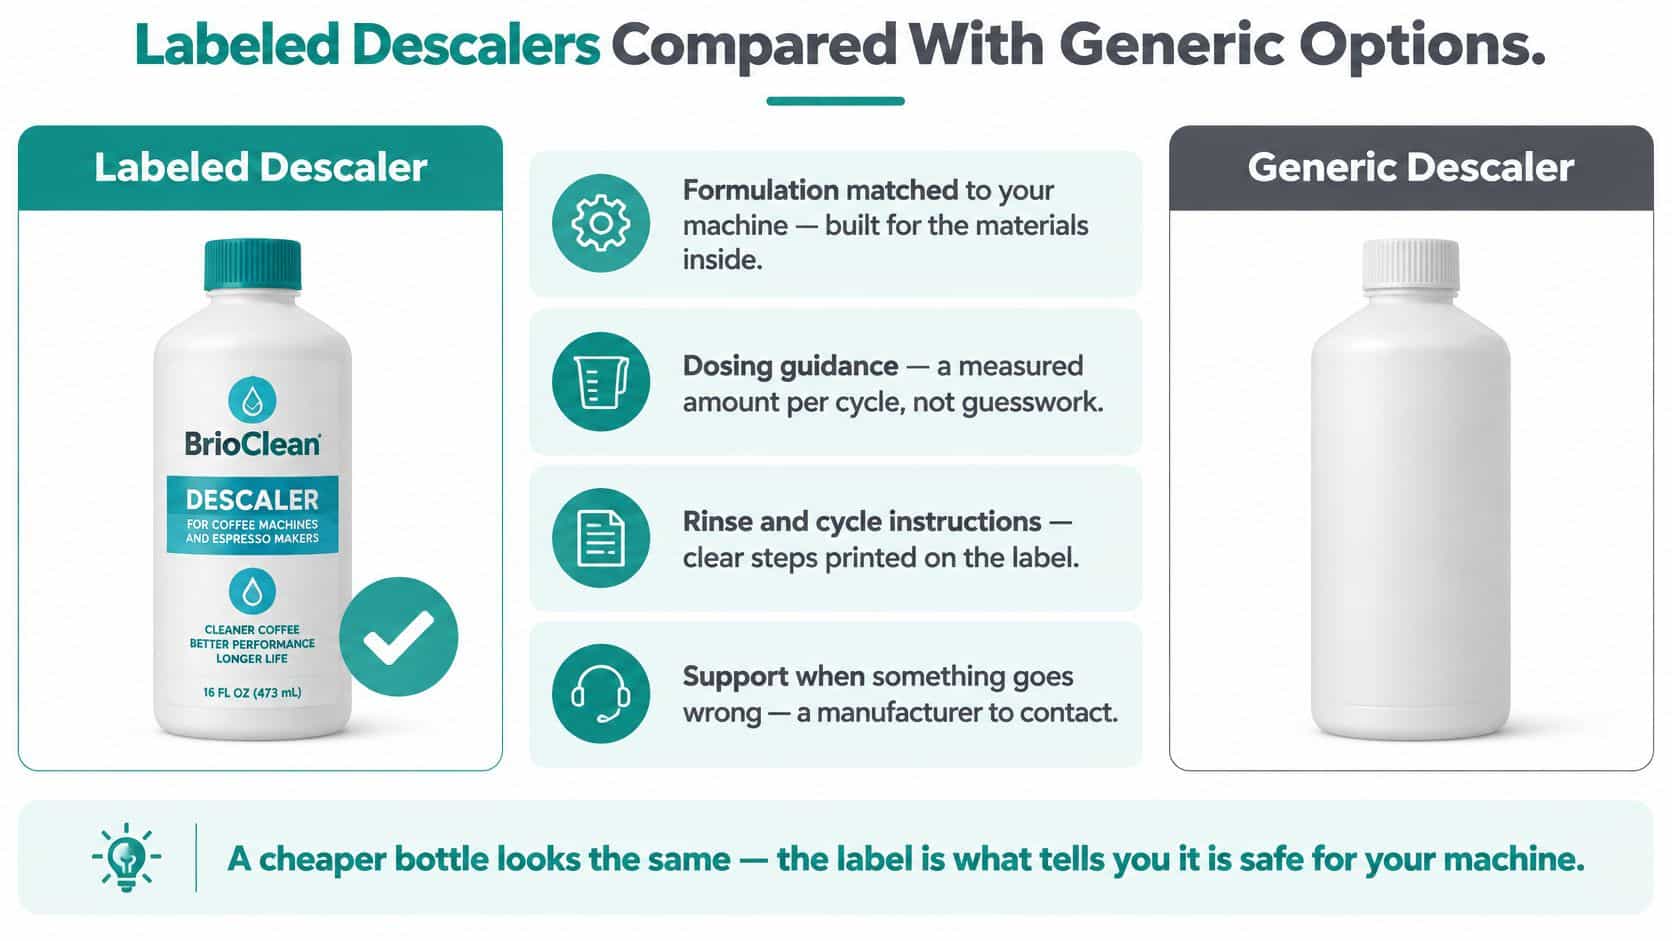
| Criterion | Labeled branded descaler | Generic acid descaler | Household vinegar |
|---|---|---|---|
| Machine compatibility stated | Usually printed on the label | Often unstated | Not stated |
| Model-specific cycle directions | Yes, when the label or manual gives them | Rarely | Not provided |
| Rinse instructions | Included with the directions | Varies | Not provided |
| Dosing for a full cycle | Stated on the label | Varies | Not provided |
| Independent scale-removal comparison | Not established in the research | Not adequately compared | Not adequately compared |
That table isn't a verdict on price. It's a list of the things that decide whether a bottle works in your machine, and most of them live on the label rather than in the liquid.
Why the rinse decides whether the job worked
Solution left in the reservoir and lines is the most common reason a first cup tastes sharp or soapy after an otherwise correct cycle. Rinse counts exist for exactly that, and a product whose directions stop at "run a cycle" leaves the hardest part to guesswork.
Manufacturer procedures differ, and that's the real comparison
The JURA E8 manual tells owners to remove the filter cartridge before descaling and specifies a defined tablet-and-water procedure. That's a different job from pouring a bottle into a Keurig reservoir, which is why the format your manual names beats the format a review site prefers.
What the acid debate can't settle
Citric, lactic, and sulfamic acids all dissolve scale, and the available independent evidence doesn't adequately compare them for scale removal, metal attack, or residue left in the cup. So a label claiming one acid is universally safest or most effective claims more than anyone has shown.
A cheaper bottle looks the same once it's in the reservoir. The difference is whether the label tells you the dose, the cycle, and the rinse count for your model.
Filtration and descaling do separate jobs, and Keurig's own guidance recommends filtered or bottled water because lower mineral content slows deposit formation. A filter limits what comes in; a descaler removes what has already bonded to the metal. Buying one and skipping the other leaves half the problem in place.
The decision rule is short. If your manual names a product or a quantity, follow it. If it doesn't, choose the labeled option whose directions match your brewer, and don't swap vinegar into a procedure the machine's maker wrote for a specific solution.
How to Descale Your Coffee Machine Step by Step
Keurig's published K-Slim procedure is a clean worked example of what the cycle does, and it's worth following step by step before you touch your own machine. Check your model's guide first, because button combinations differ across generations, as Keurig's K-Slim user guide makes clear.
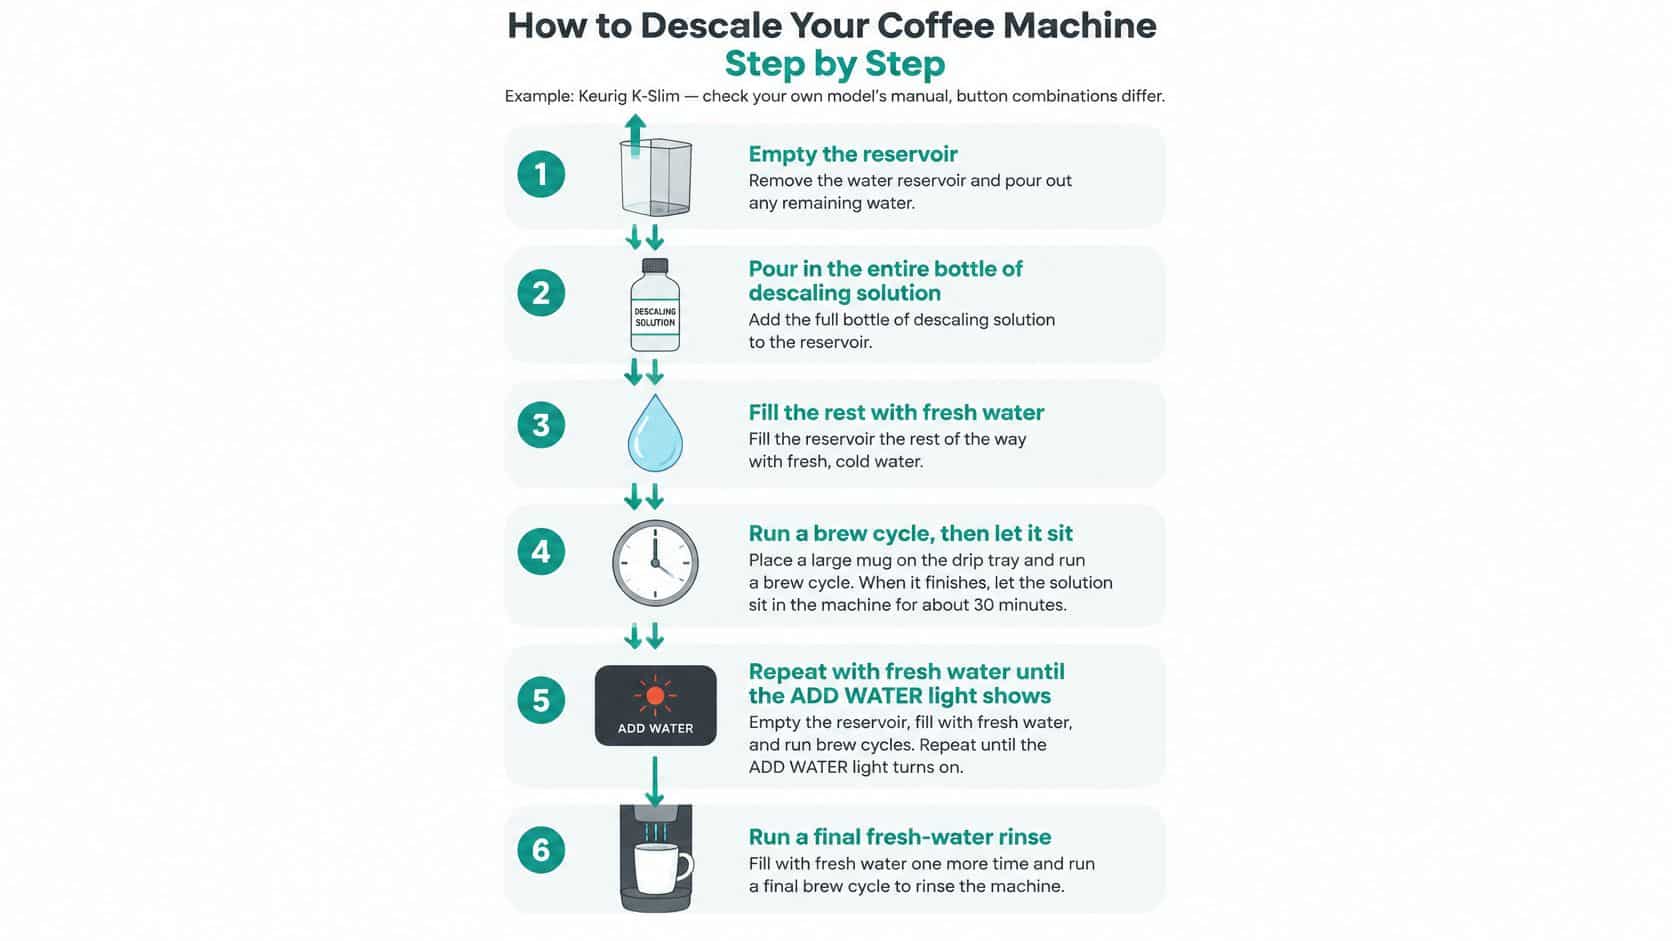
- Empty the reservoir completely. The full bottle is dosed for an empty tank. Common slip: leaving a few cups of water in the bottom, which dilutes the solution before the cycle starts.
- Pour in the entire bottle of descaling solution. Half a bottle under-treats a heavy scale load, and there's no way to measure how much you left behind. Common slip: rationing it to "save some for next time."
- Fill the empty bottle with fresh water and add that to the reservoir. This is the dilution the cycle is designed around. Common slip: mixing a stronger batch because the scale looks bad, which gains nothing and puts more acid against the seals.
- Do not insert a K-Cup pod. The cycle runs through the water path, so a pod, paper liner, or reusable filter does nothing useful here and can interrupt flow. Common slip: leaving yesterday's pod in the chamber.
- Set a large mug on the drip tray. The cycle discharges hot liquid in bursts and a standard cup overflows onto the counter. Common slip: a small espresso cup and a puddle.
- Hold the 8-ounce and 12-ounce buttons together for three seconds to enter Descale Mode. This is the step that varies most between models. Common slip: assuming last year's button hold still applies to a new brewer.
- Run the cleansing cycle and discard the hot liquid. Don't pour it back in and don't run it into a mug you plan to drink from.
- Repeat the cycle until the ADD WATER light appears. The light is the machine telling you the reservoir has emptied through the system, which is how you know the solution has passed the full water path.
- Empty the reservoir and refill to the MAX line with fresh water. Fill line discipline matters here, because overfilling is the usual source of leaks during the rinse.
- Run fresh-water rinse cycles until the water runs clear, then return to normal brewing. Skipping this leaves a bitter or chemical edge in the first cups, and it's the step people cut when they're in a hurry.
A finished job looks specific. The ADD WATER light has cleared, a normal brew cycle runs without stalling, and the first cup tastes like coffee rather than like the inside of the machine. If any of those three is off, the rinse is the first thing to repeat.
Descaling Espresso and Other Brewers
The Keurig sequence doesn't transfer to an espresso machine, and it doesn't transfer cleanly between Keurig generations either. Start with the manual for your exact model and pull three numbers out of it before you buy anything.
The three details that matter in any manual
- The cycle command. Entering descale mode might be a button hold, a menu setting, or a dial position, and guessing burns a cycle you paid for.
- The dilution ratio. Some machines take a full bottle, others want a measured dose in a specific tank volume, and the wrong ratio either under-treats scale or attacks seals.
- The rinse count. How many fresh-water tanks the machine expects before it clears its own descale flag.
Whatever those numbers say, they override a generic method. An espresso machine heats and reheats water far more often in a single day than a pod brewer does, so the workload row and the hardness row from the interval table matter more here, not less. Confirm the descaler label names espresso machines or your specific brand before you buy, because a product written for drip brewers may not address the group and steam circuit.
Run it the way the manual describes
Empty the water tank, add the measured solution, run the cycle, and dump the hot discharge rather than saving it. Repeat until the machine signals the cycle is complete, then flush with fresh water until it runs clear. If your manual includes the steam wand or group head in the procedure, do that part too, since those passages scale like everything else.
Never combine a descaler with another cleaner, and never invent a cycle the manual doesn't describe for your model. If the manual has no descale procedure at all, call the manufacturer and get written steps, because a guessed cycle is how pumps and sensors get damaged. For a machine-specific walkthrough with the espresso sequence laid out, this guide on how to descale an espresso machine is worth reading before you start.
Fixing a Descale Light That Stays On or Leaks
A descale light that stays on after the cycle usually means the machine did not complete its required sequence, or the rinse was cut short. Check the model's instructions before repeating the process, since reset steps and rinse requirements vary by brewer.
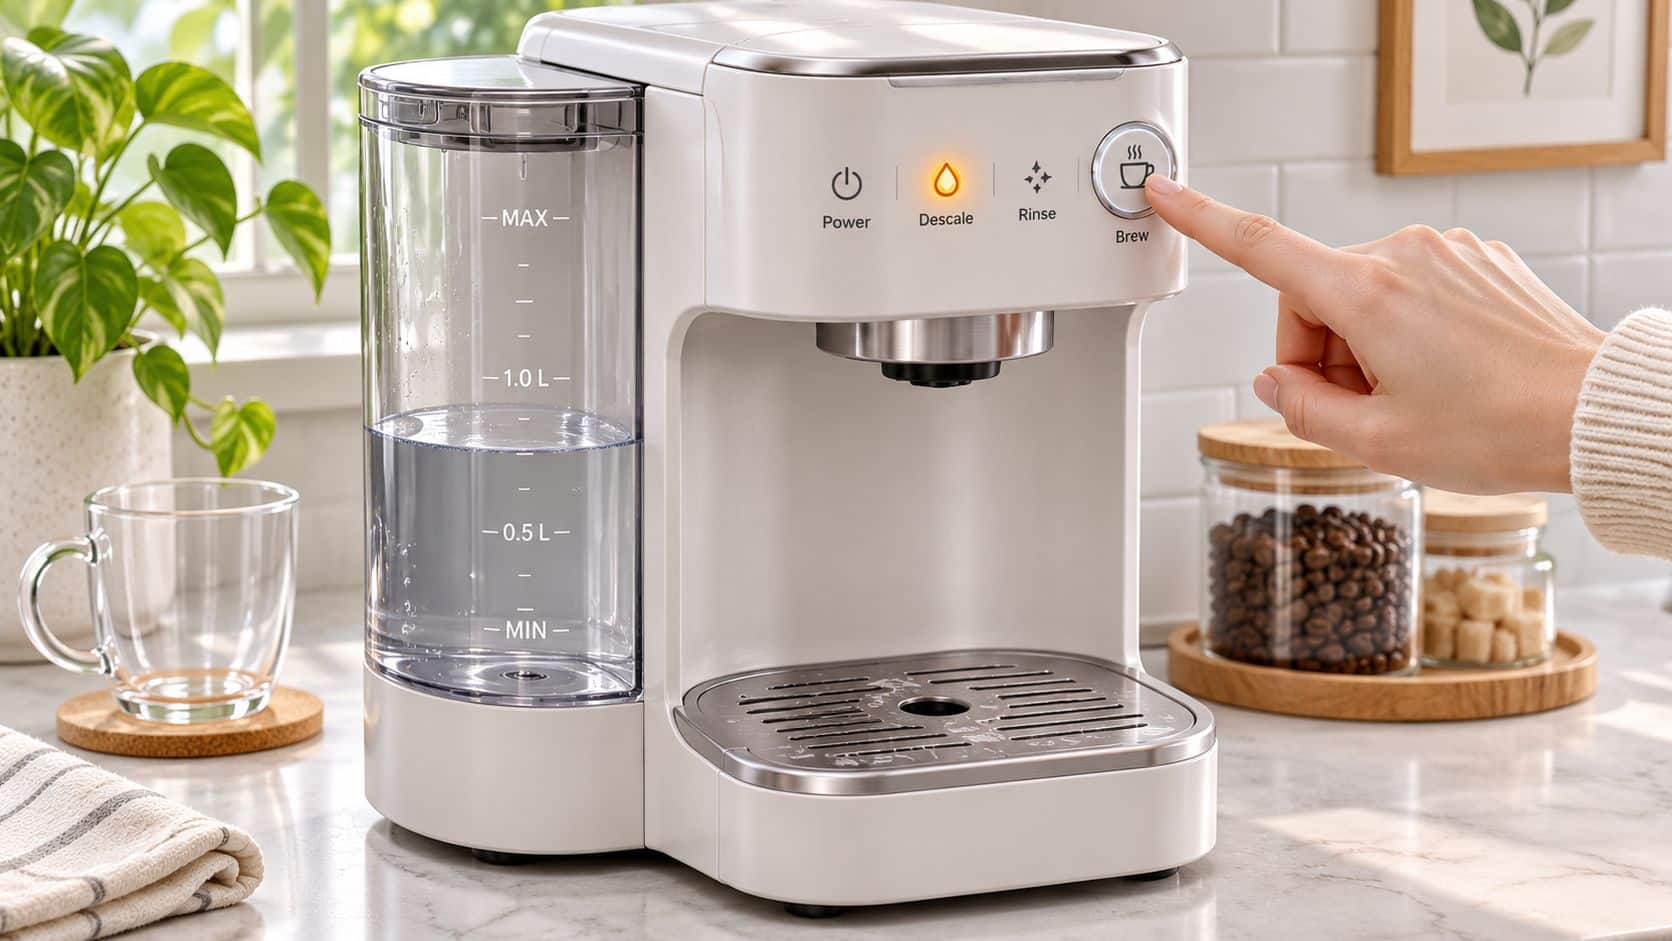
Match the symptom to the fix
| Symptom | Likely cause | Fix |
|---|---|---|
| Descale light stays on after one cycle | Cycle interrupted or rinse incomplete | Complete the cycle and rinse as your model directs, then follow its reset steps |
| Light returns within a few weeks | Water may be harder than the interval assumed | Shorten the interval using the water-hardness guidance in the earlier section |
| Leaks or overflow | Reservoir overfilled | Fill only to the MAX line |
| Buttons do not respond as expected | Control sequence differs by model | Check the manual for your exact brewer before retrying |
| Coffee tastes of solution | Rinse cycles skipped or too few | Run fresh-water rinses until the water runs clear |
The K-Café Essentials guide recommends descaling every three months or when the Descale notification turns on. A filter cartridge does not replace a descale cycle, and descaling does not clean a spent filter. Follow the brewer's instructions for each maintenance task separately.
Here's the sequence in motion if you prefer watching the controls. Follow the steps for your model rather than copying a different brewer's button sequence.
If the machine leaks, check the reservoir fill line first. For control problems, confirm the exact model and use its manual to find the correct sequence. A light that returns soon after a completed cycle can signal that the interval is too long for your water hardness. Adjust the schedule accordingly. If the light remains on after the required cycle and rinse, use this guide to turning off the Keurig descale light to check reset steps by model.
Check the Label at Target and Shop PureHQ
Run this checklist before you pay, whether you're standing in the aisle or reading a product page on your phone.
- Stated machine compatibility. The label should name your brewer family, such as Keurig, Nespresso, Breville, or espresso machines. A bottle with no compatibility statement gives you nothing to check against your manual.
- Cycle steps, dose, and rinse. Directions that stop at "pour in and run" hand the two hardest parts, dilution and rinse count, back to you.
- Number of uses printed on the package. One bottle may cover a single descale or ten, and that changes your real cost per cycle far more than the shelf price does.
- Safety warnings, read in full. The Target listing for Keurig descaling solution describes its citric acid formula as gentle, while the same listing's warning identifies citric acid as an eye and skin irritant and says to keep the product away from children and pets. "Food-associated ingredient" is not the same as safe to ingest or harmless when concentrated. Work with ventilation, avoid splashes, and never mix the product with another cleaner.
- Support and origin. A maker who states where the product is made and answers questions is easier to deal with when a machine misbehaves afterward.
The decision collapses into three moves: find your row in the interval table, confirm your model's cycle and rinse directions, then buy the product whose label matches both.
An inexpensive bottle that leaves the rinse count to guesswork isn't cheaper. It costs you a second cycle, or a batch of bitter coffee you pour down the sink.
The PureHQ Coffee Machine Descaler is a universal option for Keurig, Nespresso, Breville, and espresso machines, with 10 uses per bottle, made in the USA, at $23.95. Households that want the whole routine in one purchase can take the Keurig and Breville Descaling and Cleaning Tablets, a 24-count pack with 6 compatible water filters, at $19.95. Keeping a spare filter on hand means the two-part routine never stalls waiting on a delivery, which is exactly when people skip the descale.
Read the directions for your model before the first cycle, and don't substitute a stronger mix for a correct one. The machine's programmed dilution and rinse count matter more than acid concentration every time.
PureHQ Inc. supplies a Coffee Machine Descaler that works with Keurig, Nespresso, Breville, and espresso machines, along with the replacement filters and descaling tablets that keep a brewer on schedule instead of on a rescue mission. Pair the bottle with your machine's own cycle and rinse rules, and descaling stays a short maintenance task rather than a repair. Visit PureHQ Inc. to see the descaler, the filter bundles, and the directions for your brewer.

