
Coffee Machine Care
Reusable K Cup Espresso: How to Brew Stronger Coffee
Oct
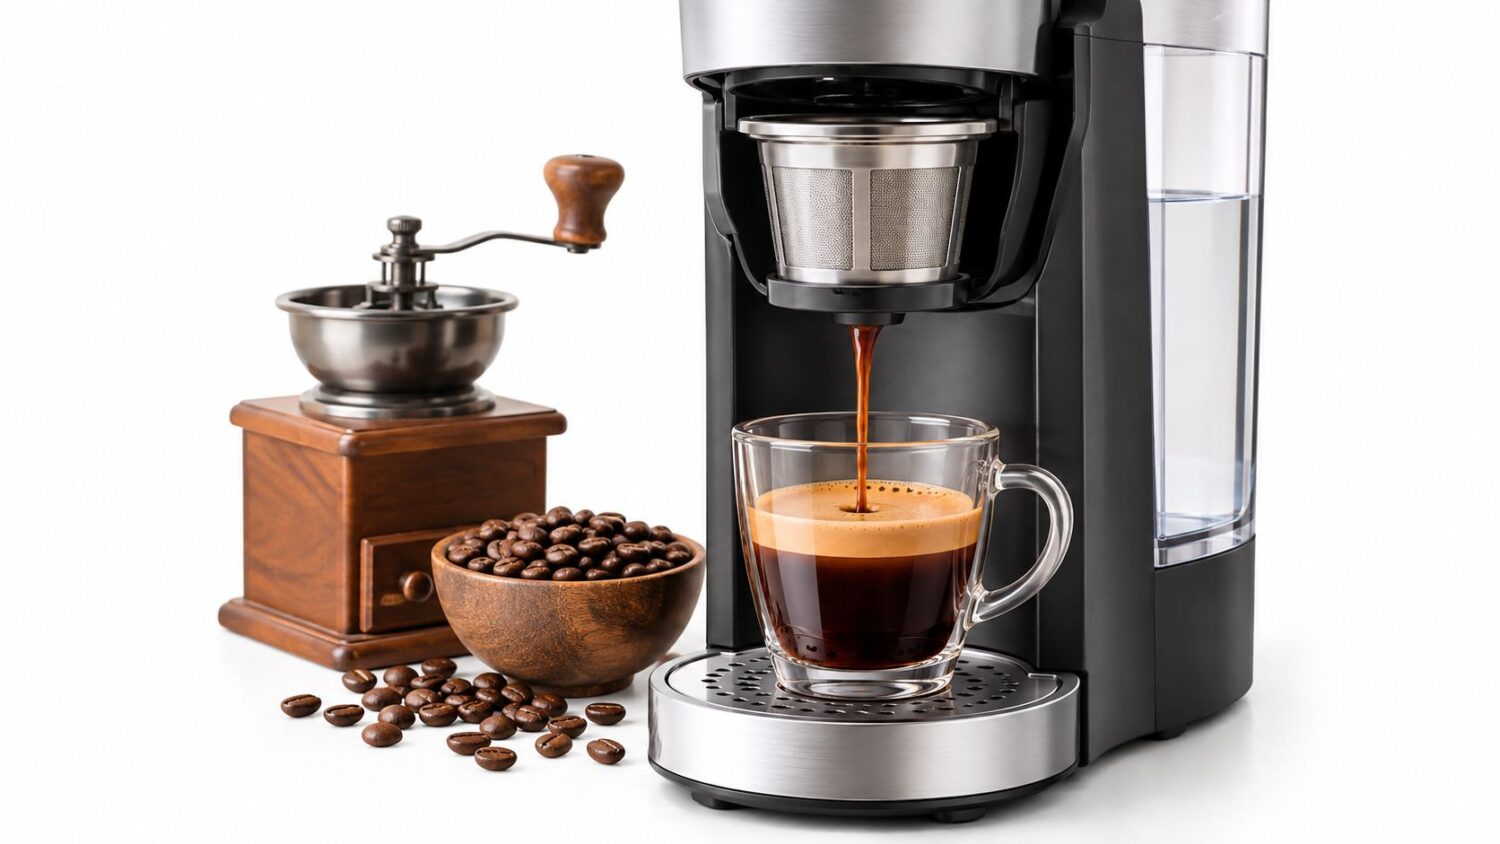
A Keurig cannot make true espresso because espresso extraction uses 9-bar pressure, but it can produce a strong espresso-style concentrate with a reusable K-Cup when you control the grind, dose, and beverage volume. The practical target is a concentrated coffee for sipping or mixing with milk, not an identical substitute for a pump-driven espresso shot.
The most popular advice about reusable K-Cup espresso is also the advice that causes many of the leaks, stalled brews, and bitter cups I see most often: use an espresso-fine grind, pack it tightly, and run the largest brew size. That approach copies the appearance of espresso preparation while ignoring how a Keurig moves water through a small filter.
A better method starts with an honest distinction. A reusable K-Cup opens a proprietary single-use format so you can brew your own ground coffee, choose a roast, adjust the dose, and make only the volume you plan to drink. It doesn't turn a Keurig into an espresso machine. Once that limitation is clear, the workflow becomes much easier to troubleshoot.
Why Your Keurig Cannot Make True Espresso
A Keurig-style brewer and an espresso machine solve different brewing problems. A dedicated espresso machine pushes a small amount of water through a compact coffee bed under a controlled pressure profile. A Keurig brews through a pod-shaped filter using its own water delivery system, so changing the refillable pod doesn't change the brewer's fundamental pressure design.
A published coffee-extraction investigation identifies a reference set of 92°C water temperature, 9-bar pressure, approximately 30 seconds of percolation, and an approximate flow rate of 1 mL per second as standard espresso extraction conditions. Those parameters explain why a Keurig-style brewer can't reproduce the same body, crema, and extraction profile. You can read the underlying espresso extraction investigation for the reference conditions.
What the reusable pod can do
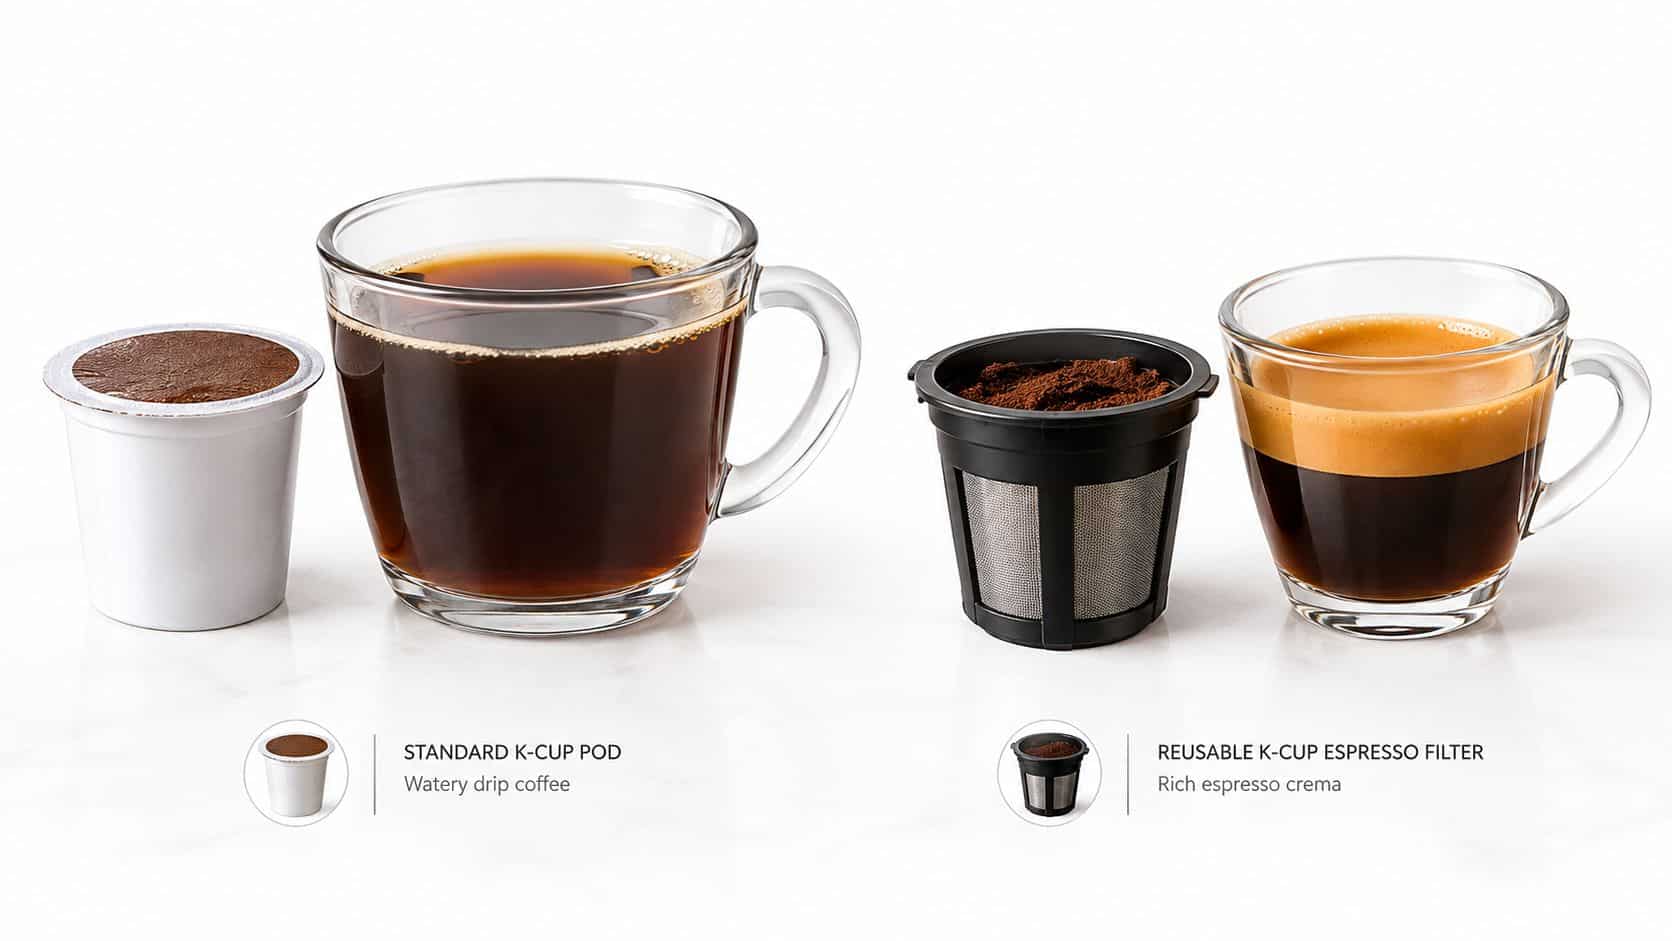
A refillable pod can produce stronger, more concentrated coffee than a standard full-size brew. It gives you control over coffee selection and quantity, and it lets you reduce the beverage volume instead of sending a large amount of water through the same grounds.
That result works well as a base for a latte, cappuccino-style drink, iced coffee, or a short black coffee. The flavor can be intense and satisfying, especially with a dark or espresso-style roast, but it remains espresso-style concentrate rather than true espresso.
Practical rule: Use the phrase “espresso-style” as a brewing target, not as a claim about pressure or crema.
Why copying espresso technique backfires
Espresso-fine grounds create considerable resistance. In a true espresso machine, the pressure system is designed around that resistance. In a Keurig, excessive fines can slow the flow, encourage channeling, push water around the seal, and leave the cup either bitter or unexpectedly weak.
Aggressive tamping creates the same problem. A reusable K-Cup needs an even bed and enough open space for water to pass through. Pressing the grounds into a dense puck may sound professional, but it can make the brewing path less stable.
The most reliable controls are simpler:
- Dose: Add enough coffee to create flavor without overfilling the basket.
- Grind: Choose a medium-fine starting point, then adjust modestly.
- Volume: Select the smallest practical brew setting.
- Fit: Match the pod to the exact Keurig generation.
- Consistency: Change one variable at a time.
This approach produces a repeatable strong coffee without asking your Keurig to perform a job it wasn't built to do.
The Complete Workflow for Espresso-Style Coffee
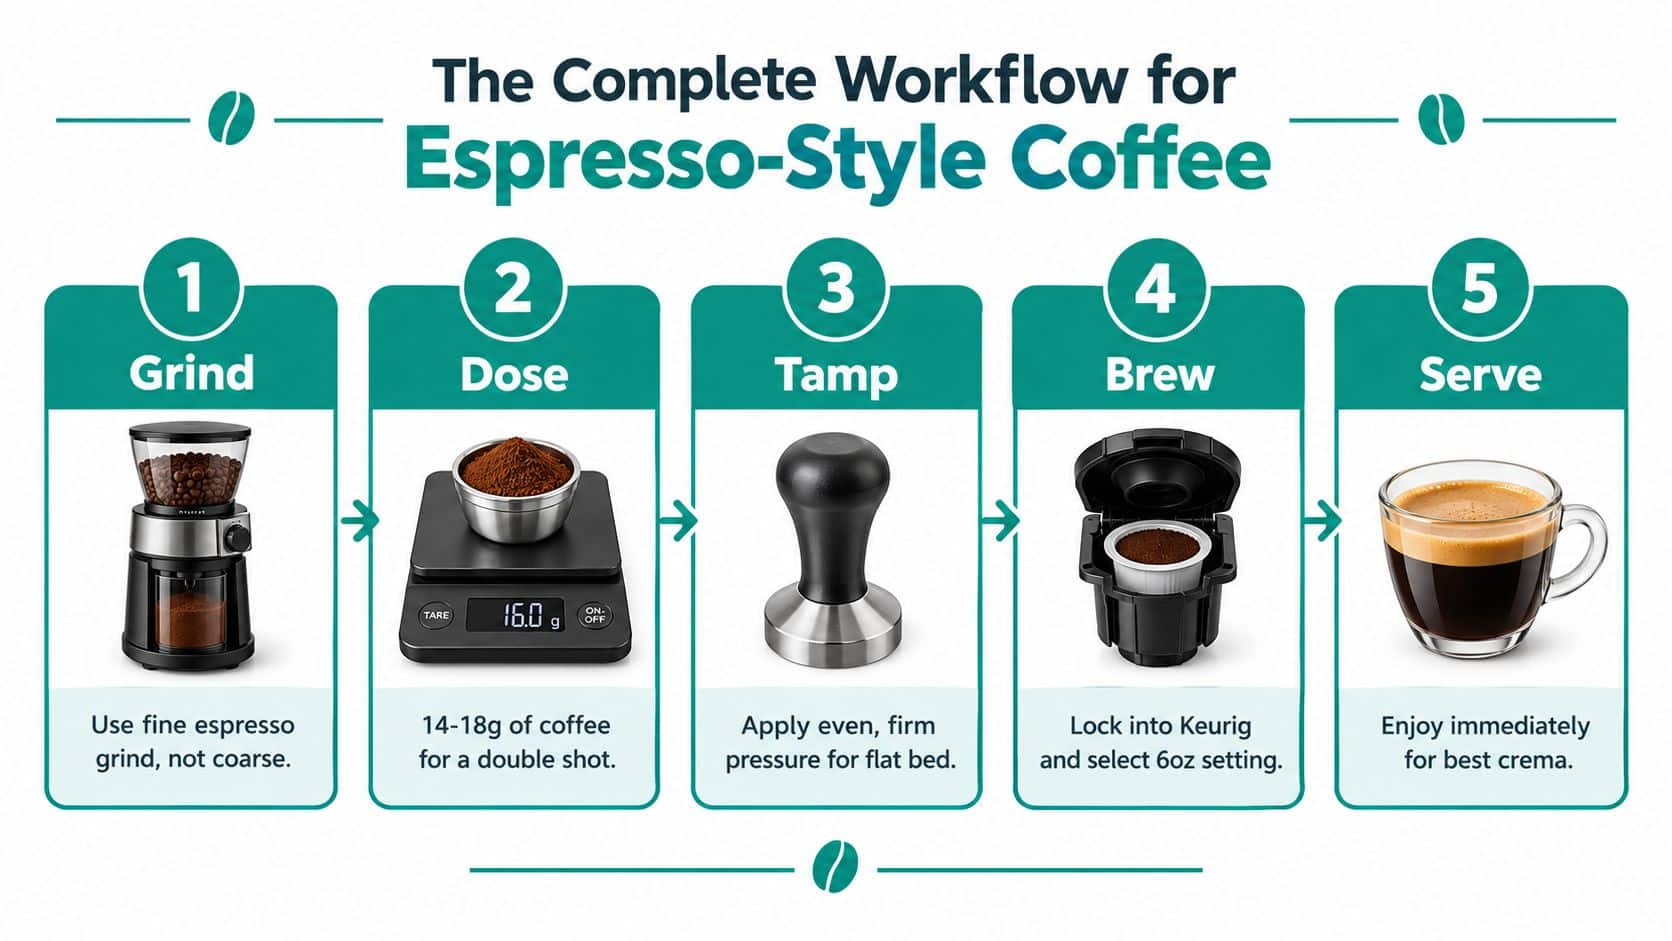
The best results come from a controlled sequence. Start with the coffee, then prepare the pod, then adjust the brew volume. If you change grind, dose, and machine settings at once, you won't know which adjustment helped.
1. Choose coffee for concentration
Dark roasts provide the familiar roasted, chocolate-forward profile many people expect from espresso-style drinks. A medium roast can work well when you want more acidity and origin character. Decaf works with the same process, but you may need to adjust the recipe by taste because different coffees flow and extract differently.
Use fresh ground coffee when possible, but pre-ground coffee can also work if its texture suits the filter. Avoid assuming that a bag labeled “espresso” will automatically perform well in a Keurig. Espresso coffee often uses a grind designed for high-pressure extraction, and that texture may restrict a reusable pod.
2. Start with a controlled dose
A practical starting range for espresso-style concentrate is 9–12 grams of grounds, provided that amount fits safely below the pod's fill line. Don't heap coffee above the lid or force the basket closed. Headspace allows water to enter the bed instead of pushing grounds into the lid, seal, or puncture area.
Weigh the dry coffee if you have a small scale. A scoop can look full while holding different amounts depending on the roast, grind, and how tightly it settles.
3. Distribute, then level
Tap the pod gently to settle the grounds. Use a finger or flat tool to level the surface, but don't compress it like a traditional espresso puck. Secure the mesh or filter lid completely, and check that no grounds sit on the rim.
4. Brew the smallest practical volume
Select the smallest beverage setting your machine offers. A larger volume dilutes the finished drink because more water passes through the same dose. If your brewer includes a strength or bold option, test it with the short setting, but record the result rather than assuming the button guarantees espresso-like extraction.
For repeatable testing, weigh the dry coffee and finished beverage, brew each recipe at least three times, and record brew time, flow stability, taste, and total dissolved solids if you have a refractometer. Peer-reviewed capsule research found that increasing coffee mass and grinding finer were the most effective ways to raise total dissolved solids, while also recommending this kind of repeatable testing.
For more preparation ideas, see this guide on using coffee grounds in a Keurig.
5. Taste before changing the recipe
Taste the concentrate black first. Then add milk or water if you want a longer drink. If the cup tastes weak, increase the dose within the pod's safe limit or reduce the volume. If the flow becomes unstable, return to a slightly coarser grind before adding more coffee.
Understanding Extraction Science Without the Jargon
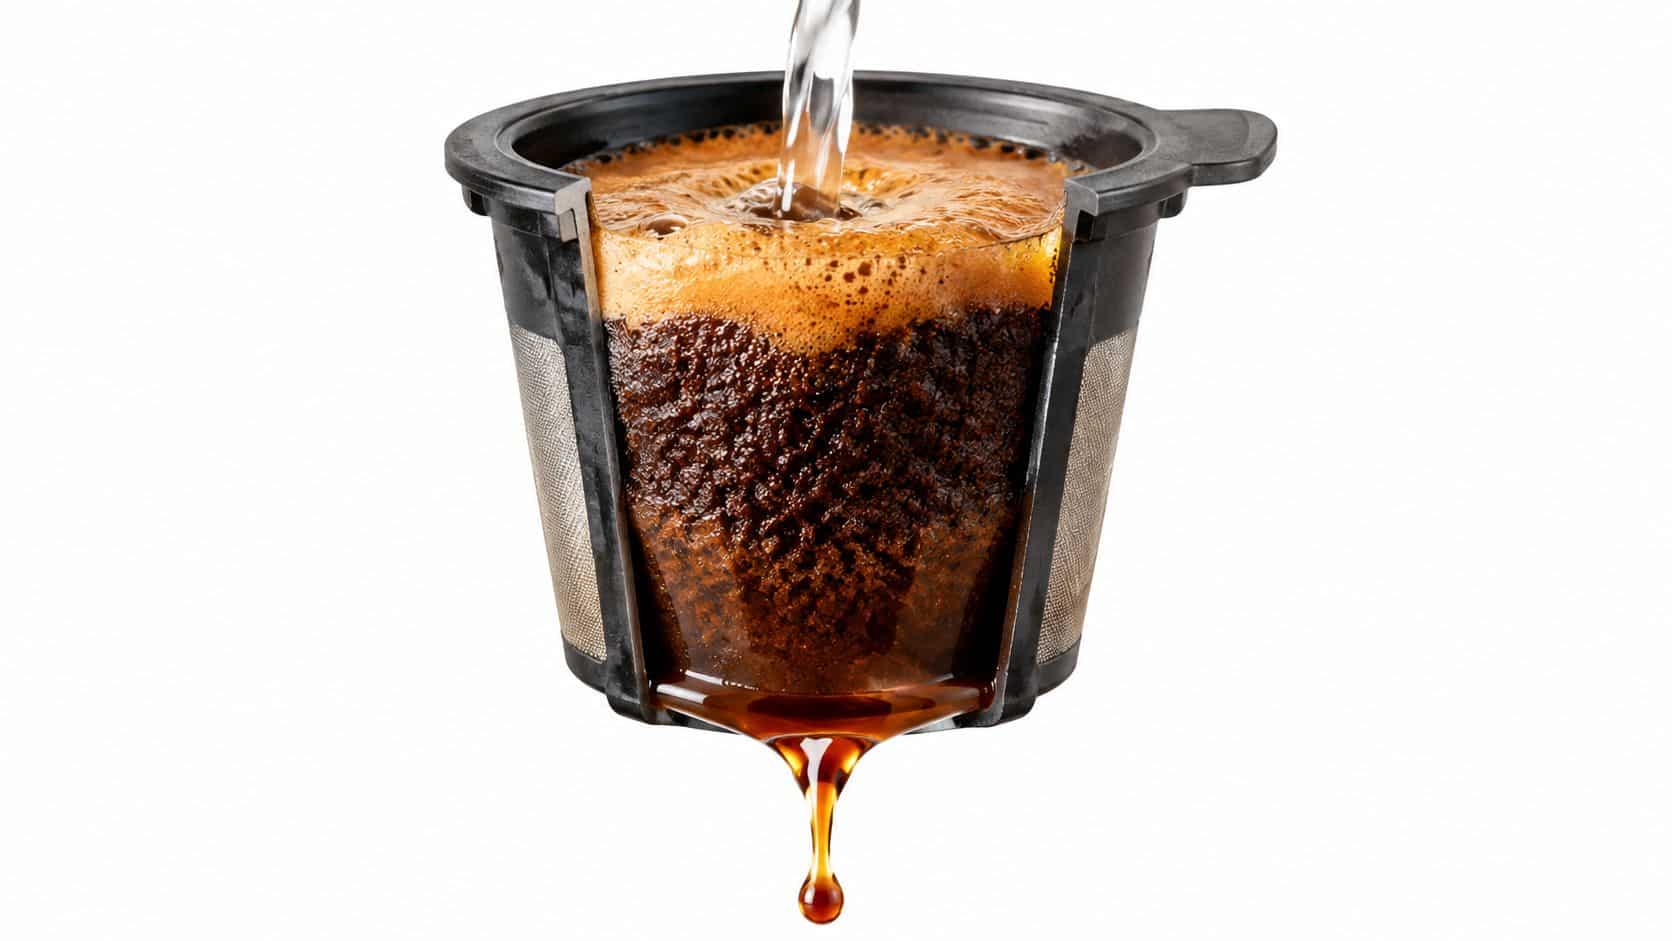
Coffee extraction is a flow problem as much as it is a flavor problem. Water must contact enough coffee, move through the bed at a controlled rate, and leave the filter without creating preferential channels. A reusable pod gives you control, but it also makes small preparation differences visible in the cup.
Fines matter more than the label on the grinder
Two coffees can share the same average grind setting and still behave differently. The proportion of very small particles changes how easily water passes through the bed. Research on capsule extraction found that the proportion of fines predicted extraction time more strongly than average grind size. More fines reduce permeability, slow the flow, and increase the risk of uneven extraction. The findings are detailed in this capsule extraction study.
That explains a common contradiction: a very fine grind can make coffee taste stronger in one sip while producing a weak overall cup. Water may stall in one area, then force a narrow channel through another. Some grounds over-extract while other grounds contribute little.
Extraction insight: If a finer grind makes the flow unstable, it isn't giving you more control. It's removing control from the brew.
Dose and volume usually beat extreme grinding
When you want more intensity, add coffee gradually within the pod's safe fill limit or reduce the beverage volume. These changes increase concentration without creating the same permeability problem caused by excessive fines.
The coffee bed should look level, not compressed. A hard tamp can make the surface appear neat while restricting the path water needs to follow. The brewer supplies the water movement, so your job is to create a stable filter bed, not to imitate the pressure and puck preparation of a dedicated espresso machine.
Use a simple diagnostic record
Write down four observations after each test:
- Flow: Did the brew run smoothly, stall, or spurt?
- Taste: Did it taste thin, sharp, bitter, or harsh?
- Dose: How much dry coffee went into the pod?
- Yield: How much finished coffee came out?
Change only one setting at a time. If you alter the grind and volume together, you may improve the flavor without understanding why, then lose the result when you switch coffees.
A short visual demonstration can help you compare bed preparation and water movement, but treat any video technique as a starting point rather than proof that a Keurig can match espresso pressure.
A refractometer can add useful information, but taste and flow still matter. A recipe that produces a suitable reading while spurting grounds into the cup isn't a successful everyday recipe.
Premium vs Generic Reusable K-Cups Compared
A reusable pod's filter geometry and fit can matter more than its appearance. Premium construction may improve alignment, sealing, and cleaning, but a higher price won't rescue an incompatible design. Generic products can work when they match the brewer and maintain a stable filter, while poorly specified products can create leaks and inconsistent extraction.
Keurig's K-Supreme documentation states that the brewer is compatible only with the newly designed My K-Cup Universal Reusable Coffee Filter and warns that older versions or other reusable filters may damage the brewer. Check the official K-Supreme compatibility guidance before buying any reusable espresso-style pod.
| Feature | Premium, PureHQ | Generic brands |
|---|---|---|
| Material | Stainless-steel refillable options are available, with a design intended for repeated use. | Plastic, metal, or mixed construction varies by seller. |
| Fit labeling | Product listings can identify supported single-needle and MultiStream families. | “Universal” claims may omit the exact brewer generation. |
| Filter design | A stable basket and lid can support more consistent grounds containment. | Mesh size, lid alignment, and seal quality can differ between models. |
| Cleaning | Refillable pods can be rinsed after use, and some options support top-rack dishwasher cleaning. | Cleaning directions and dishwasher guidance may be unclear. |
| Value | Higher upfront cost can make sense when fit, durability, and support matter. | Lower upfront cost may suit experimentation, provided compatibility is verified. |
The fit objection deserves attention
Owners often ask whether a pod that looks right will leak or damage the brewer. Appearance isn't enough. A filter can interfere with the pod holder, lid, puncture mechanism, or brewing path even when its diameter seems similar.
Look for explicit model coverage, such as K-Classic, K-Supreme, K-Slim, or K-Duo. Never force a filter into the holder. If the lid doesn't close normally, stop and verify the design.
For a more detailed buying comparison, use this guide to the best reusable K-Cup for a Keurig.
Premium options make the most sense when you brew frequently, want a durable filter, or need clearer compatibility information. A generic can be adequate when its dimensions and supported machine family are documented, the lid seals correctly, and the filter survives repeated cleaning.
Troubleshooting Common Problems
Most reusable K-Cup failures have a visible pattern. Diagnose the flow before changing the coffee, because the wrong adjustment can turn a manageable issue into a leak or stalled cycle.
Weak and watery coffee
Start with beverage volume. If you run a large setting through a modest dose, the finished drink will be diluted. Choose a smaller volume first, then increase the dose within the safe fill line.
If the coffee still tastes thin, check the grind. A very coarse bed may let water pass too quickly. Move slightly finer, but stop if the brewer slows dramatically or starts to sputter.
Grounds in the cup or a leaking seal
Remove the pod and inspect the rim. Grounds caught between the filter and lid can prevent a clean seal. Empty the basket, rinse the rim, and close the filter securely before brewing again.
Next, confirm compatibility. A reusable filter designed for a different Keurig generation may sit incorrectly in the holder. Do not compensate for a fit problem by tightening the lid or packing the grounds more firmly.
Bitter, harsh, or stalled coffee
A bitter cup can result from excessive fines, too much contact time, or a beverage that trickles through an obstructed bed. Move modestly coarser and reduce compression. Don't respond by adding more water immediately, because that may reduce concentration while leaving the extraction problem unresolved.
A stalled brew needs a mechanical check. Inspect the filter for blocked mesh, confirm that the pod isn't overfilled, and remove any compacted grounds. Rinse the pod after brewing so residual fines don't remain in the filter.
Channeling and spurting
Channeling occurs when water finds an easier route through the coffee bed. Level the grounds gently, keep the fill height consistent, and use the same grind setting for repeated tests. Reject recipes that produce severe spurting or large shot-to-shot variation.
Fast reset: Empty the pod, rinse it, use a fresh dose, choose a slightly coarser grind, and brew the smallest practical volume. Change only one further variable after that test.
Maintenance and Cleaning for Best Results
A reusable filter doesn't eliminate machine maintenance. Coffee oils remain in the pod, loose grounds can collect around the holder, and mineral scale can restrict internal water passages. Cleaning protects flavor and keeps a good recipe from becoming inconsistent.
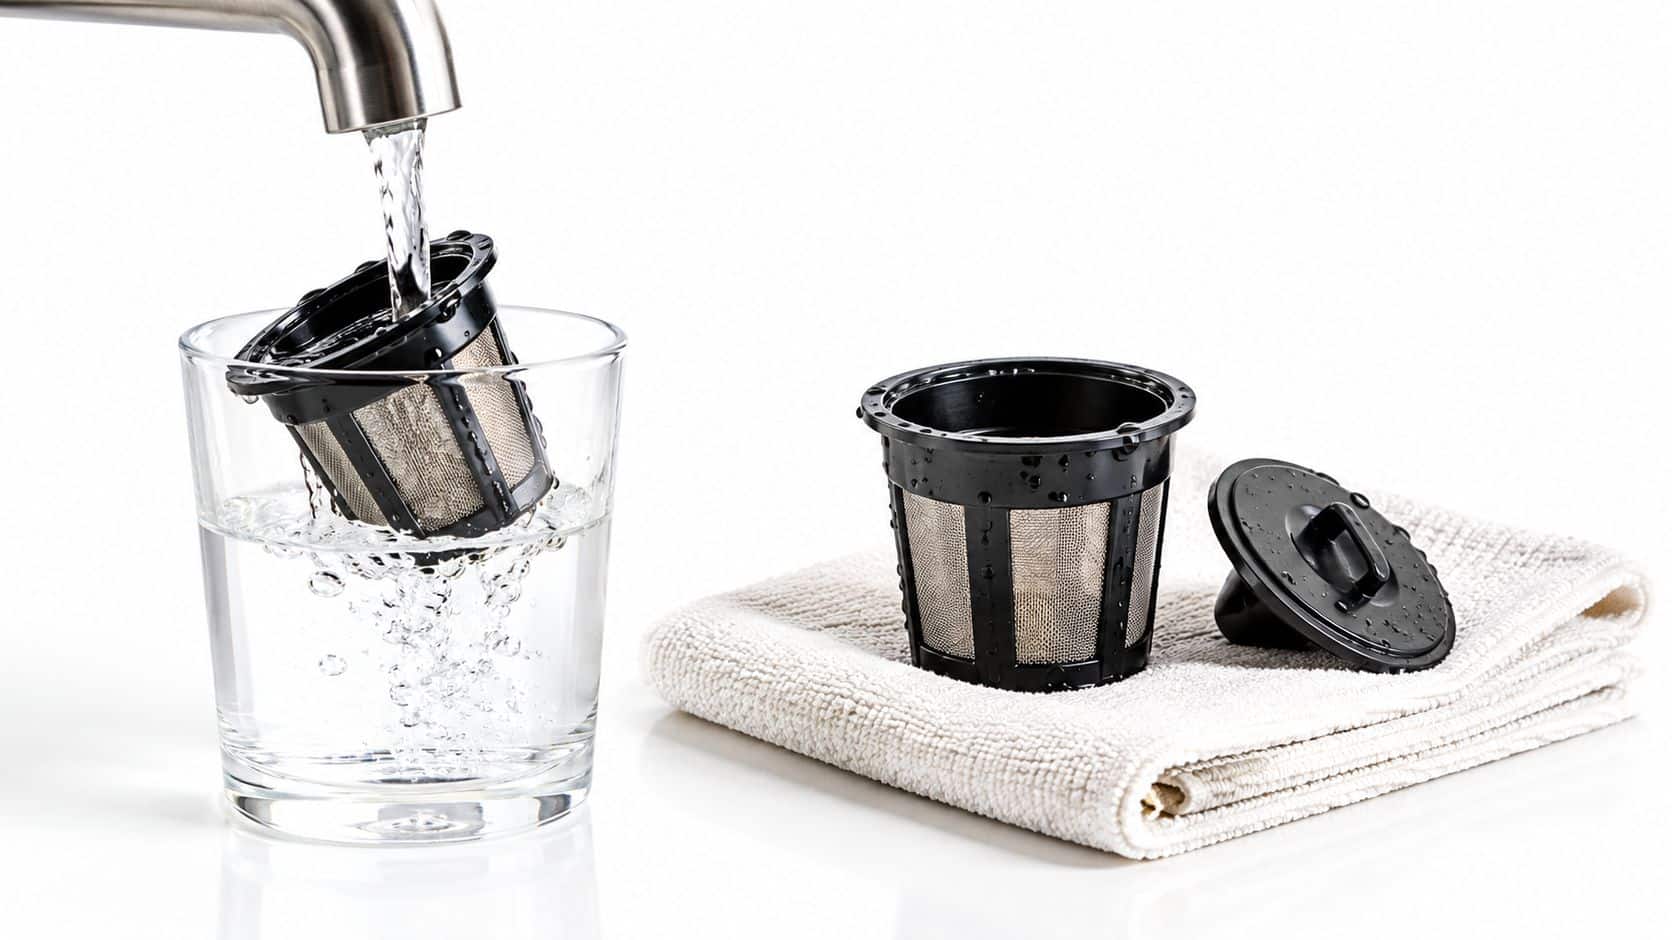
Rinse the pod immediately after brewing. Remove all grounds from the basket, wash the lid and rim, and check the mesh against bright light for blocked openings. If the product instructions permit top-rack dishwasher cleaning, follow those instructions rather than assuming every reusable filter has the same tolerance.
Descale on the manufacturer's schedule
Keurig's official K-Supreme guidance specifies descaling every three months or whenever the descale notification activates, and estimates approximately 15–20 minutes per cycle. Follow the Keurig descaling procedure, including the rinse cycle, rather than treating descaling as a quick water flush.
The reusable pod doesn't remove scale from the reservoir, heater, or internal passages. Use the appropriate descaler, empty the pod holder before the cycle, and complete the fresh-water rinses required by your brewer's guide. You can also review this practical guide to descaling a Keurig for better coffee taste.
Quick recipe card
- Coffee: Use a dark or medium roast suited to concentrated drinks.
- Dose: Start around 9–12 grams, below the pod's maximum fill line.
- Grind: Use medium-fine coffee, then adjust slightly finer only if flow remains stable.
- Bed: Distribute and level. Don't pack the grounds aggressively.
- Brew: Select the smallest practical beverage volume.
- Evaluate: Record flow, taste, dose, and finished beverage weight.
- Serve: Drink it black, dilute it with hot water, or add steamed milk.
PureHQ Inc. offers reusable K-Cup pods, paper liners, water filters, and descaling products for compatible home and small-workplace brewers. If you want a better starting point for reusable K-Cup espresso-style coffee, visit PureHQ Inc. and choose the pod and maintenance accessories that match your machine.

