
Coffee Machine Care
Keurig Water Filter Installation K Supreme Plus
Aug
You've just unboxed a Keurig K-Supreme Plus, filled the reservoir, and reached for a pod. Then you notice the small charcoal cartridge and wonder whether it really matters. It does. Correct Keurig water filter installation for the K-Supreme Plus starts before the first brew, and a rushed soak, poor fit, or forgotten replacement can leave the coffee tasting flat while the brewer keeps working as if nothing's wrong.
The K-Supreme Plus uses a 78-ounce removable reservoir, documented in the K-Supreme Plus SMART user manual. That tank can support roughly 9 to 10 eight-ounce cups, depending on the selected brew size, so one correctly installed cartridge sits in the water path for many consecutive cups. The filter is a quiet workhorse. Treat it like part of the brewer, not a loose accessory.
Why the K Supreme Plus Water Filter Matters From Day One
The first cup can expose a rushed setup. A new K-Supreme Plus will brew without a cartridge, but the filter is part of the brewer's normal commissioning process. Keurig's K-Supreme Plus owner's guide places installation after removing, rinsing, and refilling the reservoir to the MAX FILL line, then returning it to the machine. Install it before brewing so water quality is addressed from the start, not after the coffee tastes off.
The cartridge's carbon media helps reduce unwanted taste and odor compounds in incoming water. You notice that most clearly in black coffee, where chlorine or a mineral edge cannot hide behind milk, sugar, or flavored syrup. Because filtration happens before water reaches the heating and brewing system, the cartridge also helps control the quality of water entering the brewer.
Practical rule: A filter can improve incoming water quality, but it cannot remove scale already formed inside the brewer. Filtering and descaling address different problems.
The reservoir's generous capacity makes the cartridge easy to forget. Cup after cup, each refill passes through the same filter. Without it, the brewer still powers on and dispenses coffee, while the water path receives the taste and mineral load of your supply.
Use a simple first-use routine: install the correct cartridge, rinse the reservoir, refill to MAX FILL, and run plain water before inserting a pod. The short rinse helps clear loose carbon residue. Running water also confirms that the holder is seated and the reservoir is supplying the brewer normally. That quiet cartridge does its job before you taste the coffee, so setting it up correctly protects the first brew and every refill after it.
Getting the Reservoir and Cartridge Ready
Start with the reservoir, not the holder. Lift the tank straight up from the brewer, remove its lid, and place it on a stable counter. Keurig's setup guidance uses this reservoir-level workflow because the K-Supreme Plus accepts a removable filter holder inside the tank rather than a permanently built-in filter.
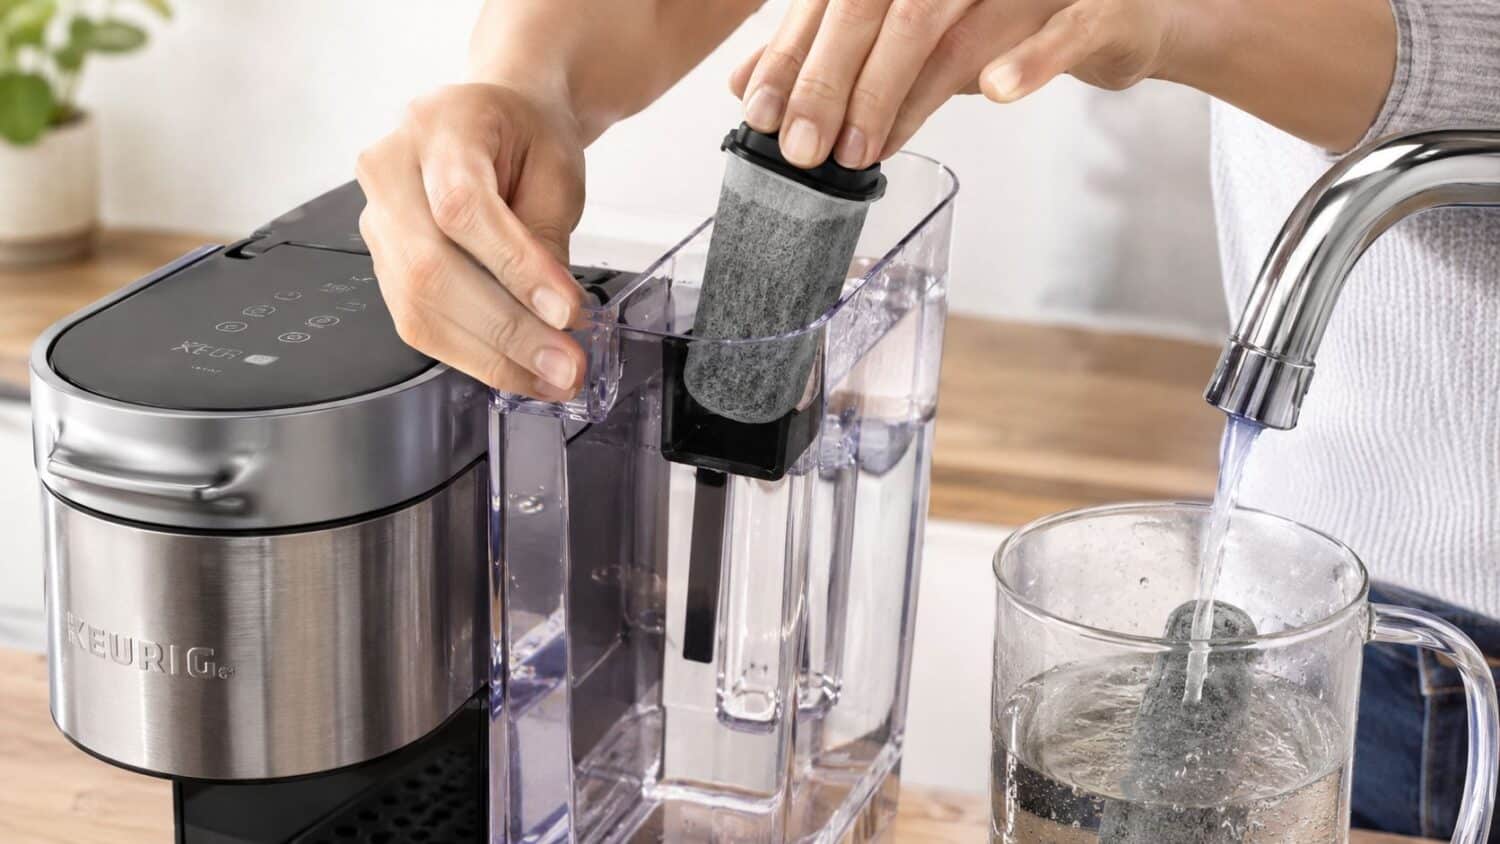
Take the new carbon cartridge and soak it in clean water for about 5 minutes, then rinse it for about 2 minutes, following the K-Supreme Plus installation procedure described in this installation walkthrough. The soak saturates the carbon media, while the rinse clears loose carbon dust before the cartridge enters the reservoir.
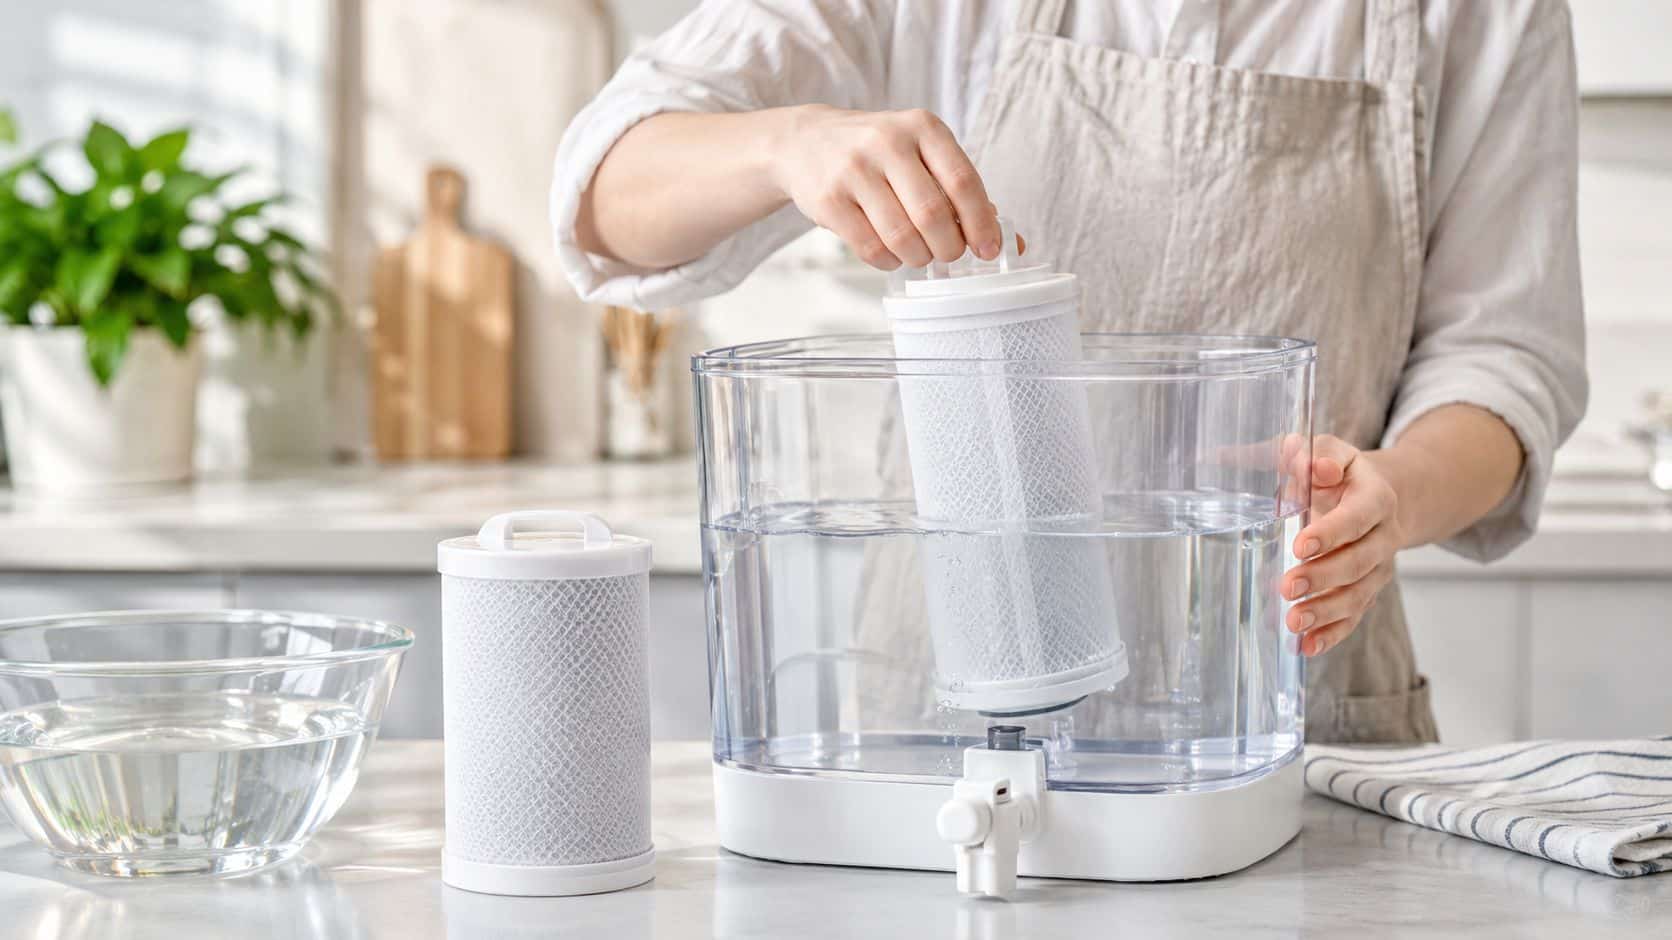
While the cartridge sits in water, rinse the removable holder and wipe the inside of the tank with a clean, soft cloth. Don't use hot water on the cartridge. Room-temperature or cool water is the safer choice for the plastic body and its seal.
Fill only to the marked line
After the holder is ready, refill the reservoir to the MAX FILL line, not above it. Keurig's owner documentation specifically directs owners to rinse and refill the tank to that mark before brewing. Overfilling creates a mess around the tank and can make it harder to tell whether water is escaping because of excess water or a poorly seated holder.
Look over the cartridge before installation. The carbon body should be intact, and the plastic end should not rock or appear damaged. A cartridge that arrives cracked, warped, or visibly loose deserves replacement before it reaches the brewer.
Seating the Filter Holder the Right Way
The holder is the part that keeps the cartridge in position. Remove its lower section by pressing inward at the lower tabs, then place the soaked cartridge inside with the flat side down and rounded side up, as described in the K-Supreme Plus installation guidance.
Press the cartridge into the holder until it engages with the holder's slots. It should sit flush rather than lean at an angle. If the cartridge rocks, stop and inspect the fit instead of forcing the reservoir back onto the brewer.
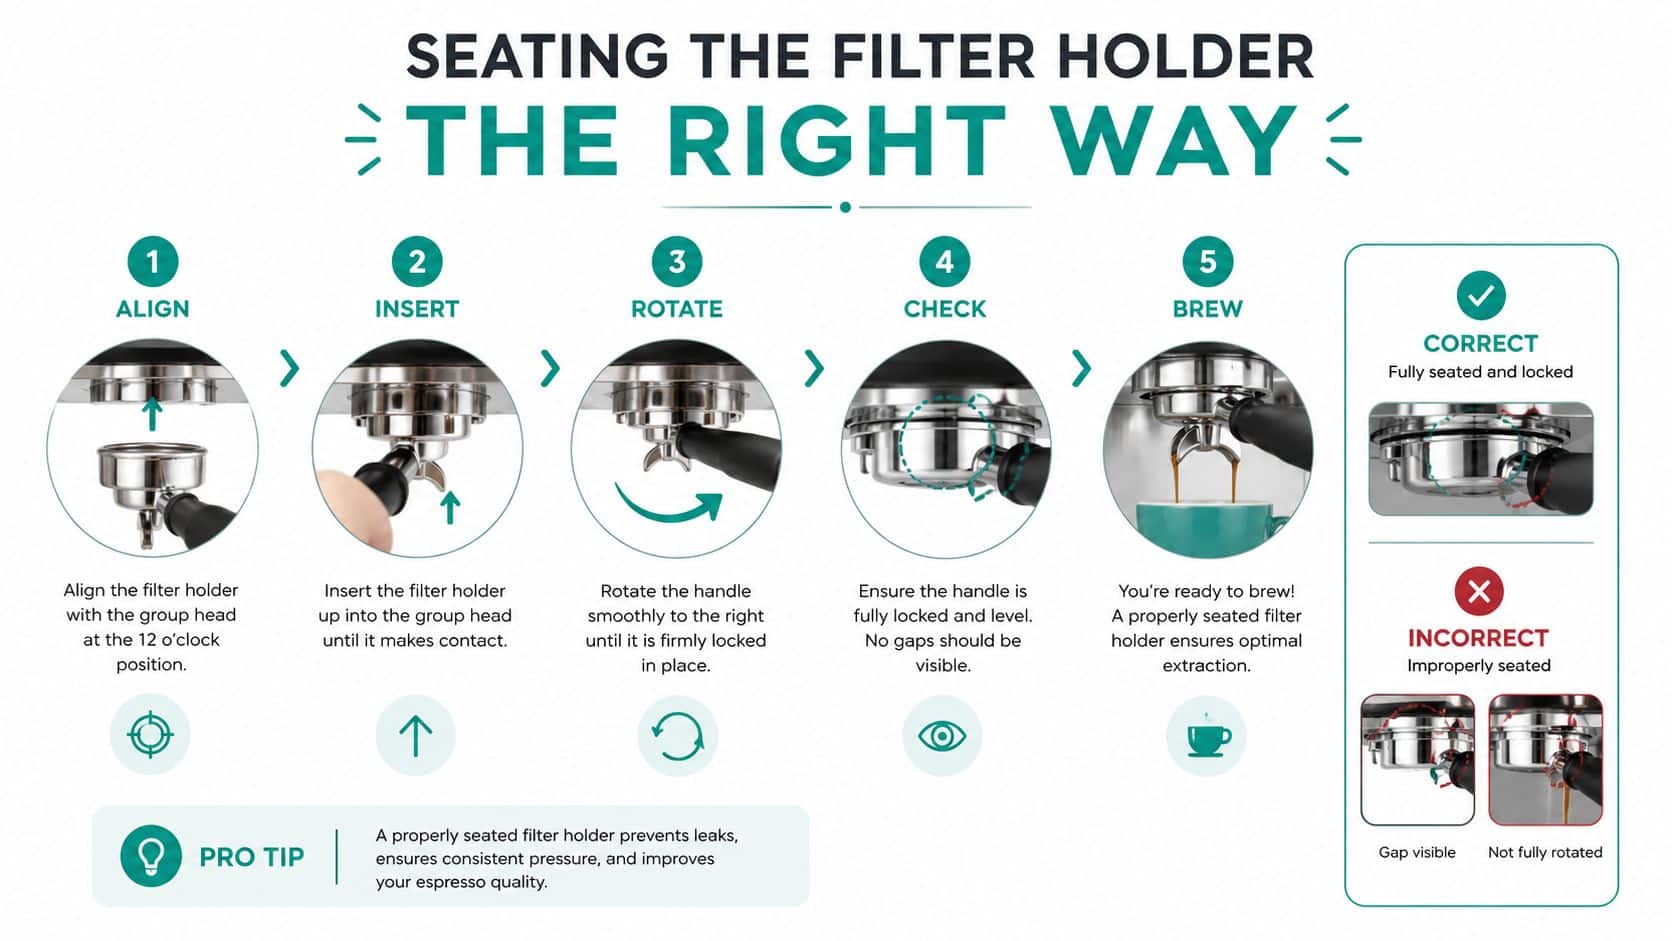
Lower the assembled holder into the filter well inside the reservoir. Press straight down until it clicks and stops firmly against the tank base. The holder should sit level in the well, not perched on the rim. A tilted holder can let water travel around the cartridge instead of through it, which defeats the point of installing the filter.
The K-Supreme Plus uses the taller handle style associated with K-Supreme Plus and K-Duo Plus systems. That compatibility detail matters if you're replacing a damaged holder. A short, older Keurig filter holder may look close enough on a shelf, but the reservoir geometry isn't interchangeable by appearance alone.
For a replacement-part reference, keep this guide to Keurig water filter holder replacement nearby. Once the holder is locked in place, seat the reservoir back onto the brewer and run a plain-water cycle. That flush helps clear any remaining carbon grit and confirms that the tank and holder are sitting securely.
Genuine Keurig Cartridges vs Third-Party Alternatives
The choice isn't just branded versus generic. It's predictable fit versus uncertain fit. Genuine Keurig cartridges are designed for the K-Supreme family's reservoir holder, while third-party replacements vary by manufacturer, mold quality, packaging, and compatibility labeling.
A budget cartridge can work when its shape matches the holder and the cartridge locks firmly into place. The problem starts with vague listings that mention Keurig compatibility without clearly identifying the K-Supreme format. A cartridge that sits too high, rocks in the cradle, or leaves a gap at the base can allow water to bypass the carbon media.
| Feature | Genuine Keurig | Third-Party |
|---|---|---|
| Model fit | Designed for the Keurig filter-holder system | Depends on the manufacturer and listing |
| Installation feel | Consistent snap and seating when matched correctly | May fit securely, or may sit loosely |
| Main trade-off | More confidence in the intended format | Lower-cost options can require more careful checking |
| Leak concern | Usually addressed by the intended holder geometry | Depends on cartridge molding and seal quality |
| Buying decision | Choose when exact OEM matching matters most | Choose only when K-Supreme Plus compatibility is explicit |
Taste isn't the only objection. Many owners worry that a third-party cartridge will leak, float, or change the flavor. Those concerns are reasonable, but the cartridge's physical fit usually deserves more attention than the label on the box. If the filter sits flush, the holder locks down, and the first plain-water cycle runs cleanly, the installation has passed the practical test.
Owners comparing filtration types should also avoid assuming that a smaller micron rating automatically makes a cartridge suitable for this brewer. A general explanation of filtration specifications, such as this 0.2 micron filter guide, can clarify terminology, but the K-Supreme Plus still needs a cartridge that physically matches its reservoir holder.
If you're considering a compatible replacement, confirm the product is labeled for the K-Supreme line and uses the correct tall-holder format. The K-Supreme water filter guide is useful for checking that model-specific distinction before buying.
How Often to Replace the Filter and What to Watch For
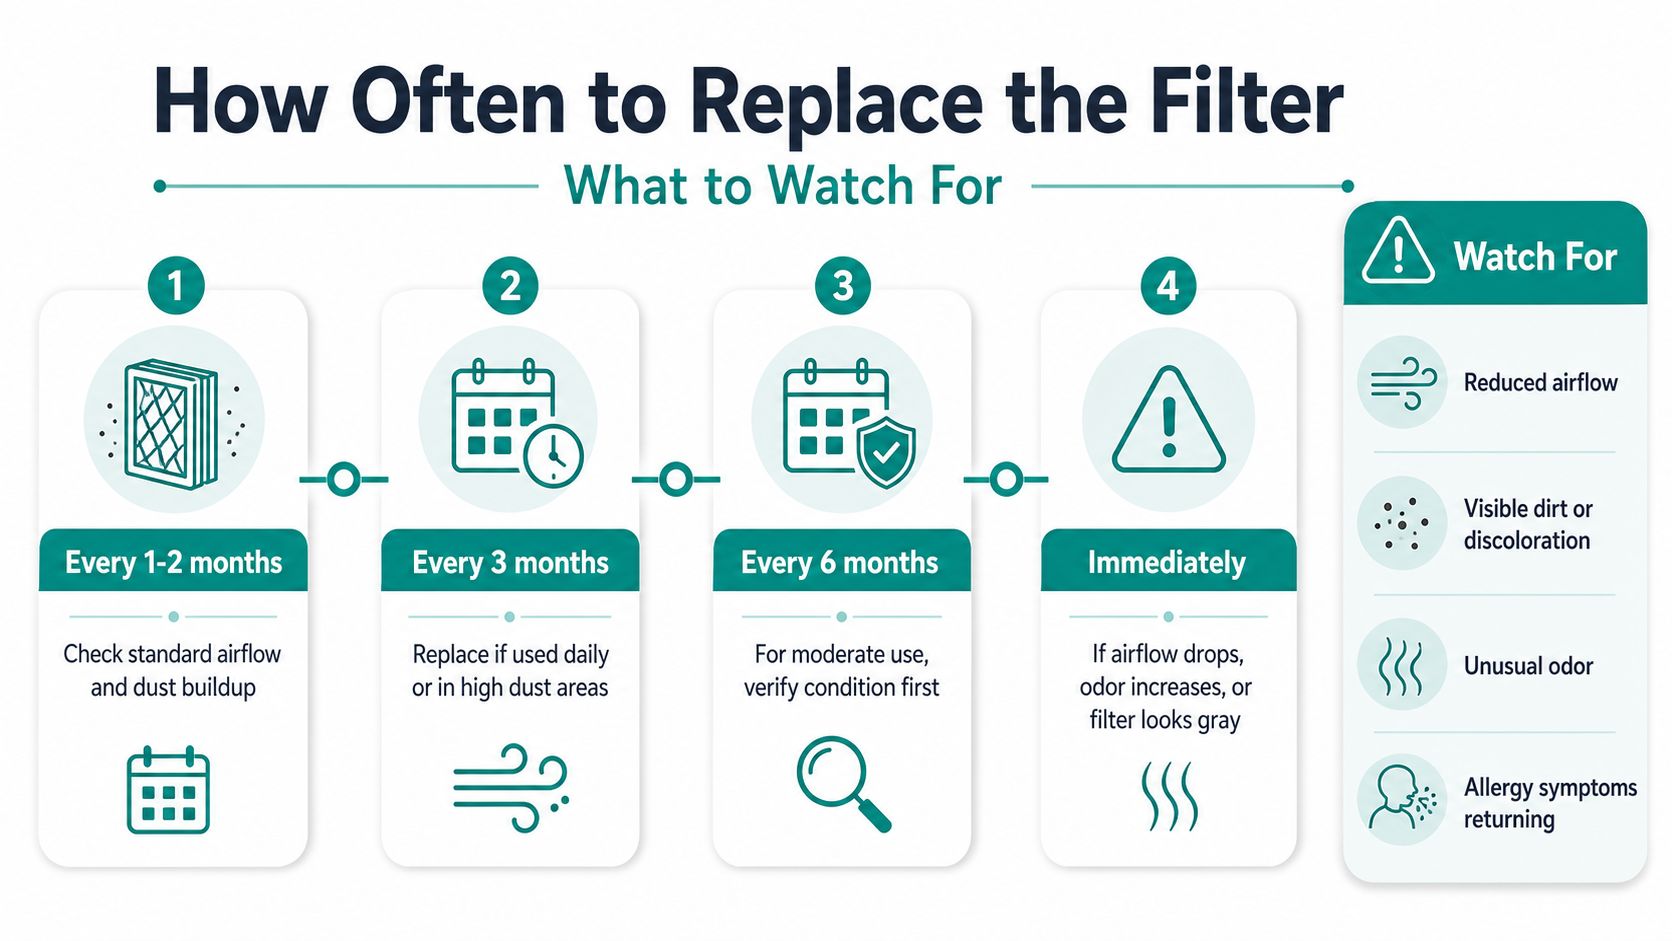
Keurig's filter guidance uses a replacement cadence of every two months or roughly 60 tank refills, whichever comes first. That schedule is easier to follow when you treat the holder's reminder dial or the machine's display as part of the routine, rather than waiting for the coffee to taste obviously wrong.
A light-use household may reach the calendar limit before emptying the tank that many times. A busy kitchen may reach the refill limit sooner. Water conditions also matter, so owners should pay attention to both the reminder and the condition of the brew.
Use the holder reminder
Write the installation date on the cartridge cap with a fine-tip marker, or set a phone reminder for the replacement date. This avoids the common problem of finding a filter in the reservoir and having no idea how long it has been there.
Watch for practical clues:
- Taste change: Coffee develops a chlorine, mineral, or stale-water edge even though the pod hasn't changed.
- Visible residue: The reservoir or drip area shows deposits that weren't present after cleaning.
- Flow change: The brewer seems less consistent after the cartridge has been in service for an extended period.
- Reminder reached: The holder dial or machine display indicates that the cartridge is due.
None of these signs proves that the cartridge has suddenly failed. They suggest that the filter is no longer fresh enough to remain your only maintenance action. Replacing it restores a clean starting point for the water entering the brewer.
A fresh cartridge still won't dissolve old mineral buildup inside the machine. If flavor remains off after replacement, descale the brewer separately and then continue the filter schedule. That distinction prevents you from throwing away usable cartridges while ignoring scale already sitting in the internal water path.
Troubleshooting Filter Problems After Installation
Most installation complaints don't indicate a major brewer failure. They usually point to one of three things: the cartridge wasn't saturated, the holder wasn't seated, or air remains trapped in the filter.
Start with the physical fit. Remove the reservoir, take out the holder, and check that the cartridge sits flat inside it. Press the holder back into the tank until it clicks, then confirm that the reservoir rests firmly on the brewer. If the tank leaks, inspect the holder and its base for a gap, damaged plastic, or a seal that isn't sitting evenly.
Match the symptom to the likely cause
| Symptom | Likely cause | Practical response |
|---|---|---|
| Plastic or carbon taste | The cartridge needs more rinsing | Rinse it again with cool water and run plain-water cycles |
| Cloudy water | Air remains inside the carbon media | Tap the holder gently, then refill the reservoir |
| Add Water alert | The float may be obstructed or the cartridge isn't seated | Lift the tank and check the float and holder position |
| Loose cartridge | The cartridge or holder is the wrong fit or damaged | Replace the cartridge with a K-Supreme-compatible part |
| Water around the tank | The holder isn't fully seated or the reservoir is overfilled | Reinstall the holder and fill only to MAX FILL |
An “Add Water” message with a full reservoir doesn't always mean the machine can't sense water. The filter handle can interfere with the float if the holder is installed incorrectly. Remove the tank, check that the float moves freely, and reinstall the holder without pressing it sideways into the float area.
A first-cup off-taste also doesn't automatically condemn the cartridge. Rushed soaking leaves dry areas inside the media, while an incomplete rinse leaves carbon residue in the water. Give the cartridge the full soak and rinse routine, then run plain water before brewing coffee.
The useful reset is physical, not electronic: remove the tank, inspect the holder, saturate the cartridge, and reinstall the parts in their intended orientation.
Don't rinse the cartridge with boiling water or force a warped cap back into place. If the plastic has deformed or the filter still rocks after correct installation, replace it. A fresh, properly matched cartridge costs less frustration than repeatedly adjusting a part that can't seal.
Keep Your K Supreme Plus Brewing Like New
The routine is short enough to become automatic. Soak the carbon cartridge for about 5 minutes, rinse it for about 2 minutes, snap it into the holder, press the holder into the reservoir until it clicks, and refill the tank to MAX FILL. Then run plain water before making the first coffee.
Replace the filter every two months or roughly 60 tank refills, using the schedule described in the K-Supreme Plus maintenance documentation. Rinse the holder periodically, wipe the reservoir, and descale the brewer as a separate maintenance task. The filter handles incoming water quality, while descaling addresses mineral deposits that have already formed inside the machine.
Keep the maintenance jobs separate
A filter won't fix a brewer that already has scale buildup. Descaler won't replace a saturated carbon cartridge. The K-Supreme Plus performs more consistently when both tasks stay on the calendar.
Use this simple rhythm:
- At installation: Soak, rinse, seat, refill, and flush.
- During regular use: Watch the water level, holder position, and cup flavor.
- At replacement time: Install a fresh cartridge and reset the reminder.
- During brewer maintenance: Descale separately and follow the product directions.
For broader cleaning guidance, the Keurig coffee maker maintenance guide can help you keep reservoir care, filter changes, and descaling in one routine. Compatible replacement cartridges and a suitable descaling product are the useful accessories to keep beside the brewer, especially if you don't want to discover an empty filter pack when the coffee starts tasting stale.
PureHQ Inc. offers K-Supreme and K-Supreme Plus-compatible water filter options alongside descaling and cleaning accessories, so the replacement cartridge and the rest of the maintenance routine can come from the same coffee-care supplier. Choose a cartridge clearly labeled for your model, install it patiently, and let the holder's fit do the work.
Visit PureHQ Inc. to shop K-Supreme Plus-compatible replacement filters and matching descaling accessories. Pick up the correct cartridge before your current one is overdue, then install it with the soak, rinse, and MAX FILL routine for a cleaner first cup.

