
Coffee Machine Care
Coffee Machine Monthly Cleaning Checklist: 8 Steps for 2026
Jul
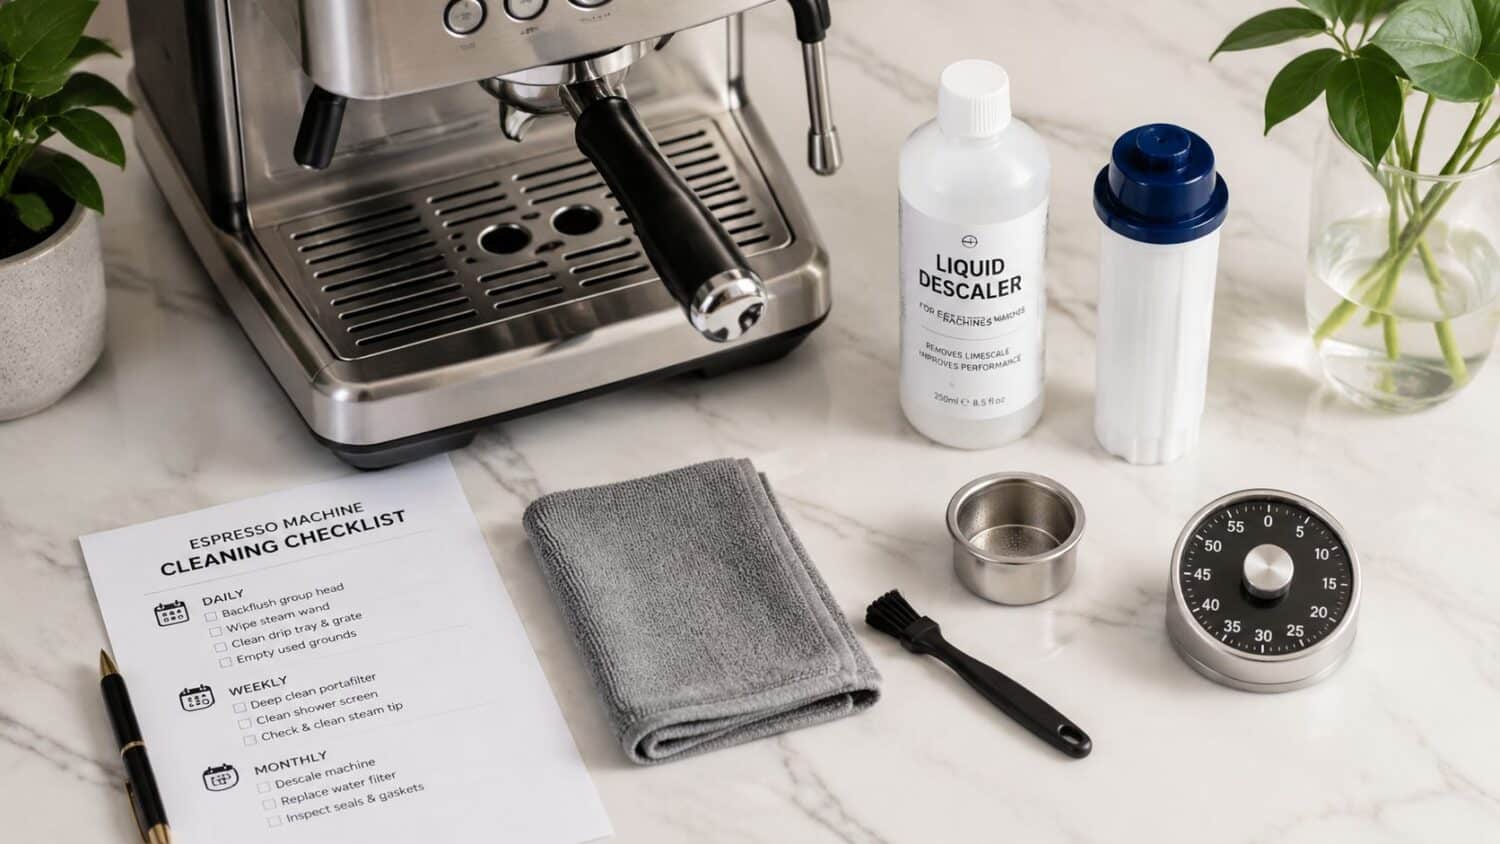
Setup your monthly coffee machine care plan by starting with the task manufacturers and maintenance checklists treat as non-optional. Home Made Simple's daily, weekly, and monthly cleaning checklist explicitly places cleaning and descaling coffee makers in the monthly column, not the daily or weekly one. If you brew every day, that timing matters because scale, coffee oils, stale water, and damp parts all build up in places you don't see until flavor drops or the machine starts acting up.
Most owners wait until coffee tastes flat, brew times slow down, or a Keurig or Ninja DualBrew starts sputtering. That's the expensive version of maintenance. A simple monthly cleaning checklist works better because it catches residue in the reservoir, brewer head, filters, pod parts, and drip areas before buildup turns into leaks, clogs, or off-flavors.
The routine below keeps things practical. Each step includes a rough time estimate, a short how-to, and product-fit notes for common home machines and small office setups. If you use reusable pods, water filters, or a universal descaler from PureHQ, this schedule also helps those accessories do their job instead of fighting grime that should've been removed earlier.
1. Descaling Your Coffee Machine to Remove Mineral Buildup
Time estimate: about 30 to 45 minutes, including wait time and rinse cycles.
Descaling is often postponed, and it's the one that causes the most trouble when water is hard. Complete Home Barista's maintenance schedule states that machines in hard water environments at 121 to 180 ppm require monthly descaling, while soft water at 0 to 60 ppm can stretch the interval to 3 to 4 months. That's a useful rule because it ties the schedule to your water, not to wishful thinking.
For Keurig models, rinse cycles matter just as much as the descaler itself. Wirecutter's Keurig cleaning guide notes that Keurig machines with a removable reservoir such as the K-Classic require at least 12 full cleansing brew cycles with fresh water after descaling. Generic guides often shortchange that step, and you can taste the difference when they do.
How I'd do it in a real kitchen
Fill the reservoir with a manufacturer-approved descaling solution or a citric-acid-based option. If you're comparing formulas, PureHQ's guide to Keurig descaling solution ingredients is useful for understanding what you're putting through the machine.
Run part of the solution through without a pod installed, pause if your machine allows it, then let the liquid sit in the system before finishing the cycle. After that, rinse thoroughly with fresh water until there's no odor or cleaning residue left.
Practical rule: If your tap water leaves scale on faucets or shower glass, don't wait for a warning light. Put descaling on the calendar.
A universal descaler is usually a better buy than improvised kitchen acids for people who rotate between a Keurig, Ninja DualBrew, and an espresso setup. It simplifies storage and reduces the temptation to skip the job. If you also deal with mineral residue elsewhere, the same hard-water issue shows up in other maintenance chores such as removing hard water spots from gelcoat.
2. Cleaning Reusable K-Cups and Pod Filters to Prevent Mold and Coffee Oils
Time estimate: about 15 to 25 minutes, plus drying time.
Reusable pods save money and reduce waste, but they punish lazy cleaning. Fine grounds cling to the mesh, coffee oils turn rancid, and damp storage creates the exact conditions that make the next cup taste stale. The fix isn't complicated. It just has to be thorough.
Start with the pods you use most often. A stainless steel reusable K-Cup is easier to deep-clean than a cheaper plastic pod with tight corners because smooth surfaces hold less residue and scrub out faster. PureHQ's article on getting the best taste and performance from reusable K-Cups in Keurig coffee makers is a good reference if your brews have become weak or muddy.
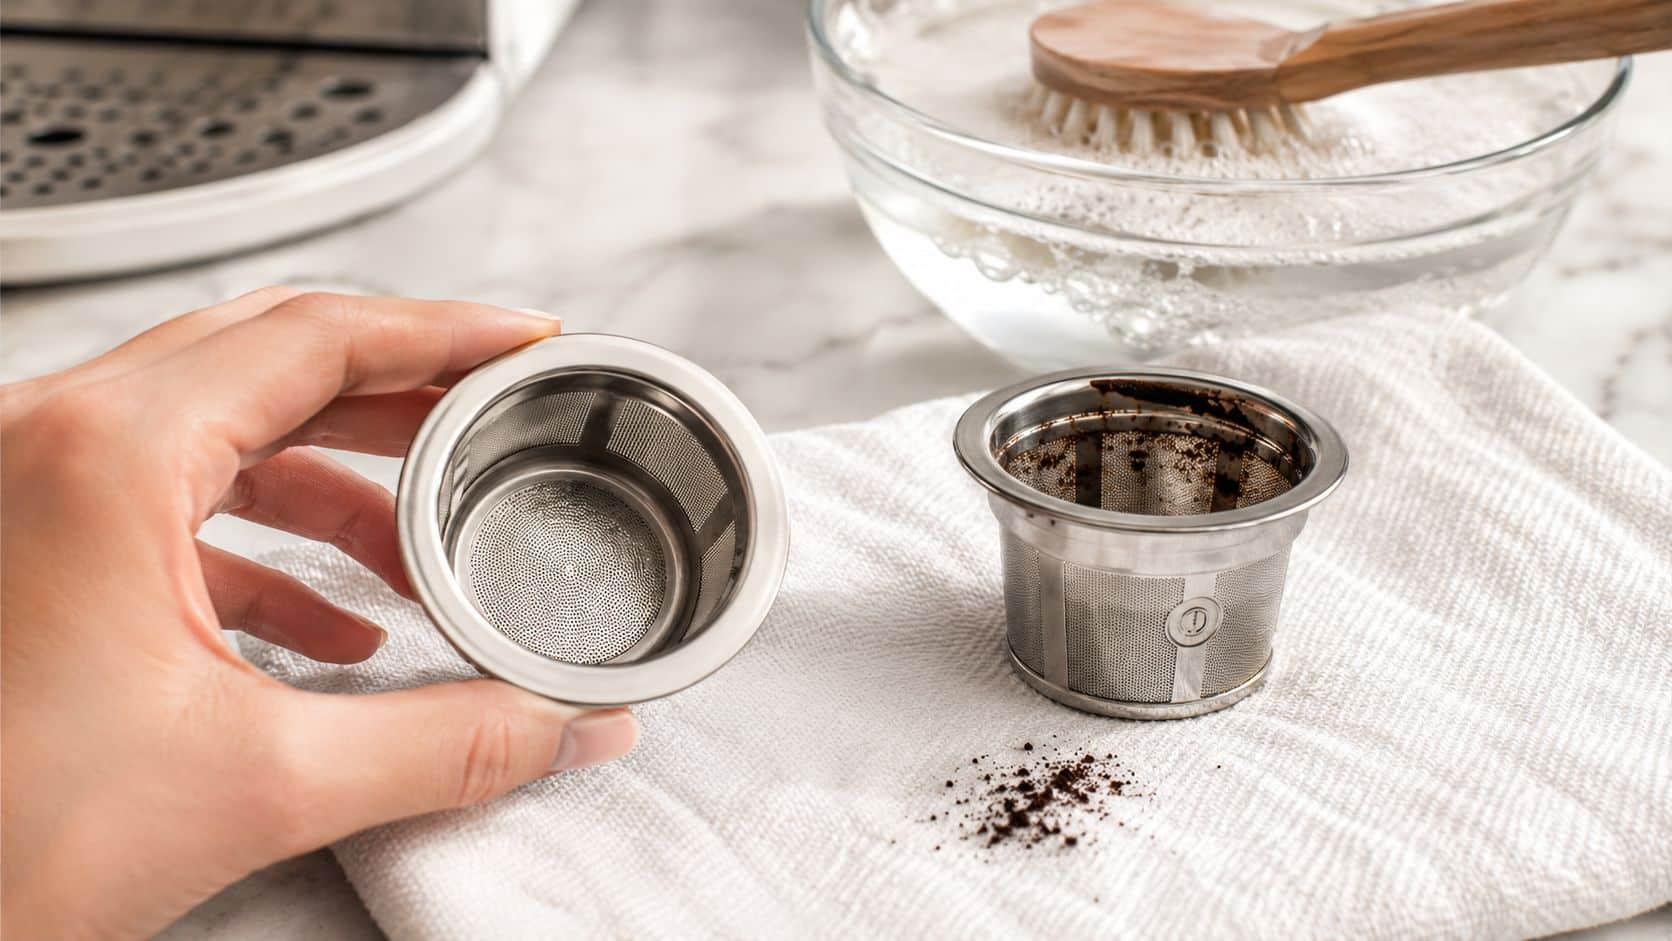
A simple deep-clean routine
- Rinse right away: Flush out used grounds immediately after brewing so they don't dry into the mesh.
- Soak to loosen oils: Once a month, soak the pod in hot water with vinegar, then scrub gently with a soft brush.
- Dry before storage: Let every part air-dry fully before you close it up or stack it in a drawer.
A common objection is that reusable pods are “too fussy” compared with disposable K-Cups. In practice, the problem usually isn't the pod. It's poor drying and inconsistent brushing. If you want lower maintenance, disposable paper liners paired with a reusable stainless pod make cleanup easier and help keep micro-grounds out of the filter mesh.
If a pod smells sour after washing, wash it again. Don't brew through it and hope heat will fix it. If you're worried you already drank from a contaminated setup, this guide on what to do after drinking moldy water explains why mold contamination shouldn't be ignored.
3. Wiping Down the Water Reservoir and Fill Opening to Remove Dust and Algae
Time estimate: about 10 to 15 minutes.
Reservoirs get overlooked because the water looks clean from the outside. That's exactly why buildup sneaks up on people. Dust settles through the open top, kitchen grease lands on the outer walls, and standing water leaves a film that affects taste long before it looks dramatic.
Monthly discipline beats “I'll do it when it looks dirty.” Frontdoor's discussion of home maintenance statistics and overlooked checklist tasks points out that homeowners often delay monthly deep-clean items, especially hidden maintenance jobs and filters. Coffee machine reservoirs land in that same blind spot because they're easy to top off and easy to ignore.
What actually works
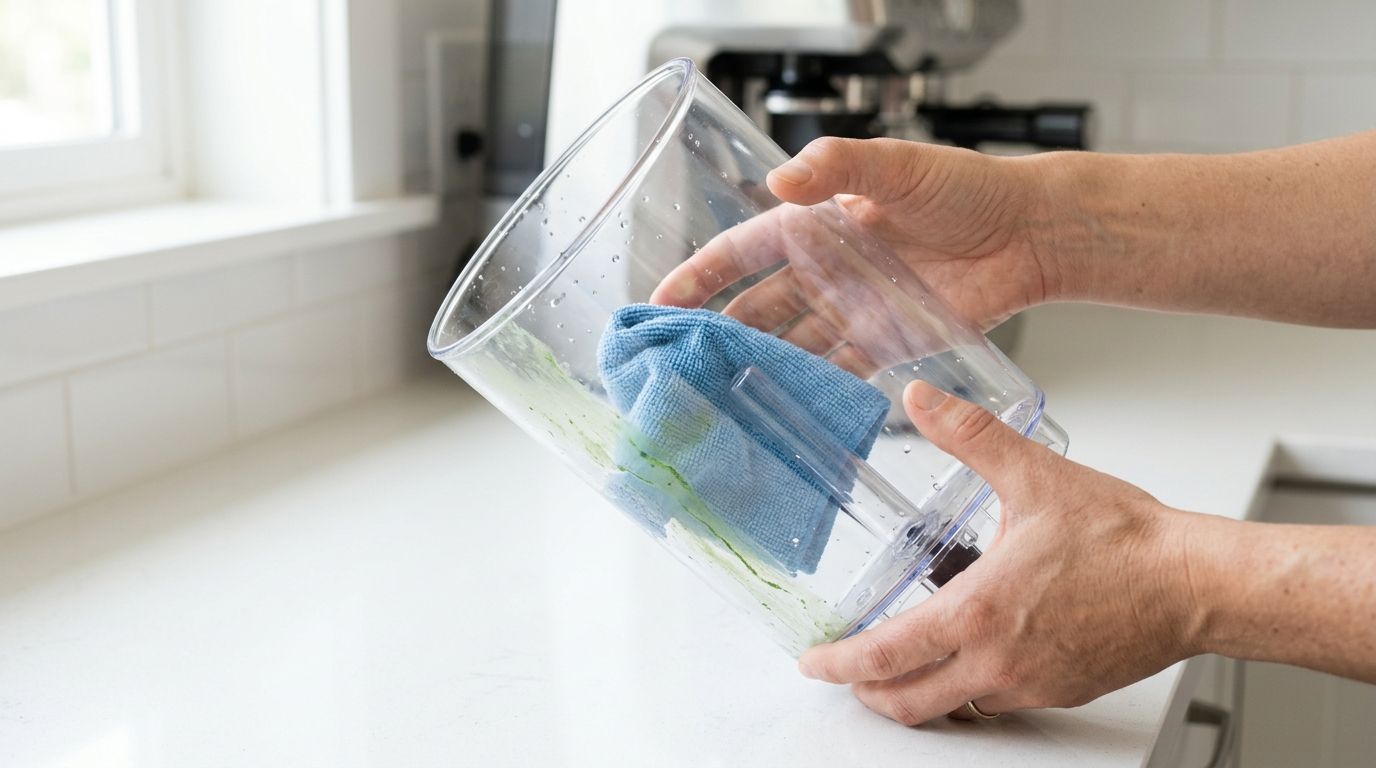
Remove the tank, dump any old water, and wipe the inside with warm water and a soft lint-free cloth. Focus on corners, the base, and the fill opening where fingers, dust, and splashback leave residue.
If you use a water filter cartridge inside the reservoir, clean the tank before you install a fresh filter. A clean reservoir lets the filter handle water quality instead of fighting old sediment and film.
Keep the reservoir dry when the machine will sit unused for a few days. Stagnant water creates more work than it saves.
This step is especially important in sunny kitchens. Clear or lightly tinted tanks can encourage growth when they sit near a window, and many owners don't notice until the water starts looking dull.
4. Scrubbing the Drip Tray and Exit Needle to Eliminate Mold and Coffee Buildup
Time estimate: about 15 to 20 minutes.
The drip tray is where neglect turns visible fast. In home kitchens it catches spills. In shared offices it catches everybody's spills, plus old rinse water that no one admits they left there. Fresh Ground's office machine checklist says monthly cleaning should follow the “dry rule” for components that contact powders or ground coffee, requiring 100% dryness before reassembly to prevent clumping, blockages, and machine stoppages in office environments (Fresh Ground office coffee machine cleaning and maintenance checklist). That dry-first mindset is just as useful for drip trays and lower brew areas at home.
The exit needle needs a lighter touch than the tray. Grounds and residue can obstruct the opening, but aggressive scraping can damage the part or bend something you can't easily replace.
Clean the messy part first
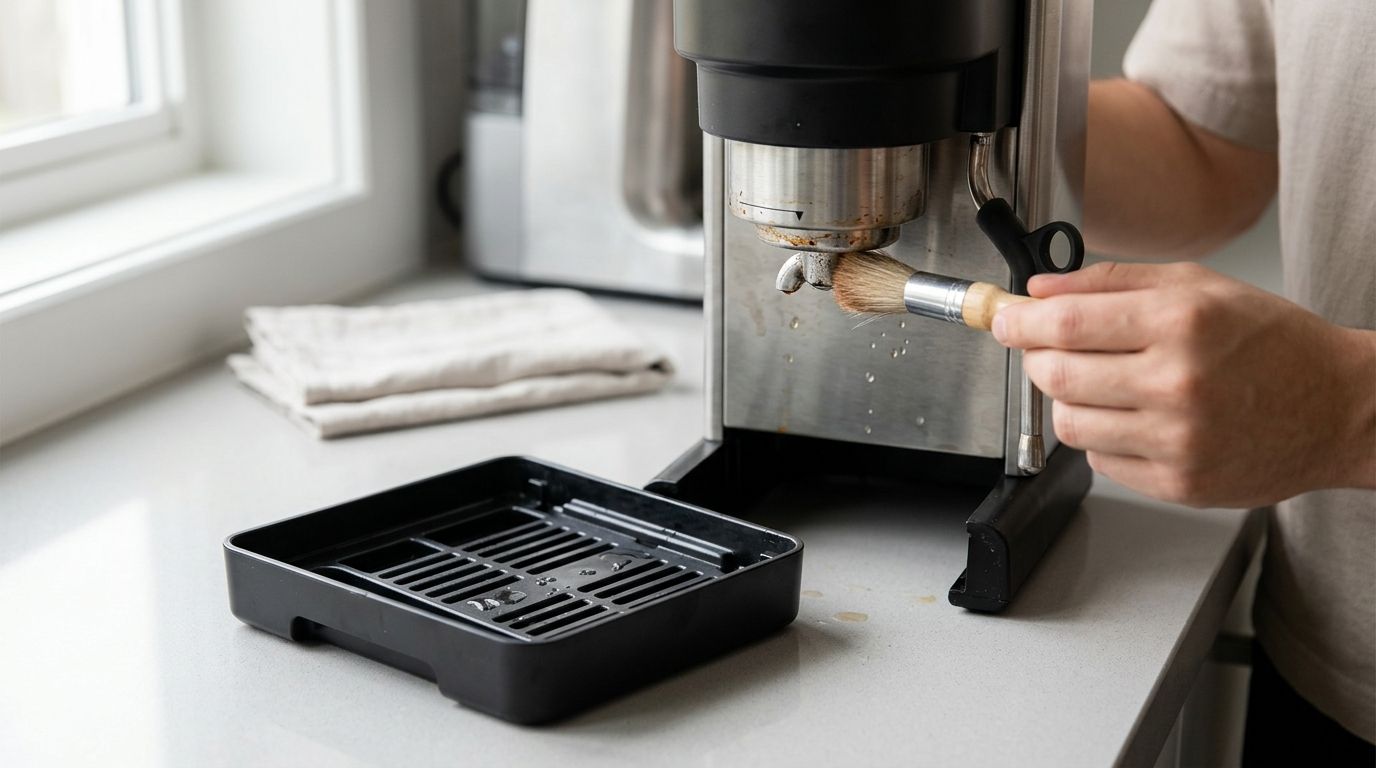
Take out the tray, empty it into the sink, wash it with warm water and dish soap, then dry it fully. If there's a slimy film, scrub the corners and underside instead of just rinsing the visible top.
For the exit needle area, use a soft brush or similar gentle tool and clean around the opening carefully. You want to remove trapped grounds, not force debris deeper into the machine.
- Check odor: A sour smell from the tray means it needed cleaning earlier.
- Check flow: If coffee drips weakly or unevenly, inspect the needle area before you blame the pod.
- Check dryness: Reinstall only when the tray and contact points are fully dry.
5. Cleaning the Brewer Head and K-Cup Basket Housing to Remove Ground Particles
Time estimate: about 15 to 25 minutes.
If your machine leaks around the pod, brews partial cups, or leaves wet grounds behind, the brewer head is one of the first places I'd inspect. Coffee dust, paper flecks, and sticky residue collect in the housing even when the exterior still looks fine.
For espresso-style systems, this monthly step gets more technical. Meraki Tech's espresso machine cleaning guide states that monthly maintenance should include removing and deep cleaning the shower screen and backflushing the group head with a specialized cleaner, not just water, to remove trapped coffee oils. That same principle applies to pod brewers in a simpler form. Water alone won't remove oily residue in the parts that touch hot coffee repeatedly.
Don't force parts that aren't meant to move
Open the brewer head according to your model's design. Some Keurig units pivot open normally, while others have removable components or a slightly different housing shape. If the manual says a part doesn't come off, treat it as fixed.
Wipe the chamber, clean away loose grounds, and inspect the pod seat. A reusable pod that no longer sits flush can mimic a machine problem when the underlying issue is packed debris around the basket housing.
A brewer head can look “mostly clean” and still brew badly. The residue that matters is usually packed around contact points and hidden edges.
If you alternate between disposable pods and a refillable stainless pod, this step often improves sealing and cuts drips. It also helps with a common objection to third-party pods, which is compatibility. Many fit problems start with a dirty housing, not with the pod itself.
6. Replacing or Regenerating Water Filter Cartridges to Maintain Taste and Clarity
Time estimate: about 5 to 10 minutes.
A filter doesn't clean the machine. It protects the machine from what's in your water. When owners skip filter checks, they usually end up descaling more often and chasing flavor problems that no coffee bean upgrade will fix.
Clive Coffee explains that monthly cleaning protocols should include water filter replacement checks because inline filtration cartridges lose effectiveness over time, and the same guidance identifies 35 to 85 ppm as the optimal total water hardness range for preventing scale while supporting extraction quality (Clive Coffee espresso machine cleaning and maintenance). That makes monthly inspection worthwhile even if the cartridge doesn't need replacement every single month.
Replacement versus stretching the filter
Standard or generic filters can work fine when they fit correctly and get changed on schedule. Premium cartridges usually offer better consistency in build quality, fit, and material control, which matters if you brew daily or run a small office machine hard.
One common objection is compatibility. Keurig K-Classic, K-Supreme, K-Slim, K-Duo, and Ninja DualBrew owners should verify the cartridge shape and holder style before buying a multipack. A low-cost filter that wobbles in the reservoir or sheds media dust isn't a bargain.
If you're updating your setup, it's smart to buy filters and descaler together so the maintenance schedule stays synced. People who want a broader overview of treatment options can compare systems in this comprehensive guide to water filtration.
- Mark install dates: Put the replacement date on your calendar or on the filter packaging.
- Rinse before use: Flush a new cartridge as directed so loose carbon dust doesn't enter the reservoir.
- Match to your machine: Confirm model compatibility before you stock up.
7. Emptying and Sanitizing the Water Tank Vent and Machine Exterior to Prevent Dust Accumulation
Time estimate: about 10 to 15 minutes.
This is the step people skip because it feels cosmetic. It isn't. Buttons, lids, handles, and the reservoir vent collect kitchen dust, steam residue, fingerprints, and whatever lands on them between brews.
AAA's house cleaning schedule notes that sustainable routines work better when you build in flexibility for illness, travel, or busy periods, rather than treating the plan like a rigid perfect-month checklist (AAA house cleaning schedule for a spotless home). That's helpful here because exterior cleaning is easy to postpone. If you miss the exact date, do it on the next available day instead of skipping the month entirely.
Fast sanitation without overdoing it
Unplug the machine, wipe the body with a damp microfiber cloth, then dry it with a second cloth. Use a cotton swab for the vent opening and tight seams around buttons or the handle area.
Don't spray cleaners directly onto the machine. Moisture can slip into seams, and perfumed sprays often leave a smell that's hard to separate from the coffee itself.
A standard wipe-down is usually enough for home use. In a shared office, I'd be stricter. High-touch breakroom equipment gets handled by too many people to leave it to chance.
8. Inspecting and Replacing Worn Seals, Gaskets, and Pod Basket Components for Leak Prevention
Time estimate: about 10 to 20 minutes.
Leaks rarely start as dramatic failures. They usually start as a drip at the pod rim, a little spray around the brewer head, or water collecting where it never used to collect. Monthly inspection catches the early version, which is cheaper and easier to fix.
Commercial maintenance checklists from CM Sale tie structured monthly protocols to a 40 to 60% reduction in unplanned machine downtime in office settings, driven in part by proactive replacement of wear items such as group head gaskets and regular valve testing (CM Sale espresso machine maintenance checklist). Home brewers don't need commercial-level logging, but the principle is the same. Rubber parts age subtly, then suddenly stop sealing.
What to inspect before you buy replacement parts
Look at gasket edges for flattening, cracking, or stiffness. Check reusable pod rims, mesh, hinges, and any spring-loaded components for warping or poor closure.
If you're unsure what part you're looking at, PureHQ's guide to coffee maker parts helps identify the common wear points on brewers and accessories. That's especially useful when a leak seems like a machine failure but stems from a worn pod seal or damaged basket edge.
A premium accessory usually outlasts a bargain-bin equivalent because fit and material quality matter more here than they do in simple storage parts. Standard pods and generic baskets can still work well, but once the rim deforms or the mesh starts separating, replacement is the only smart move.
- Inspect seals monthly: Don't wait for a major leak.
- Replace worn pod parts early: A damaged reusable basket can cause weak extraction and messy overflows.
- Treat fit as performance: If the pod or basket doesn't seat cleanly, coffee quality drops with it.
8-Point Monthly Coffee Machine Cleaning Checklist
| Item | Implementation complexity | Resource requirements | Expected outcomes | Ideal use cases | Key advantages |
|---|---|---|---|---|---|
| Descaling Your Coffee Machine to Remove Mineral Buildup | Moderate, ~30–45 min per cycle; follow model instructions | Descaling solution (citric/commercial), fresh water, sink/bucket | Restores temperature & flow, reduces scale, improves flavor, extends heater life | Hard-water areas; monthly maintenance for Keurig, Ninja, espresso systems | Prevents heating-element damage; restores 195–205°F extraction; cost-effective vs replacement |
| Cleaning Reusable K-Cups and Pod Filters to Prevent Mold and Coffee Oils | Low–Moderate, weekly rinse; monthly deep soak/scrub | Soft brush, vinegar or detergent, dishwasher optional, disposable liners | Removes grounds/oils, prevents mold, prolongs pod life, improves brew freshness | Households using reusable pods; eco-conscious users; small offices | Cost savings vs single-use pods; large waste reduction; preserves taste and safety |
| Wiping Down the Water Reservoir and Fill Opening to Remove Dust and Algae | Low, 10–15 minutes monthly | Warm water, soft cloth, vinegar for stubborn algae | Prevents algae/biofilm, clears water clarity, protects filter performance | Humid kitchens, shared breakrooms, visible sediment or cloudiness | Quick, low-cost prevention of algae and off-flavors; extends filter life |
| Scrubbing the Drip Tray and Exit Needle to Eliminate Mold and Coffee Buildup | Low, 5–10 minutes; needle requires gentle handling | Soft brush or toothbrush, warm water, vinegar soak for mineral deposits | Removes mold and scale, restores needle flow, prevents overflow and odors | High-traffic/shared machines; users experiencing weak or slow brews | Eliminates mold sources and drainage backups; improves extraction consistency |
| Cleaning the Brewer Head (Top) and K-Cup Basket Housing to Remove Ground Particles | Moderate, 10–15 minutes; model-specific access and care | Warm water, soft detail brush, reference to manual, vinegar for scale | Clears debris that impedes pod seating and flow; reduces leaks and weak extraction | Machines with reusable pods or users with extraction/leak issues | Restores proper pod seal and extraction; reduces service calls and leaks |
| Replacing or Regenerating Water Filter Cartridges to Maintain Taste and Clarity | Low, quick replacement; schedule every 2–3 months (or per usage) | Replacement cartridges ($2–$8 each), track usage/date | Removes chlorine/sediment, reduces hardness, improves taste, slows scale | High-chlorine or hard-water areas; taste-focused users | Immediate taste improvement; cuts scale formation ~40–60%; extends machine life |
| Emptying and Sanitizing the Water Tank Vent and Machine Exterior to Prevent Dust Accumulation | Low, 5–10 minutes monthly | Soft microfiber cloth, cotton swabs/pipe cleaners, warm water (optional diluted vinegar) | Removes dust and microbes, maintains airflow, improves hygiene and appearance | Shared kitchens, offices, households with children or immunocompromised | Fast, low-cost sanitization that reduces contamination risk and keeps machine looking new |
| Inspecting and Replacing Worn Seals, Gaskets, and Pod Basket Components for Leak Prevention | Low (visual check 5–10 min) to Moderate if replacing parts | Replacement seals/gaskets ($5–$20), basic tools, correct part numbers | Detects/prevents leaks, restores pressure and extraction, avoids water damage | Older machines, frequent-use environments, machines showing leaks or poor extraction | Inexpensive preventive fix that avoids costly machine damage and restores performance |
Brew Better Every Month
A monthly cleaning checklist works because it prevents the two problems that ruin coffee machines most often. First, owners wait too long to remove scale, oils, and standing water. Second, they clean the visible parts and ignore the functional parts that affect brewing, such as filters, vents, needle areas, pod housings, and seals.
That's why a monthly plan beats random deep cleans. You're not trying to restore a badly neglected machine. You're keeping small issues from turning into bad coffee, leaks, and inconsistent brew performance. For a Keurig, that can mean fewer partial cups and less residue in the brewer head. For a Ninja DualBrew or espresso setup, it can mean more stable flow, cleaner flavor, and fewer service headaches.
The trade-off is time. A full monthly session takes longer than a quick wipe-down after brewing. But that extra effort is concentrated, predictable, and easier to maintain than emergency cleaning after the machine starts smelling sour or scaling up. If you use reusable K-Cups, the payoff is even clearer because pod maintenance, filter changes, and descaling all work together. A clean machine helps the pod seal correctly, and cleaner water helps the coffee taste the way it should.
What doesn't work is half-cleaning. Running a little soap through removable parts but storing them damp doesn't work. Descaling without enough rinse cycles doesn't work. Replacing a filter while leaving the reservoir dirty doesn't work. Using a premium reusable pod in a dirty brewer head doesn't work either. Monthly maintenance only pays off when each part of the system gets cleaned with the role it plays in mind.
If you want a room-ready printable routine, keep the checklist simple enough that you will follow it. Add one line each for descaling, reusable pod deep-cleaning, reservoir wash, drip tray and needle cleaning, brewer head cleanup, filter check, exterior sanitation, and seal inspection. Then add the date completed. That's enough for a home kitchen, a shared breakroom, or a small office coffee station.
Stocking the right accessories makes the routine easier to keep. A good descaler, compatible water filters, reusable stainless pods, paper liners, and replacement basket parts remove a lot of friction from monthly upkeep. Instead of improvising with whatever is under the sink, you use products designed for coffee equipment and move on.
If your machine is due now, don't wait for another weak cup or another slow brew cycle. Set the reminder, clean it properly, and keep the supplies on hand so next month is easier than this one.
PureHQ Inc. makes monthly coffee machine care easier with reusable K-Cups, compatible water filters, universal descaling solutions, paper liners, gold-tone baskets, and replacement accessories built for Keurig, Ninja DualBrew, and other popular brewers. Shop PureHQ Inc. to stock up on the maintenance essentials that help your machine stay cleaner, brew better, and last longer.

