Coffee Machine Care
Ninja Coffee Maker Video: Best Brews & Easy Fixes
May
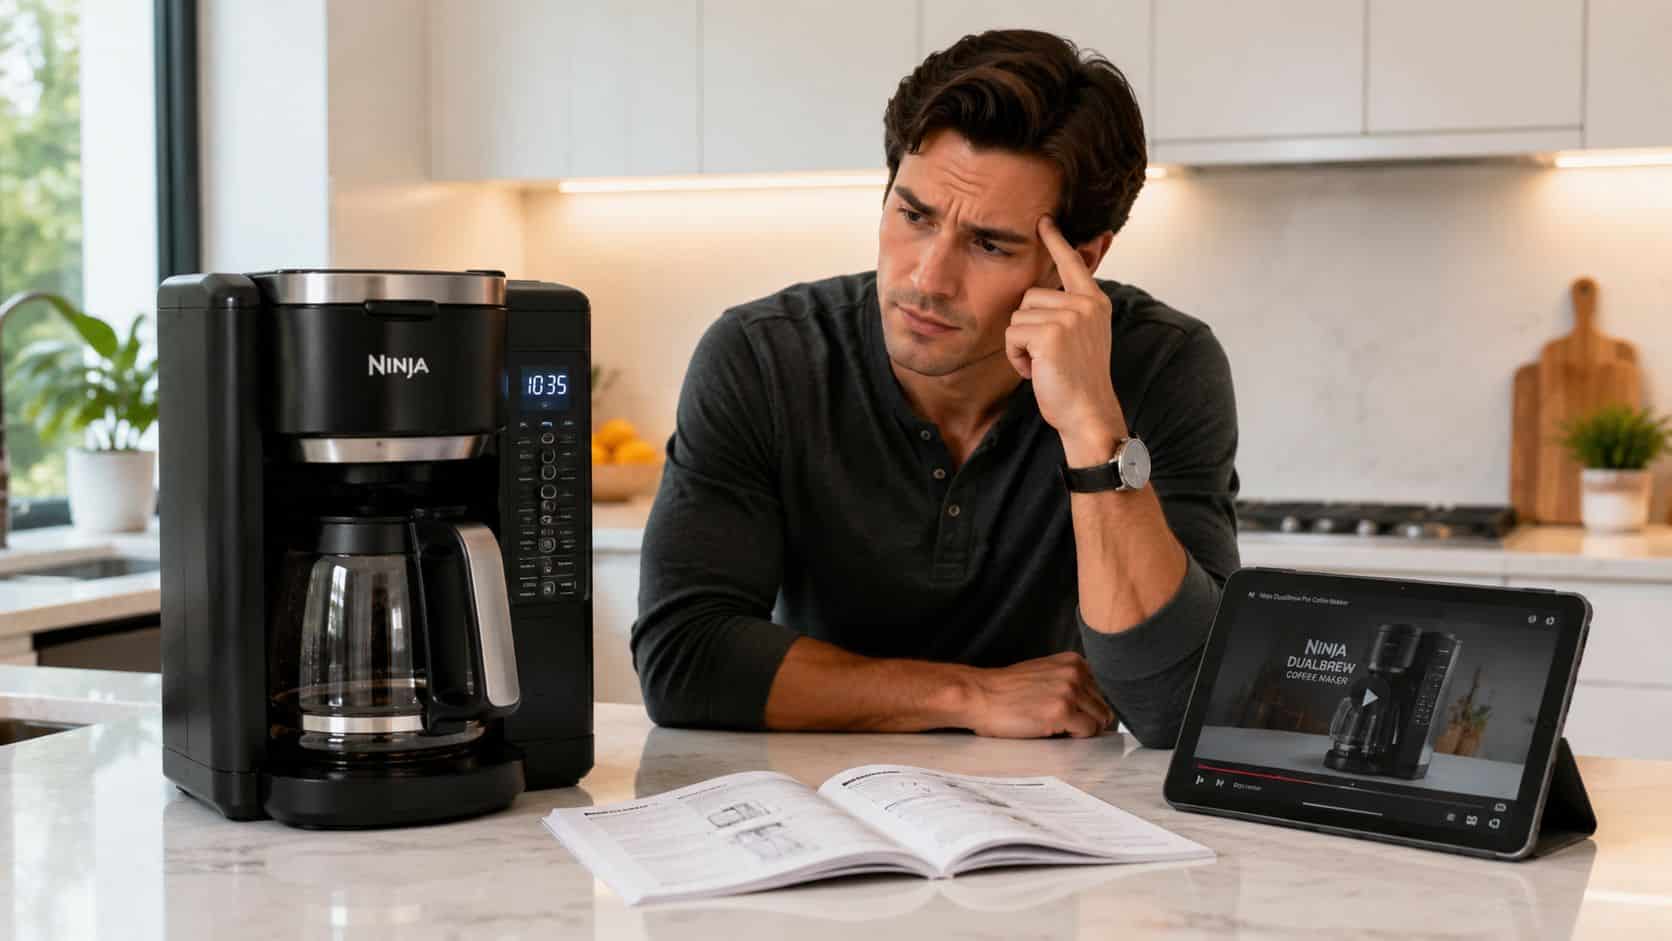
You bought a Ninja because you wanted one machine to handle weekday mugs, iced coffee, and the occasional full pot. Then you opened the box, looked at the buttons, watched a couple of rushed clips online, and realized most “helpful” videos barely go past first impressions.
That's where frustration starts. People press the wrong brew path, use the wrong insert, skip cleaning, or blame the machine when the actual issue is a worn adapter or a sloppy accessory fit. A good ninja coffee maker video should do more than show button presses. It should explain the machine's logic, the trade-offs behind pods versus grounds, and why some problems keep coming back.
Getting to Know Your New Ninja Coffee Maker
The first surprise with a Ninja machine is that it isn't a one-job brewer. That's why new owners often feel a little overwhelmed. You're not just choosing “brew” or “not brew.” You're choosing size, style, format, and in some models even the brew path itself.
One reason the Ninja Specialty Coffee Maker shows up so often in reviews is simple: it covers a lot of ground. Consumer Reports notes that the Ninja Specialty Coffee Maker offers 6 brewing sizes, from a 9.5 oz cup to a 44 oz full carafe, along with 4 brew modes. That same review explains that the machine can handle everything from a concentrated specialty brew to a larger batch, which is exactly why so many videos try to decode it.
What confuses most first-time owners
A new owner usually runs into one of these problems first:
- Too many choices: Cup, mug, carafe, over ice, rich, specialty. They all sound useful, but they don't all behave the same way.
- Mismatch between expectation and result: Someone wants a stronger coffee and picks a bigger size instead of a different style.
- Fear of messing up the machine: People worry that one wrong setting will cause overflow, watery coffee, or a cleanup headache.
Practical rule: Treat your Ninja like a system, not a single button appliance. The machine makes better coffee when your size, brew style, and insert all match the drink you actually want.
What a useful video should do right away
The best beginner video doesn't start with aesthetics. It starts with decisions. It should show what each brew size is for, when rich brew makes more sense than classic, and how to avoid using the machine in a way that creates weak or messy results.
That's also why I prefer videos that show mistakes on purpose. If a guide never shows the wrong basket, the wrong insert order, or what happens when you skip maintenance, it leaves out the stuff that causes trouble in real kitchens.
The Ultimate Ninja Coffee Maker Video Guide
Search results for ninja coffee maker video are crowded with unboxings, kitchen montages, and “first brew” clips that skip the details that matter. A polished overview can be fun to watch, but it doesn't help when you're trying to figure out why rich mode tastes better with milk, or why the machine changed the size options after you swapped inserts.
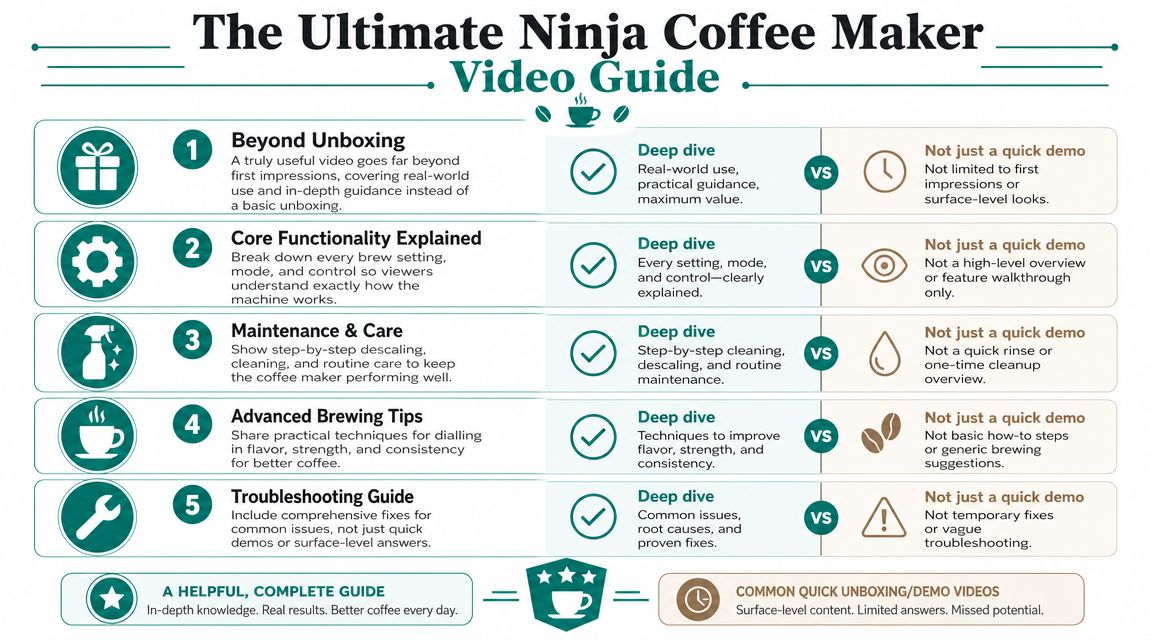
The strongest tutorial videos share the same traits. They explain the machine's behavior, not just its controls.
What separates a good tutorial from a forgettable one
- Beyond unboxing: A useful video should move past “what's in the box” and into real use.
- Core settings explained: It should show what each brew mode changes in the cup.
- Maintenance included: If the video never covers cleaning and descaling, it's incomplete.
- Advanced tips: Better guides talk about flavor, strength, and consistency.
- Troubleshooting built in: Quick fixes help, but root-cause diagnosis helps more.
A creator who wants to build that kind of walkthrough can learn a lot from TimeSkip's tutorial video guide, especially around structuring steps so viewers can follow the process without getting lost.
What your own reference video should include
If I were judging a single video to keep bookmarked for a Ninja machine, I'd want it to include these moments:
- Startup and setup with the exact parts installed in the right order.
- A brew-style comparison that shows when classic, rich, over ice, or specialty makes sense.
- A full maintenance pass so the owner knows the difference between rinsing parts and cleaning the internals.
- Common mistake examples like the wrong adapter sequence or a poor-fit reusable pod.
- A symptom-based troubleshooting segment for slow flow, grounds in the cup, and overflow.
A useful coffee video answers “why did that happen?” not just “what button did they press?”
That's the gap most Ninja owners run into. They don't need another cinematic pour shot. They need a guide that prevents wasted coffee and repeat mistakes.
Mastering Brew Sizes and Styles
The smartest thing many Ninja owners can learn is that the machine is already making decisions for you. If you work with that logic, coffee gets easier. If you fight it, results get inconsistent fast.
How the machine thinks
On the DualBrew Pro, the machine changes its options depending on what you insert. In the official tutorial, Ninja shows that inserting the grounds basket or pod adapter changes the available brew sizes, with 9 grounds sizes and 4 pod sizes from 6 to 12 oz. That's not a gimmick. It's the machine protecting the brew process from a bad size-path mismatch.
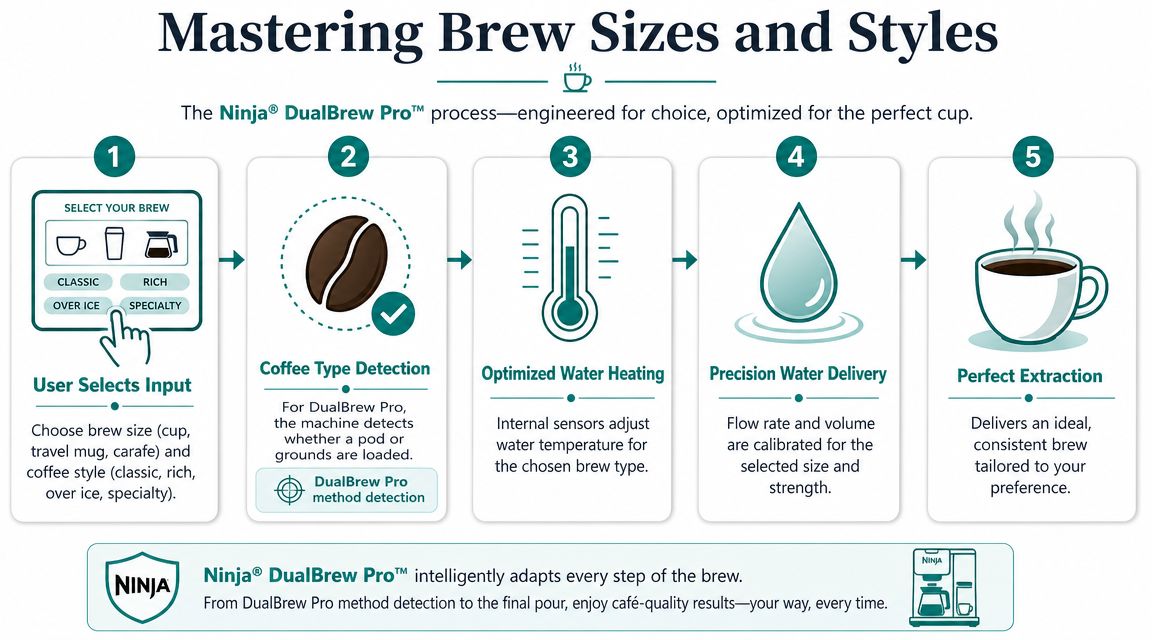
If you use grounds, the machine expects one kind of saturation and volume behavior. If you use a pod, it expects another. Respecting that detection logic saves you from two of the most common complaints: weak coffee and overflow.
Matching style to the drink
People often choose brew style by guesswork. A better approach is to match style to what happens after brewing.
- Classic works well when you want a balanced daily cup.
- Rich makes more sense when you plan to add milk or want a fuller-tasting result.
- Specialty is the concentrated option for café-style drinks.
- Over ice exists for a reason. It keeps the final drink from tasting washed out.
Here's the practical part. If your coffee tastes thin, changing from classic to rich usually makes more sense than choosing a smaller volume. If your iced coffee tastes flat, the problem may be that you brewed a standard cup over ice instead of using the over-ice path.
For a deeper look at matching volume to coffee dose, PureHQ has a solid explainer on water-to-coffee ratio for home brewing. It helps when you want to understand why one size tastes dialed in and another tastes stretched.
After you've seen the flow once, this embedded walkthrough helps the machine's decisions feel more predictable:
The easiest way to avoid brew mistakes
Think in this order:
- Pick the drink first. Hot mug, travel mug, iced coffee, or a larger batch.
- Choose the brew path. Grounds and pods don't behave the same way.
- Then choose the style. Strength and drink purpose matter more than habit.
Brew rule: Don't pick a size because the cup can hold it. Pick a size because the brew path and drink type support it.
That one shift fixes a surprising amount of “my Ninja makes weak coffee” frustration.
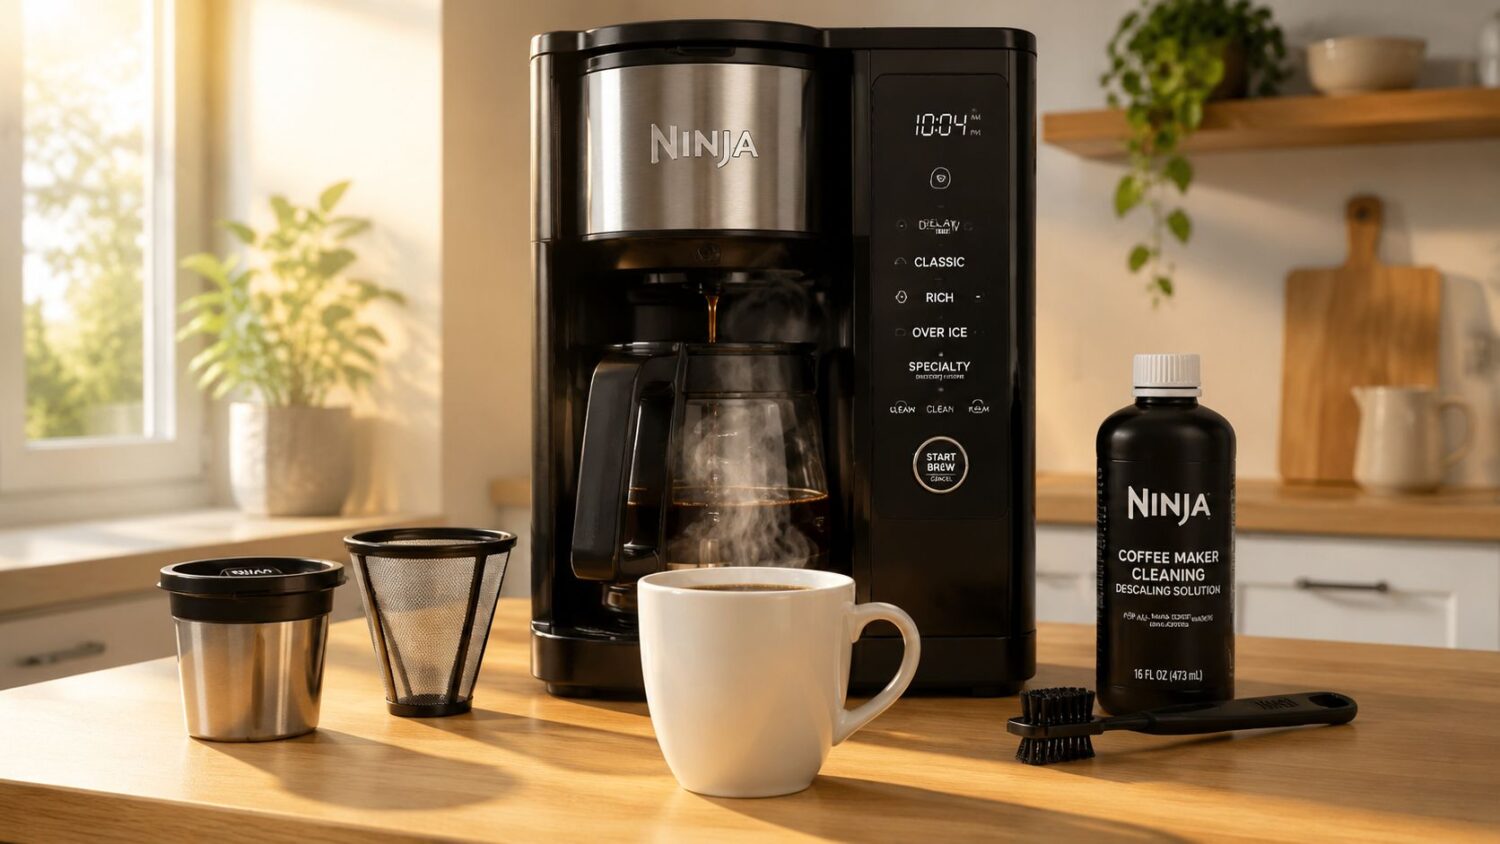
Keeping Your Ninja Clean and Descaled
A lot of owners say they clean their machine when what they really mean is they rinse the removable parts. That's helpful, but it's only half the job. Daily cleanup handles residue you can see. Descaling handles mineral buildup you can't.
Daily cleaning versus internal cleaning
Daily care is simple. Empty the basket, rinse what touched coffee, wipe spills, and don't leave stale grounds sitting in a warm machine. Those habits keep smells down and stop old residue from affecting flavor.
Descaling is different. It deals with calcium buildup inside the brewer, where water moves and heats. Consumer Reports notes this matters because buildup can affect both brewing time and coffee flavor, and the recommended cleaning cycle can use either descaling solution or white vinegar, as noted earlier in the article.
If you've been putting this off, a practical walkthrough on how to clean a Ninja coffee maker can help you separate the quick daily tasks from the deeper maintenance cycle.
What works and what usually goes wrong
What works is consistency. The machine doesn't need dramatic rescue sessions. It needs regular attention before performance drops.
What doesn't work is waiting until every symptom shows up at once. By then, owners often notice slower brewing, off flavor, extra noise, or a machine that just feels strained. Then they blame the brewer, even though the internal water path has been neglected.
A few habits make the biggest difference:
- Rinse removable parts promptly: Old coffee residue gets harder to remove when it dries.
- Run the proper cleaning cycle when needed: Don't treat the clean alert like a suggestion.
- Use fresh water regularly: Old tank water can make a fresh brew taste tired.
- Keep a descaler on hand: If you wait until the machine is struggling, maintenance feels like an emergency instead of routine care.
A descaling solution is often easier to use than pantry vinegar because it's made for the job and doesn't leave that lingering kitchen smell. Paper liners can also help if you use reusable accessories and want less sediment and easier cleanup.
Clean coffee equipment doesn't just protect the machine. It protects the taste you bought the machine for.
Upgrading Your Brew with Reusable Accessories
Convenience pushes a lot of people toward pods. Flexibility pushes them back toward reusable gear. The problem is that most ninja coffee maker video reviews barely spend time on what changes when you switch accessories.
That missing detail matters. The accessory you use affects flavor clarity, cleanup, sediment, waste, and how often you end up troubleshooting.
The trade-offs people notice after a few weeks
One of the biggest unanswered questions for Ninja owners is how reusable options compare with pods in daily life. This video analysis highlights that trade-offs between grounds baskets, reusable pods, paper liners, and water filtration are rarely quantified, even though users care about taste, clog risk, cleanup time, and long-term cost.
In practice, the decision usually comes down to this:
- Pods win on speed.
- Grounds win on flexibility.
- Reusable accessories can give you the convenience of the system without locking you into disposable formats.
- Cheap third-party parts often create fit problems that cancel out the benefits.
Comparison of Brewing Accessories for Ninja
| Feature | Disposable Pods | Generic Reusable Pods | PureHQ Reusable Filter & Pod |
|---|---|---|---|
| Convenience | Very convenient | Convenient after setup | Convenient after setup |
| Coffee choice | Limited to pod selection | Broad choice with your own grounds | Broad choice with your own grounds |
| Waste | Higher waste | Lower waste | Lower waste |
| Cleanup | Minimal after brewing | More cleanup | More cleanup |
| Fit consistency | Usually predictable with correct adapter | Can vary by brand | Designed for Ninja DualBrew compatibility |
| Common objection | Less control over coffee choice | Grounds in cup, poor sealing, messy brewing | Better option when you want a compatibility-matched reusable setup |
The most common objection is grounds in the cup. That usually comes from poor mesh design, weak lid sealing, or a reusable pod that doesn't sit correctly in the adapter. People often think the machine failed when the issue is a loose or mismatched accessory.
If you want a compatibility-matched reusable option for the DualBrew platform, PureHQ's reusable filter pod set for Ninja Dual Brew coffee makers is one example built around that use case.
What I'd actually choose by use case
If you brew in a rush before work, pods still make sense. If you care more about bean choice and waste reduction, reusable gear is usually worth the extra rinse.
For the cleanest reusable workflow, pair your reusable filter with a paper liner when you want easier cleanup and less fine sediment. If your water quality is inconsistent, water filtration can also help reduce the “same beans, different taste” problem that confuses a lot of home brewers.
Troubleshooting Common Ninja Coffee Maker Issues
Most troubleshooting videos stop too early. They show a paperclip, a rinse cycle, or a quick nozzle clean, then move on. That helps when the issue is a simple blockage. It doesn't help when the symptom keeps coming back because the underlying issue is elsewhere.
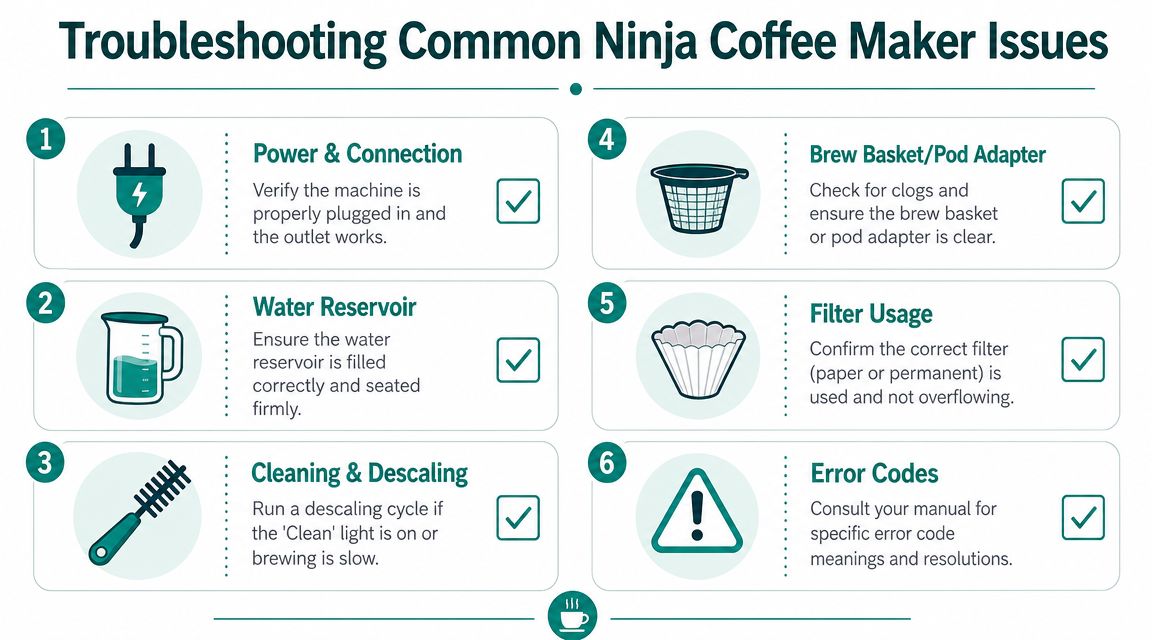
How to separate a clog from a hardware problem
A useful diagnosis starts with the symptom, not the hack. As this analysis points out, many videos frame grounds in the cup or overflowing pods as simple clogs, even though the real issue can be a worn or older-generation pod adapter that needs replacement rather than another cleaning attempt.
That distinction matters because repeated cleaning won't fix a part that no longer fits or punches correctly.
Symptom-based fixes that make sense
- Grounds in the cup: Check the accessory first. A bad seal, worn pod adapter, or poor-fit reusable pod is often more likely than a mysterious machine failure.
- Overflowing pod: Look at the pod path and adapter condition. If the puncture or seating is off, water can back up instead of flowing cleanly.
- Slow brewing: Start with maintenance. A machine that hasn't been descaled can behave like it has a flow problem.
- Weak coffee: Confirm you used the intended brew path and size combination. User setup errors often look like machine defects.
- Intermittent messes: If the issue comes and goes, suspect fit or workflow inconsistency before assuming a complete mechanical fault.
Don't ask only, “How do I clear this?” Ask, “What keeps causing this?”
A simple troubleshooting order
When a Ninja starts acting up, use this order:
- Check the basics like power, water reservoir seating, and insert placement.
- Inspect the brew path for obvious clogs or leftover grounds.
- Review the accessory fit if you're using reusable parts or an older pod adapter.
- Run the proper maintenance cycle if flow has slowed or flavor has changed.
- Replace the suspect part when cleaning no longer changes the result.
That last step saves a lot of wasted time. Owners often keep cleaning a damaged or outdated component because a quick-fix video told them every problem is just a clog.
If your Ninja is giving you weak brews, messy pods, or repeat maintenance headaches, the fix is usually a better workflow or a better-matched accessory, not another random hack. PureHQ Inc. offers reusable Ninja-compatible filters, paper liners, and descaling supplies that fit the kind of real-world brewing and maintenance issues covered here. Shop the product you need, match it to your machine, and make your next brew easier on yourself.
