Coffee Machine Care
How to Clean Keurig with Vinegar: Your Guide to a Better Brew

Jan
Did you know that up to 73% of home coffee makers harbor significant microbial growth in their hidden channels? That bitter taste in your morning coffee might be more than just old grounds. It could be a sign of limescale buildup, coffee oil residue, and even bacteria thriving in the warm, damp environment of your Keurig.
This isn't just about flavor. That chalky mineral scale is slowly choking your machine, forcing it to work harder and lowering the brewing temperature by as much as 20°F. The result? Weak, lukewarm, and disappointing coffee that just doesn't hit the spot. You start seeing less coffee in your cup, hear strange gurgling noises, and dread the thought of what's lurking inside the water lines you can't see.
Fortunately, there's a simple, effective solution right in your pantry. A routine cleaning with a 50/50 mix of distilled white vinegar and water can dissolve that nasty buildup, sanitize your brewer, and restore that bold, consistent flavor you love. Just follow this routine every 3–6 months, and your machine will thank you for it.
Gathering Your Cleaning Supplies

Before you start, let's gather the simple tools you'll need for a successful deep clean. Having everything ready to go makes the process quick and painless.
You only need three things:
- Distilled White Vinegar: The star of the show. Its acetic acid is what dissolves all that nasty mineral scale. No substitutions!
- Fresh Water: You'll use this to create the cleaning mix and, just as importantly, for the flushing cycles afterward.
- A Large Ceramic Mug: Grab something big enough to handle a full brew cycle so you don't have to worry about hot spills.
And a quick word of warning: stick to distilled white vinegar only. Other types, like apple cider vinegar, contain sugars that will leave a sticky residue inside your brewer, making things worse.
Preparing the Removable Parts
A real deep clean starts before you even think about pouring in the vinegar. To get the best results, you need to tackle the easily accessible parts first.
Go ahead and take out the water reservoir and its lid, the drip tray, and the K-Cup pod holder. Wash all of them in the sink with warm, soapy water, give them a good rinse, and then set them aside to air dry completely.
Getting rid of the loose coffee grounds and oils on these pieces lets the vinegar solution do its real work on the internal parts where stubborn buildup hides.
When you mix white vinegar and water in a 50/50 ratio, you create a solution with an optimal 5-6% acetic acid concentration. This is tough on scale but perfectly safe for your machine's internal components. A proper descaling can boost your machine's water flow by up to 40%, which makes a huge difference in your coffee's final flavor. You can read more on how cleaning impacts your brew over at Liberty Beans Coffee.
While you have everything apart, now is the perfect time to check on your water filter. If it's been a while, popping in a fresh PureHQ water filter is one of the best ways to slow down future scale buildup and ensure every cup starts with clean, pure water. And for the best results, pair it with our Universal Descaling Solution.
Running the Vinegar Descaling Cycles
Now that the removable parts are clean, it’s time to attack the internal channels where the real damage happens. This is where we get the machine back to its old self. The process is simple, but it requires a bit of patience to flush out all that mineral gunk—and just as importantly, every last drop of vinegar.
Mixing the Descaling Solution
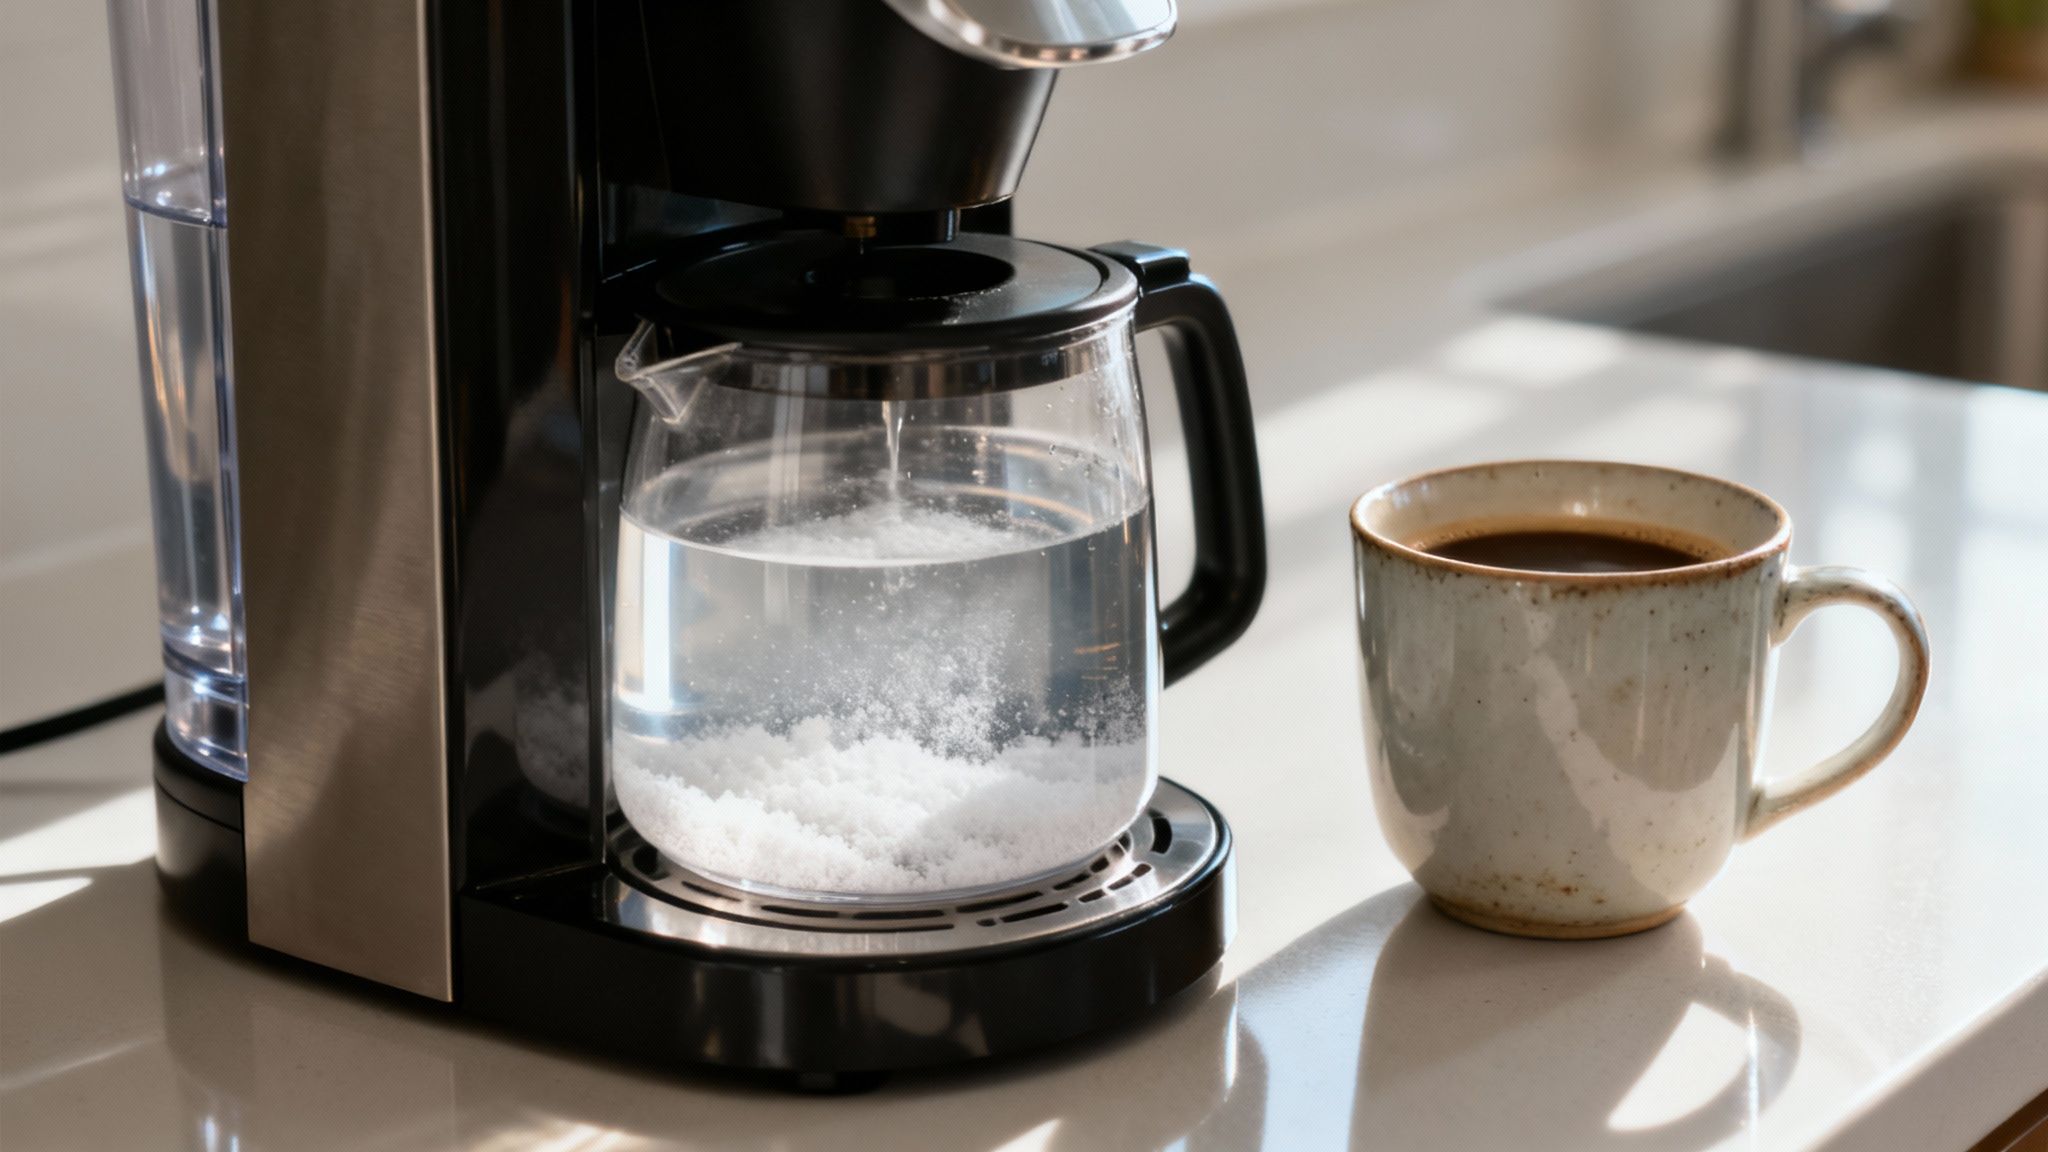
First things first, let's mix up our cleaning solution. Grab the water reservoir and fill it halfway with distilled white vinegar. Then, top it off with an equal amount of fresh, cool water. This gives you the perfect 50/50 mix—strong enough to dissolve scale but not so harsh that it damages the machine's internal parts.
Give the reservoir a gentle swirl to combine everything and click it securely back onto the Keurig base.
Pro-Tip: Make sure there's no K-Cup pod in the holder. You want that hot vinegar solution to flow completely unobstructed. It’s a common mistake that can make a real mess.
Next, stick a large ceramic mug on the drip tray. Using a bigger mug means you won't have to empty it after every single cycle, which makes the whole process go a lot smoother.
Running the Descaling Brews
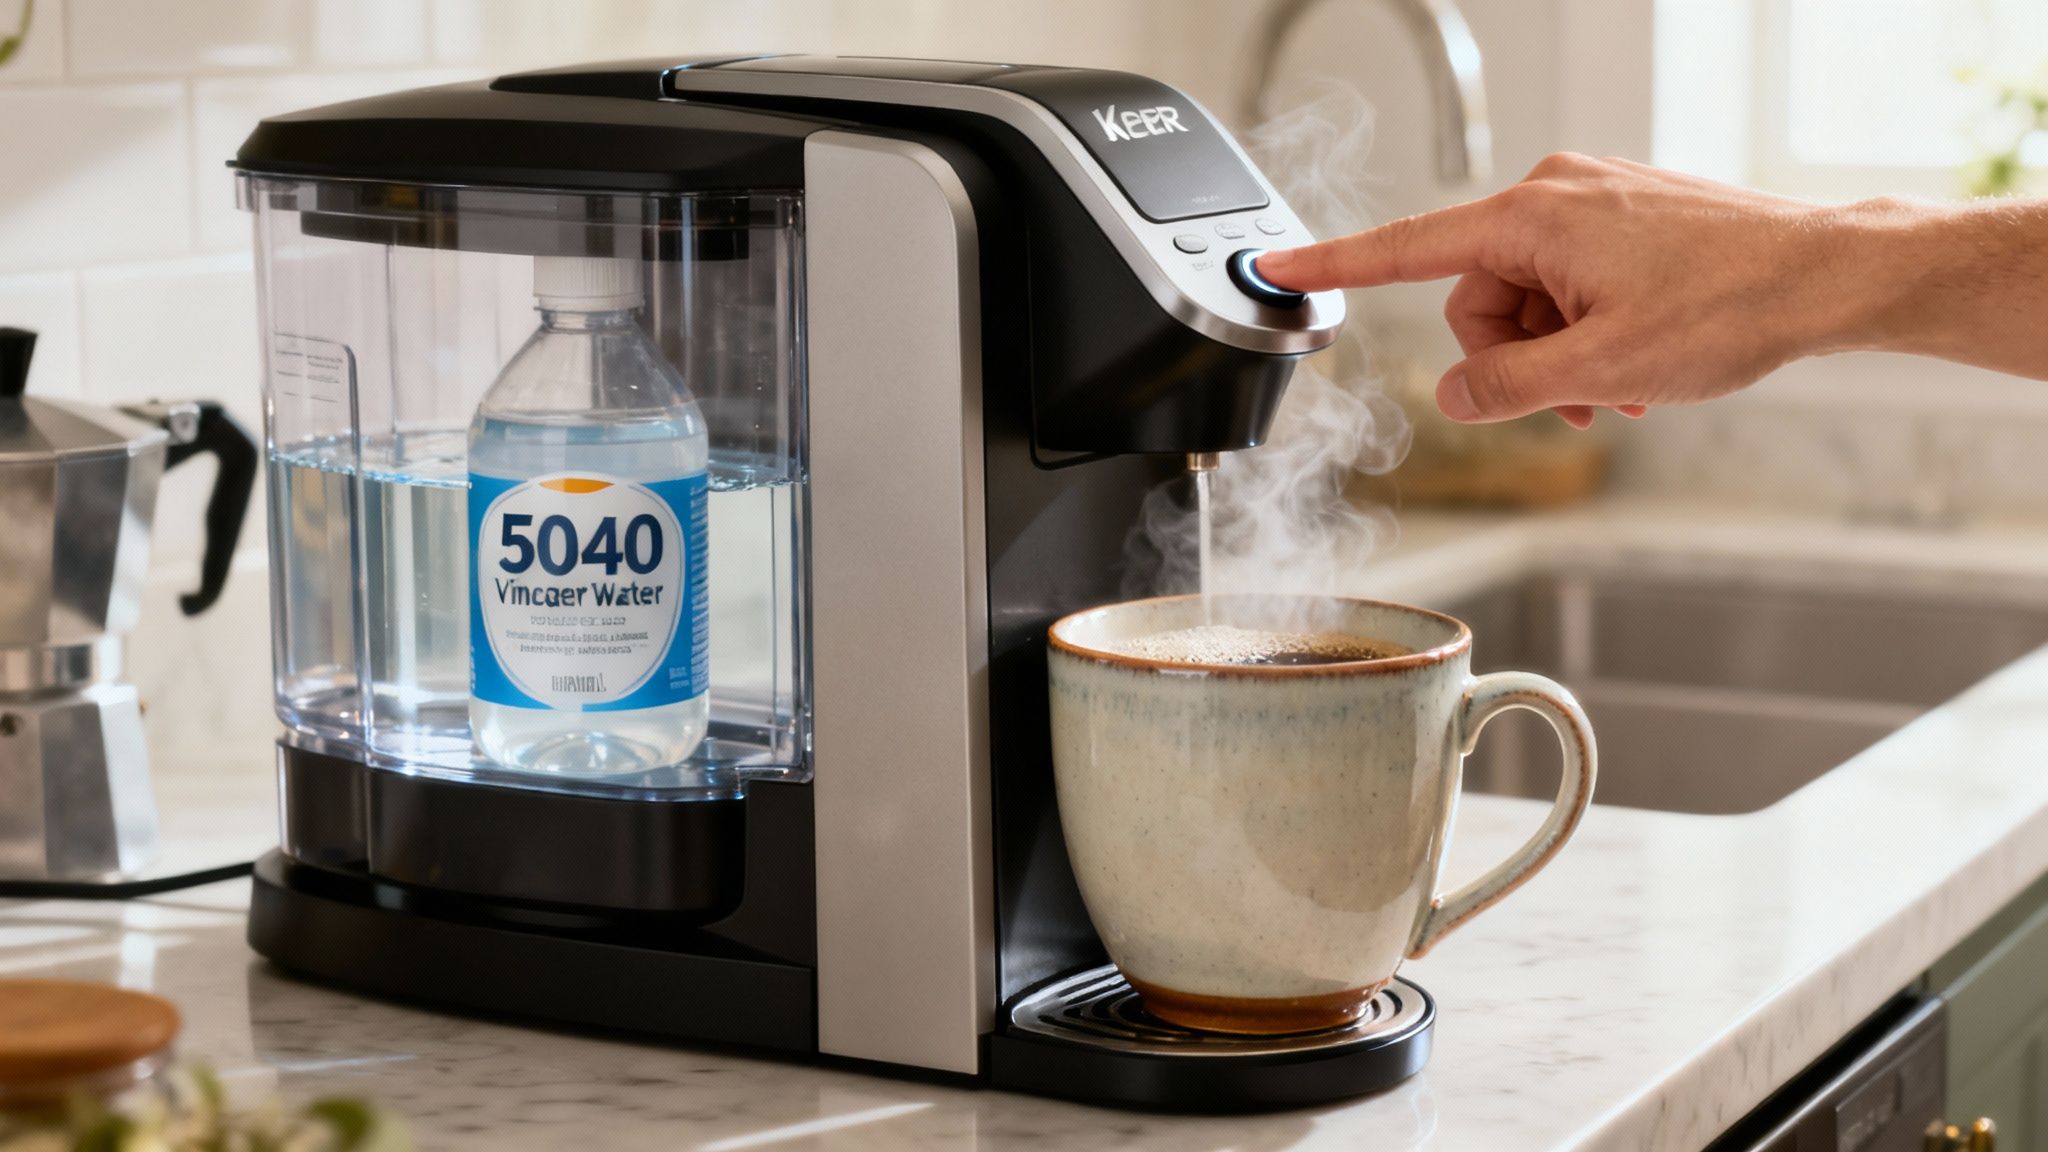
With the vinegar solution ready and your mug in place, it’s time to let the machine do the heavy lifting. Power on your Keurig, select the largest cup size available, and run a full brew cycle.
You’ll see steaming, probably discolored water coming out. That’s the vinegar working its magic and dissolving months of buildup. Carefully dump the hot liquid down the sink and put the mug right back.
Keep running these cleaning brews one after another. You’ll do this until the "Add Water" light pops on, telling you the reservoir is empty. This series of cycles is crucial because it forces the acidic solution through every internal tube and past the heating element, scrubbing your Keurig from the inside out.
- Patience Is Key: Depending on your reservoir size, this can take 20-30 minutes. Don't rush it.
- Watch the Water: You might see little white or dark flecks in the mug. That’s a good sign! It means the scale is breaking loose.
- Let It Soak: If your machine is really scaled up, try this: after the first brew cycle, let the Keurig sit powered on for about 30 minutes. This extra "soak time" gives the vinegar more time to work on stubborn deposits.
The All-Important Freshwater Rinse
Okay, the scale is gone, but now you’ve got another problem: your machine is full of vinegar. Skipping a proper rinse is the #1 reason people complain about sour-tasting coffee after cleaning.
Take the reservoir out and give it a thorough rinse with soap and water to get rid of any lingering vinegar. Then, fill it to the max line with fresh, clean water only.
Now, you're going to repeat the exact same process you just finished. Run brew cycles using the largest cup size, dumping the water each time. Plan on running at least one full reservoir of fresh water through the machine—maybe more. A good rule of thumb is to keep going until you can't smell even a hint of vinegar in the steam.
This flushing stage is non-negotiable if you want clean-tasting coffee. Once the smell is gone, your Keurig is officially descaled and ready for action. Be sure to check our guide on replacing your Keurig water filter to keep your machine in top shape.
Vinegar vs. a Professional Descaler
Knowing how to clean your Keurig with vinegar is a fantastic skill. But as you and your brewer spend more time together, you might start to worry if that acidic solution is the best choice for its long-term health. The main issue with vinegar is its harshness. The very same acetic acid that’s great at dissolving mineral scale can also, over time, wear down the small rubber seals and gaskets inside your machine. This slow degradation is often the real reason behind one of the most common Keurig complaints out there: leaking from the base.
This is exactly where a professionally formulated product like PureHQ's Universal Descaling Solution makes all the difference. Our solution is engineered to be absolutely ruthless on limescale while remaining gentle on your brewer’s delicate internal parts. Instead of harsh acetic acid, it uses a balanced formula designed to protect those components, which can seriously extend the life of your machine. It’s also completely odorless and rinses away cleanly after just one or two freshwater cycles. While vinegar is a popular DIY choice, other natural options exist, such as using citric acid as an alternative descaler.
Descaling Method Comparison: Vinegar vs. PureHQ Universal Descaler
Let's put them side-by-side to see how they really stack up.
| Feature | White Vinegar | PureHQ Universal Descaler |
|---|---|---|
| Cleaning Power | Moderately effective, may require extra "soak" time for heavy scale. | Highly effective, formulated to dissolve stubborn mineral deposits quickly. |
| Machine Safety | Can be harsh on internal seals and gaskets over repeated use. | Gentle on all internal components, including rubber and metal parts. |
| Odor & Rinse | Strong, pungent odor that often requires multiple rinse cycles. | Completely odorless and rinses clean with just 1-2 freshwater cycles. |
| Warranty Risk | Use may void the manufacturer's warranty if damage occurs. | Safe for all coffee machines and will not void your warranty. |
| Convenience | Requires mixing and measuring a 50/50 solution. | Pre-mixed and ready to pour, ensuring a perfect concentration every time. |
While vinegar can work, it carries risks that a dedicated descaler eliminates. If you want to dive deeper into what makes a quality product stand out, check out our guide on finding the best descaler for your coffee machine.
Maintaining Your Keurig for Peak Performance
So, you've successfully descaled your Keurig. That’s a huge win for your morning coffee ritual, but it's not quite the end of the story. Think of it like getting your car's oil changed—it’s essential, but you wouldn't skip washing the windshield. Without simple upkeep, that hard work gets undone quickly. Stray grounds build up, performance slides, and that old familiar bitterness starts creeping back in.
It’s a frustrating cycle that can feel like a losing battle, forcing you to descale far more often than you should. The solution is a simple weekly routine that takes less than five minutes but pays off big time in flavor and the life of your machine.
Your Simple Weekly Cleaning Checklist
Folding a quick cleaning session into your week keeps everyday gunk from turning into a major headache.
Just build these three simple habits into your routine:
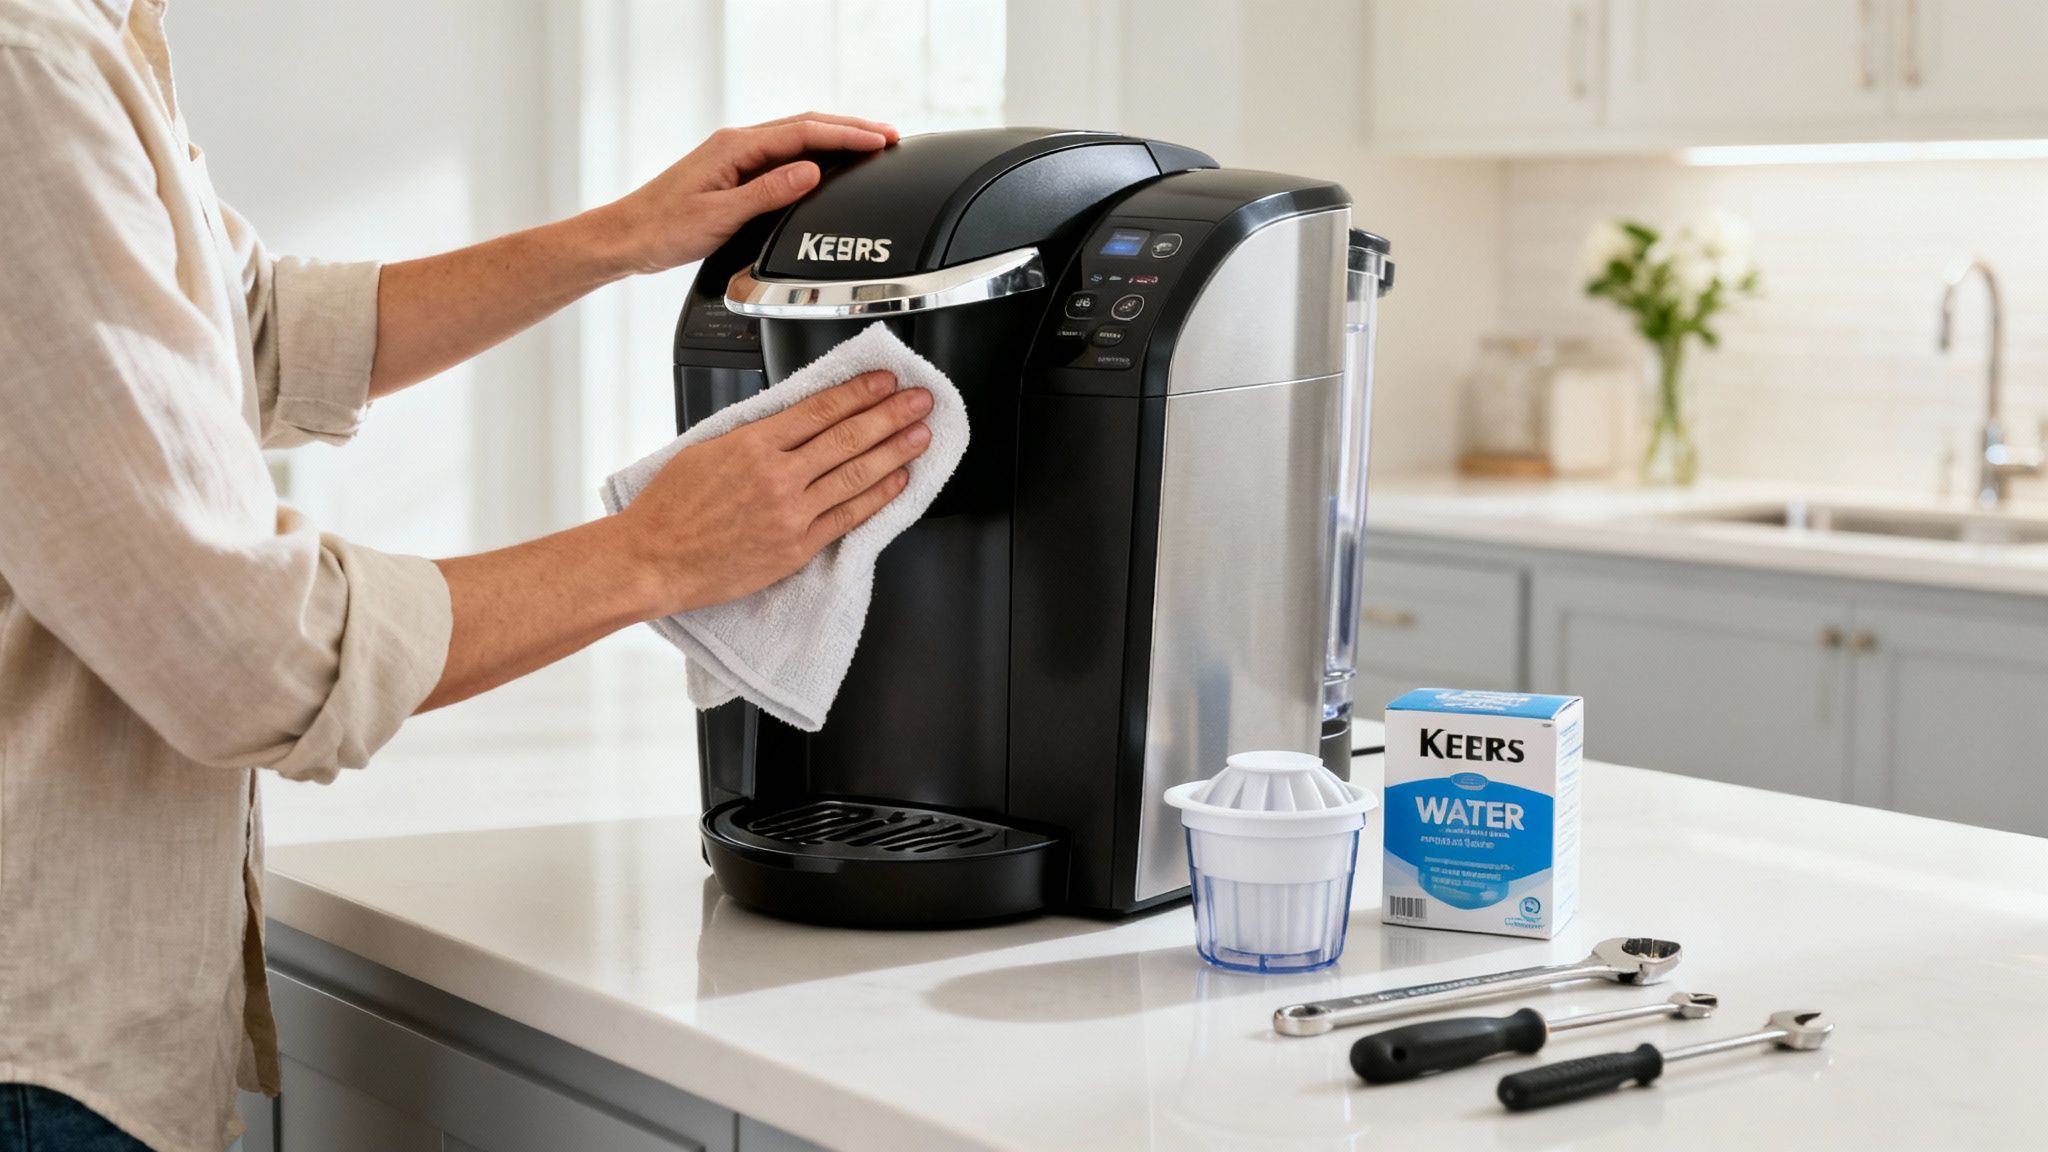
- Wipe Down the Exterior: Grab a damp cloth and give the machine a once-over to get rid of fingerprints, dust, and coffee splashes.
- Wash Removable Parts: Pop out the drip tray and the K-Cup holder. A quick wash in the sink with warm, soapy water will cut through any sticky coffee residue.
- Clear the Needles: This is a big one. Carefully use a paperclip to gently poke out any trapped coffee grounds from the entrance and exit needles. Clogs love to start here.
This quick reset makes a world of difference. When it is time to descale, the whole process is faster and works better. For more in-depth tips, check out our complete guide on how to clean any coffee maker.
How Often Should You Descale?
With a solid weekly routine locked in, the need for a full-on descaling session drops way down. How often you need to do it depends almost entirely on your water.
For most people, descaling every 3 to 6 months is the sweet spot. But if you live in an area with hard water—meaning it's high in minerals—you'll want to descale more often, maybe every 2 months, to keep performance from dropping off.
Hard water is the number one enemy when it comes to limescale. If you're tired of battling buildup, choosing a whole house water softener system can be a game-changer for your Keurig and other appliances.
Got Questions About Cleaning Your Keurig? Let's Clear Things Up.
So you’ve run the vinegar solution through your Keurig, and now you’re left wondering… did I do that right? You hear horror stories about vinegar damaging the internal parts, or you catch a whiff of that salad-dressing smell and panic. What if that smell never goes away? Did I just ruin my machine? These worries can turn a simple task into something you dread.
Let's tackle those common questions head-on. Getting clear, straightforward answers builds confidence and ensures you’re helping, not hurting, your coffee maker.
Can I Just Use Apple Cider Vinegar Instead?
Tempting, but this is a hard no. Apple cider vinegar contains sugars and other sediments that plain white vinegar doesn't. When you run it through your machine, it can leave behind a sticky film on all those delicate internal parts. That residue is the perfect recipe for clogs. Stick with distilled white vinegar.
Help! My Keurig Still Smells Like Vinegar!
Don't worry, this is the most common "problem" and it just means the machine needs a few more good rinses. It’s not a sign you did anything wrong. Simply fill the reservoir with fresh water and run several more brew cycles. Sometimes it takes a full reservoir—or even a little more—to completely flush out that lingering acidic smell.
Is It Okay to Let the Vinegar Solution Sit in the Machine Overnight?
We strongly advise against this. While it might seem like a longer soak would lead to a deeper clean, leaving a highly acidic solution in your Keurig for hours on end is risky. It could potentially harm the internal rubber seals, gaskets, and metal components. The contact time from the brew cycles is more than enough to break down the mineral scale effectively.
For a cleaning solution that is tough on scale but gentle on your machine, trust PureHQ. Shop our Universal Descaling Solution for a safe, effective, and odorless clean every time.

Pingback: Your Guide to Using a Keurig Coffee Maker Cleaning Kit
Pingback: Keurig Descaling Solution Ingredients Explained
Pingback: How to Descale a Keurig for a Better-Tasting Morning Coffee