Coffee Machine Care
A Beginner’s Guide to Cleaning Your Breville Espresso Machine

Feb
Does your morning espresso taste bitter, burnt, or just plain off? The problem likely isn't your expensive coffee beans—it’s the hidden gunk inside your machine. Over 40% of coffee drinkers say a bad cup can ruin their entire morning, and a dirty espresso machine is one of the fastest ways to guarantee a disappointing brew.
This isn't just about taste. Neglecting your machine allows rancid coffee oils and damaging mineral scale to build up. This residue not only taints every shot with a foul flavor but also puts incredible strain on your machine's delicate internal parts, leading to inconsistent temperatures, weak water flow, and costly, avoidable repairs. You find yourself questioning your technique, your beans, and your grinder, stuck in a frustrating cycle of bad coffee.
The solution is a simple, proactive cleaning routine. By mastering a few key tasks, you can completely eliminate flavor-destroying buildup, protect your investment, and unlock the consistently delicious, café-quality coffee you deserve, every single day.
Why a Clean Breville Makes Better Tasting Espresso
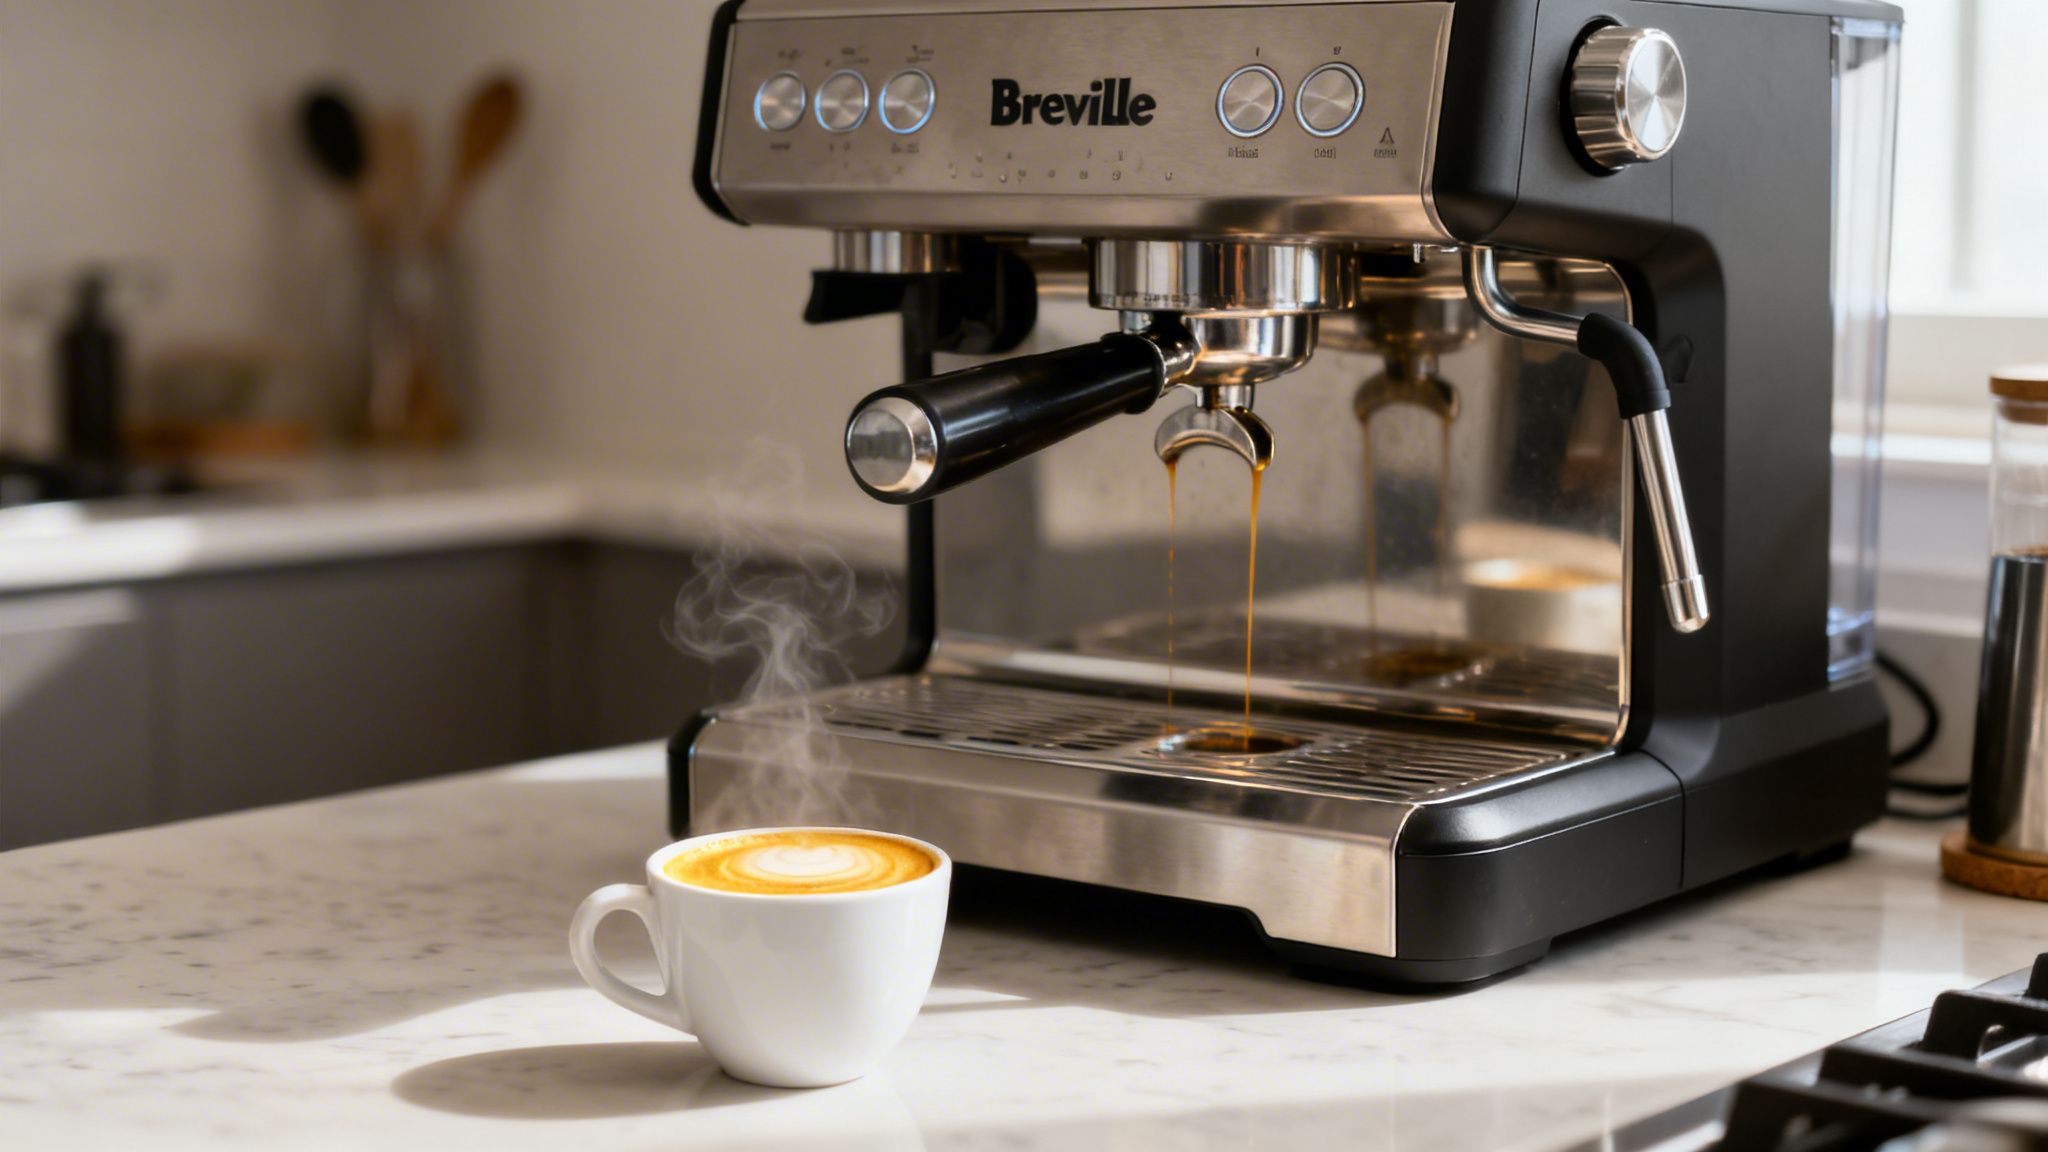
That rich, aromatic shot you’re chasing depends entirely on a clean path from the water tank to your cup. Yet, with every use, two culprits conspire to ruin your coffee's flavor and damage your machine: rancid coffee oils and destructive mineral scale.
Every time you pull a shot, a microscopic layer of oil is left on the group head, portafilter, and basket. Within days, those oils oxidize and go rancid, imparting a distinctively bitter, burnt, or even metallic taste that completely masks the delicate notes of your coffee. You might find yourself endlessly tweaking your grind or buying different beans, never realizing the real problem is hiding inside the machine, tainting every cup.
The Hidden Damage of Limescale
While rancid oils attack your coffee’s taste, a more sinister problem is working silently behind the scenes. Limescale, a chalky deposit of calcium and magnesium, builds up from minerals found in tap water. This scale coats the internal heating elements, pipes, and boiler of your Breville, leading to serious performance issues.
- Inconsistent Temperatures: Scale acts as an insulator, forcing the heating element to work harder and often preventing it from reaching the precise temperature needed for optimal extraction.
- Reduced Water Flow: As scale accumulates, it narrows and clogs the machine's intricate internal tubing, leading to weak water pressure and sour-tasting, under-extracted shots.
- Permanent Damage: According to Breville’s own user manuals, severe limescale buildup can cause catastrophic failure of the heating system or pump, leading to costly repairs that could have been easily avoided.
Adopting a Proactive Cleaning Mindset
The biggest difference between a casual home user and a professional barista is a commitment to relentless cleaning. Breville Coffee Specialist Ryan McLachlan emphasizes that cleaning frequency is what truly separates the pros from the amateurs, an insight you can explore further at Tasting Table. A consistent routine stops buildup before it starts, ensuring every cup tastes as fresh and flavorful as the roaster intended. The solution isn’t complicated—it’s a commitment to a few small tasks that protect your investment. Regularly using quality descalers and cleaning tablets is a tiny price to pay for perfect espresso and a machine that lasts for years.
Essential Daily and Weekly Cleaning Rituals
That perfect, café-quality espresso you crave at home doesn't just happen. It's the direct result of small, consistent habits that keep your machine in top shape. When you skip these simple steps, bitter oils and stale grounds build up, quickly turning your favorite coffee beans into a disappointing, foul-tasting brew.
It’s a frustrating feeling. One day your shot is sour, the next it’s harsh, and you start questioning everything—your beans, your grind, even your tamping. But often, the machine itself is sabotaging your efforts. Unseen residue taints every drop and puts unnecessary strain on the internal components.
The fix is straightforward: build a few non-negotiable tasks into your daily and weekly coffee ritual.
Your Daily Post-Brew Checklist
These steps take seconds but prevent major headaches. Make this a habit after your last coffee of the day, and your Breville will always be ready for a fresh start.
Purge the Group Head: Right after removing the portafilter, run hot water through the group head. This quick flush washes away loose grounds and oils before they can bake onto the shower screen.
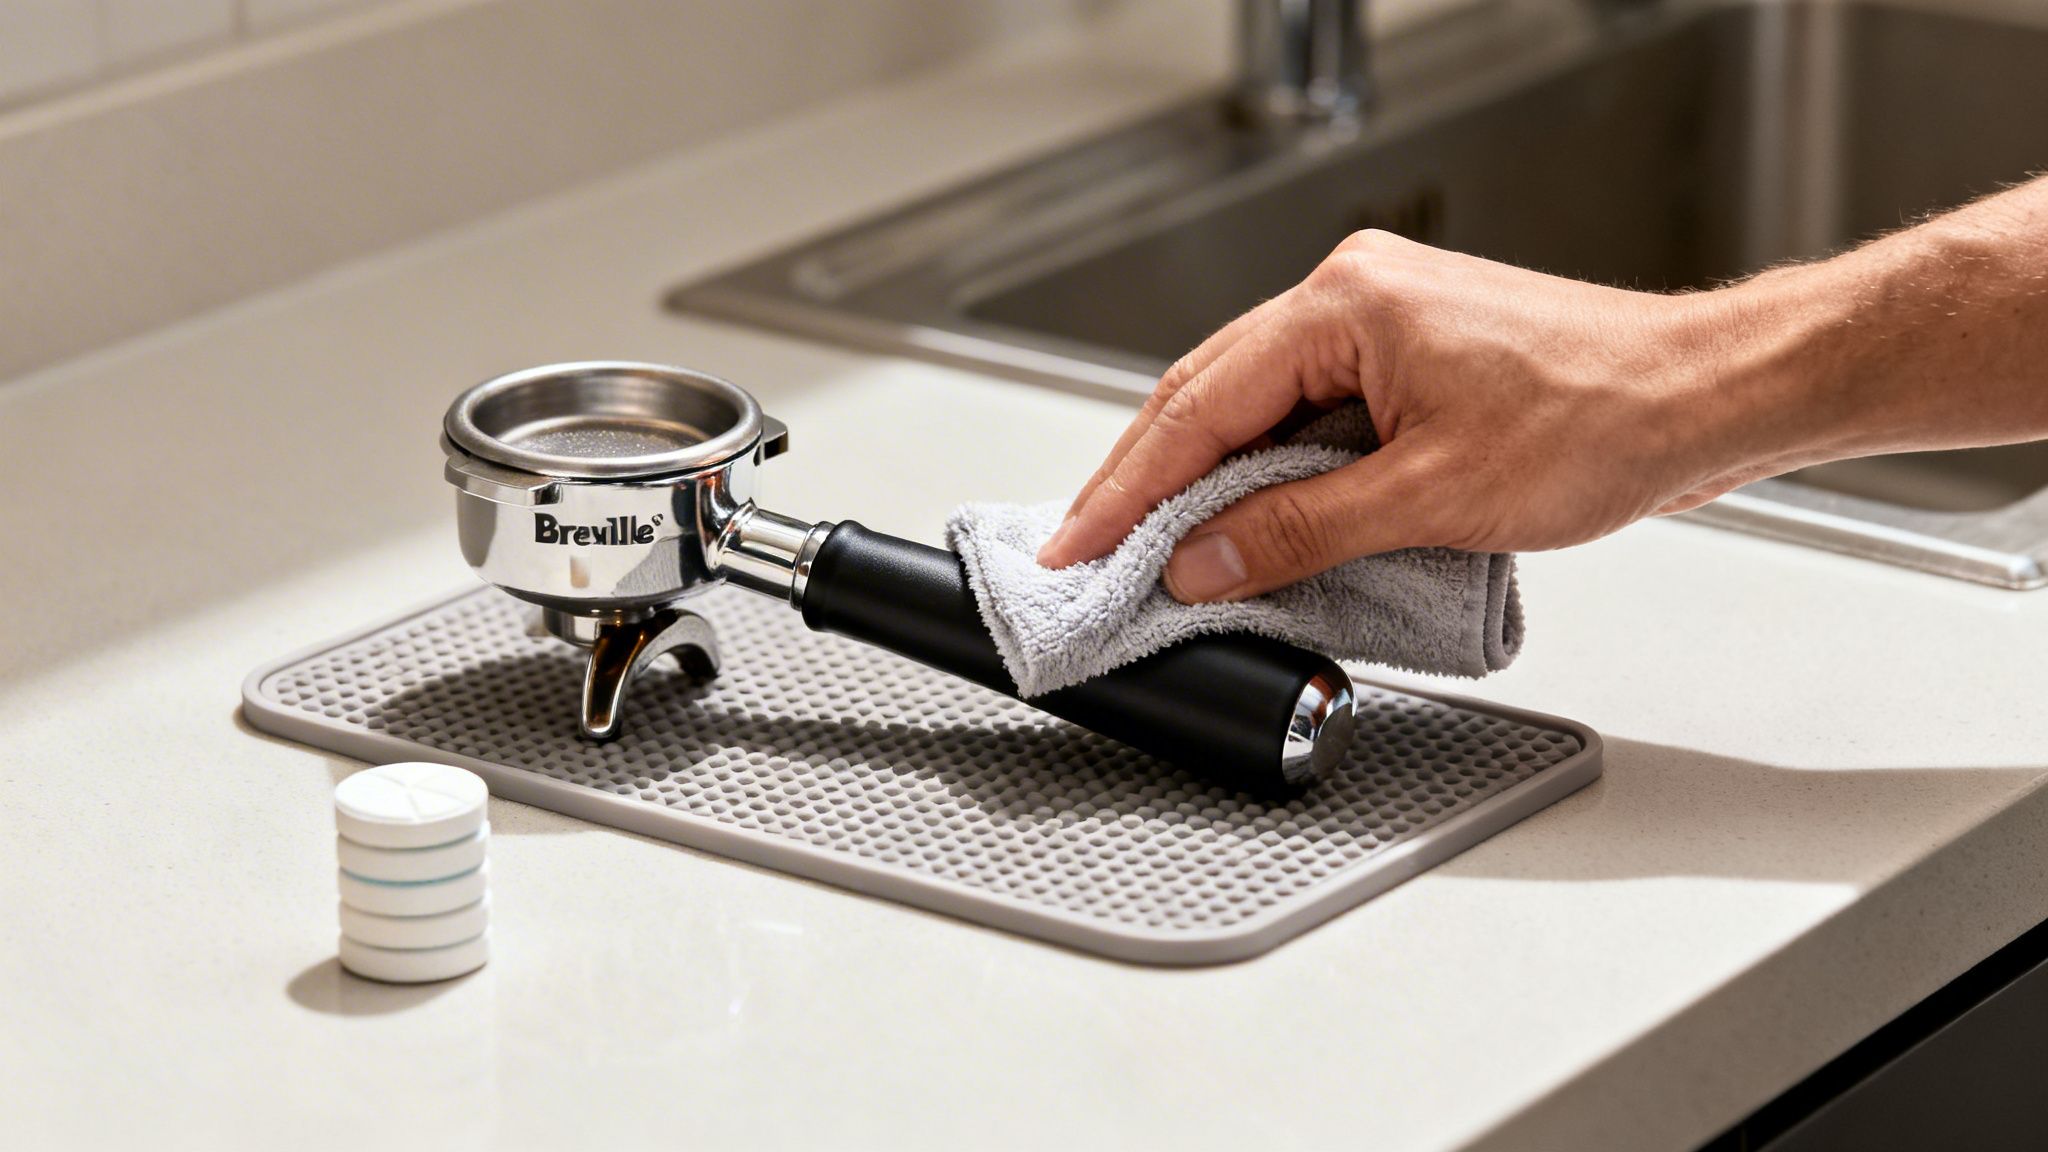
Clean the Portafilter and Basket: Knock out the used puck immediately. Rinse the portafilter and basket under hot water, using your fingers or a soft brush to remove any clinging grounds.
Wipe and Purge the Steam Wand: As soon as you finish steaming, wipe the wand with a dedicated damp cloth. Then, point it into the drip tray and blast steam for a few seconds to clear out any milk left inside.
The Weekly Deep Clean Routine
Set aside 15 minutes once a week for a more thorough cleaning. This is what your Breville is asking for when the "Clean Me" light activates, typically after about 200 shots. Ignoring it lets rancid coffee oils accumulate, which wrecks the taste of your espresso and can eventually restrict water flow.
Backflushing with a Cleaning Tablet
Backflushing forces a cleaning solution back through the group head, dissolving the built-up gunk and oils hiding inside the machine's three-way solenoid valve and shower screen.
Here’s how you run a cleaning cycle:
- Pop the single-shot filter basket into your portafilter.
- Place the silicone cleaning disc into the basket.
- Drop one cleaning tablet onto the disc.
- Lock the portafilter into the group head and follow your machine’s instructions to start the cleaning or "flush" cycle.
The machine forces hot water into the portafilter, dissolving the tablet and circulating the cleaning solution throughout the group head to break down stubborn coffee residue.
Comparing Cleaning Tablets
When you're choosing a product for cleaning your Breville espresso machine, not all tablets are created equal. Quality and compatibility really do matter.
| Feature | PureHQ Espresso Cleaning Tablets | Generic or Standard Alternatives |
|---|---|---|
| Formulation | Specifically designed for espresso machines to powerfully cut through coffee oils without harsh chemicals. | Often have a universal formula that might be less effective or dissolve poorly. |
| Residue | Rinses away cleanly, leaving zero chemical aftertaste or odor to ruin your next shot. | Can leave soapy or chemical residues that demand extensive flushing to get rid of. |
| Dissolvability | Engineered to dissolve fully at brewing temperatures, ensuring a complete and thorough clean every time. | Sometimes leaves behind undissolved chunks, resulting in an incomplete cleaning cycle. |
| Customer Objection: Compatibility | We understand the concern that third-party products might cause damage. PureHQ tablets are guaranteed compatible and are made to work flawlessly with Breville's cleaning cycle. | Fit and dissolving issues are common complaints, with users reporting that generic tablets sometimes interrupt the cycle or fail to clean effectively. |
By making these simple daily and weekly rituals a habit, you take full control of your coffee's quality and significantly extend the life of your Breville. A good supply of high-quality cleaning tablets and a reliable descaling solution ensures you’re always ready for routine maintenance.
How to Properly Descale Your Breville Machine
Limescale is the silent enemy of every great espresso machine. These chalky mineral deposits, left behind by hard water, quietly build up inside the boiler, thermocoil, and water lines. At first, you won't notice a thing.
Soon enough, your machine will start showing signs of distress. It might struggle to hit the right brewing temperature, leading to sour, under-extracted shots. Maybe the water flow becomes weak and inconsistent, or you hear the pump straining to push water through clogged pathways. Ignoring this buildup doesn't just ruin your coffee; it puts your machine on a fast track to a premature—and costly—breakdown.
The fix is a straightforward descaling cycle, but it has to be done correctly. Using the right products and following the proper procedure is key to protecting your machine's delicate internal components and bringing it back to life.
When and How to Start the Descaling Cycle
Most Breville models alert you when it's time to descale with a flashing light or notification. This is your machine's way of asking for help. How often you see it depends entirely on your water hardness; the harder your water, the more frequently you will need to descale.
When that light starts flashing, here’s what to do:
- Empty the drip tray and the water tank.
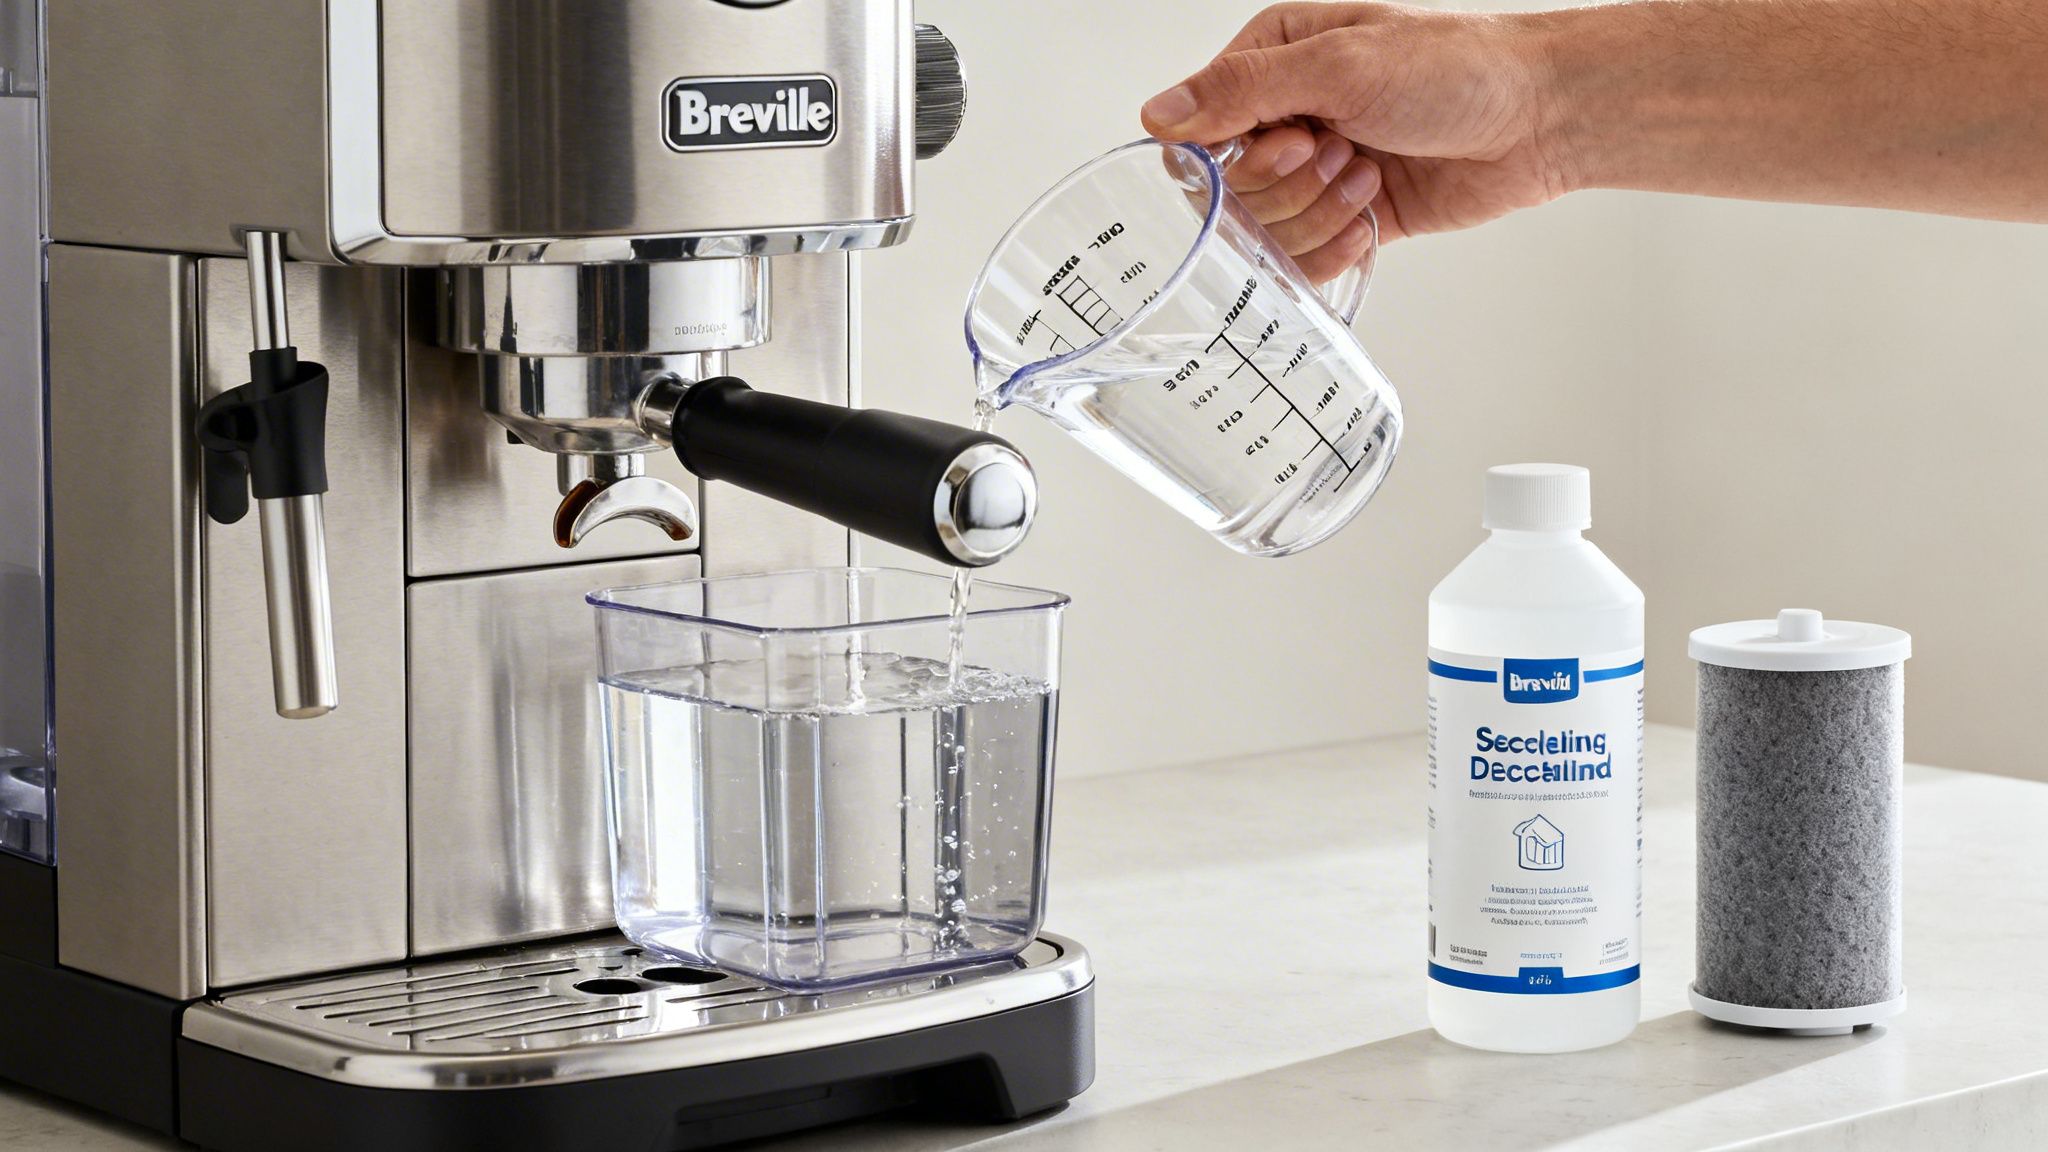
- CRITICAL: Remove the charcoal water filter from the tank before adding any descaling solution. The filter should not absorb the cleaning agent.
- Pour the descaling solution into the empty tank and top it off with fresh water, following the product's instructions for the correct ratio.
- Follow your specific Breville model's instructions to start the descaling mode, which usually involves pressing a combination of buttons to kick off the cycle.
Why You Should Never Use Vinegar
It’s tempting to grab that cheap bottle of white vinegar, but this is a huge mistake. Breville's official documentation explicitly warns against it. The acetic acid in vinegar is corrosive to the soft rubber seals, gaskets, and aluminum components inside your espresso machine. Over time, vinegar can cause these essential parts to become brittle and crack, leading to internal leaks and irreparable damage. A dedicated descaling solution is formulated to be tough on mineral scale but gentle on your machine’s sensitive parts. For more details, see our guide on finding the best descaler for your coffee machine.
Choosing the Right Descaling Solution
The descaler you choose matters just as much as the process itself. Generic or homemade solutions can be a risky bet, potentially failing to dissolve stubborn scale or leaving behind unwanted residues.
| Feature | PureHQ Universal Descaling Solution | Standard or Generic Alternatives |
|---|---|---|
| Formula | Formulated with food-grade citric acid that is powerful against limescale yet gentle on internal components. | Often contains harsh acids that can degrade seals or milder formulas that are ineffective against heavy buildup. |
| Safety | Odorless and rinses completely clean, leaving no chemical aftertaste to spoil your coffee's flavor. | Can leave behind a vinegary or chemical smell that requires extensive rinsing to remove. |
| Performance | Dissolves quickly and works efficiently in both hot and cold water to remove tough mineral deposits. | May not dissolve fully or can require multiple cycles to achieve the same level of cleanliness. |
| Customer Objection: Safety | "Is it safe for my machine?" Our solution is universally compatible and proudly made in the USA, designed to meet specifications for leading brands like Breville, ensuring a safe and effective clean. | Compatibility is often a concern, with users reporting leaks or damage from using overly aggressive or poorly formulated descalers. |
A proactive approach is always the best strategy. Pairing regular descaling with the consistent use of high-quality Breville coffee machine water filters will significantly cut down on mineral content from the very start, protecting your machine and ensuring every cup tastes perfect.
Advanced Maintenance: Filters, Grinders, and Seals
You’ve nailed the daily wipe-down and the weekly backflush, but suddenly your espresso shots taste flat and watery. Maybe you've even noticed water leaking around the portafilter when you pull a shot, creating a messy, frustrating start to your day.
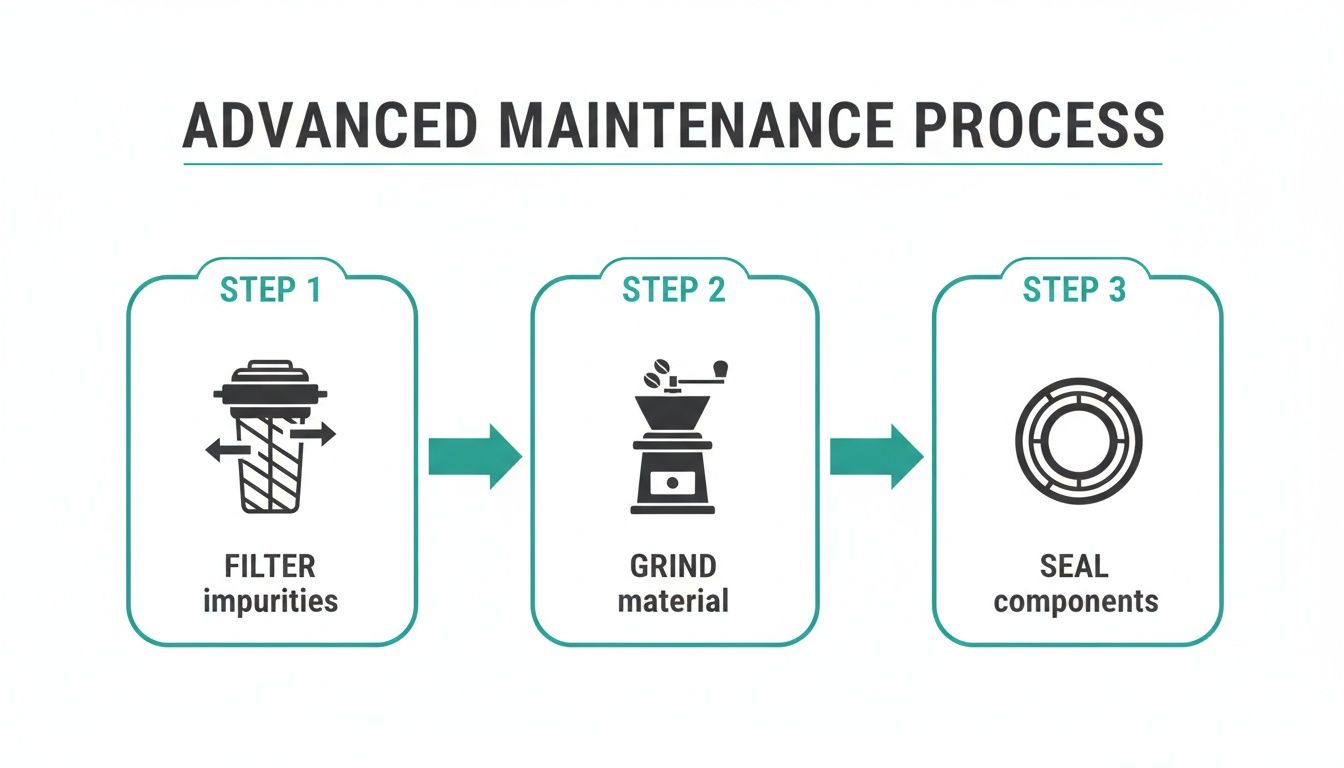
This isn't a sign that your machine is failing. It's a clear signal that less-obvious components are crying out for attention. The culprit often lies in the parts you don't clean every day: the water filter, the grinder, and the group head seal. A spent filter can't remove taste-killing impurities, while old, oily grounds trapped in the grinder turn rancid and taint every new dose with a stale taste. That annoying leak? It’s almost certainly a worn or dirty group head seal.
Ignoring these issues won't just ruin your morning coffee; it will actively degrade your machine's performance and shorten its lifespan. The fix is to integrate a few key tasks into your deeper maintenance routine, ensuring every part of the process—from water to grind—is pristine.
Replacing Your Breville Water Filter
That small charcoal filter in your Breville's water tank is your first line of defense against bad-tasting coffee. Its job is to reduce chlorine and other impurities that create off-flavors. Breville recommends swapping this filter out every two months or after every 40 liters of water. A spent filter lets more minerals pass through, speeding up the formation of internal limescale. Keeping a fresh filter in your machine is one of the easiest ways to protect it.
Cleaning the Integrated Grinder Burrs
The built-in grinder is not self-cleaning. Over weeks of use, coffee oils and grounds build up on the conical burrs. This gunk not only turns rancid but also causes grind inconsistency, a fast track to weak, under-extracted shots.
To clean it monthly:
- Empty the bean hopper and run the grinder until it's clear.
- Unlock and remove the hopper, then lift out the upper burr.
- Use a stiff-bristled brush to scrub both burrs and the grinder chute.
- Wipe away loose grounds with a dry cloth before reassembling.
Inspecting and Cleaning the Group Head Seal
If water leaks from around the portafilter while brewing, the group head seal (gasket) is the likely culprit. This rubber ring gets caked with hardened coffee oils, preventing a tight seal. To clean it, scrub around the inside of the group head with a group head brush. A damp cloth can help wipe away any stubborn residue. If it’s still leaking after a good clean, the seal is probably worn out and needs to be replaced.
PureHQ Charcoal Filters vs. Standard OEM Filters
When it's time to replace your water filter, choosing the right one is crucial. While standard filters get the job done, premium alternatives are designed to address common frustrations like a poor fit or inconsistent performance.
| Feature | PureHQ Premium Filters | Standard OEM Filters |
|---|---|---|
| Filtration Media | Made with fine-grain activated charcoal for maximum impurity absorption. | Uses standard charcoal media that can be less effective over its lifespan. |
| Build Quality | Features a precision-molded casing for a secure, leak-proof fit. | Can sometimes have slight variances in size, leading to a loose fit. |
| Durability | Constructed with high-grade, durable plastic to prevent cracking or warping. | May use thinner plastic that can become brittle over time. |
| Customer Objection: Fit & Seal | Our filters are engineered for a perfect fit in Breville machines, addressing the common complaint that some third-party filters don't seal properly, allowing water to bypass the filter. | Users sometimes report that generic filters have an improper seal, defeating the purpose of filtration. |
By adding these advanced tasks into your routine, you ensure every component works in perfect harmony to produce the best possible espresso.
A Simple Breville Cleaning and Maintenance Schedule
Keeping track of every cleaning task for your Breville can feel like a chore. Was it last month you descaled, or the month before? It’s too easy to let things slide.
Before you know it, those forgotten tasks pile up, resulting in bitter-tasting coffee and unnecessary stress on your machine's internal parts. The constant worry of doing something wrong—or not doing enough—can turn routine maintenance into a source of anxiety. Instead of being proactive, you end up reacting to problems, like that blinking "Clean Me" light, which allows damaging limescale and rancid coffee oils to build up.
The key is to stop guessing and get on a simple, consistent schedule. When you break down the maintenance into small daily, weekly, and monthly tasks, it becomes an effortless routine instead of a complex project. Check out our general guide on how often to clean your coffee maker for more tips.
Your At-a-Glance Maintenance Checklist
Sticking to a schedule is the single best thing you can do for your machine's longevity and the flavor in your cup.
Breville Espresso Machine Maintenance Checklist
| Frequency | Task | Recommended Products |
|---|---|---|
| Daily | Purge group head, clean portafilter and basket, wipe and purge steam wand, empty drip tray. | Soft brush, dedicated cloths. |
| Weekly | Run a backflush cleaning cycle with a tablet when the "Clean Me" light appears (approx. 200 shots). | High-quality espresso cleaning tablets. |
| Monthly | Deep clean the grinder burrs, soak portafilter and baskets in a cleaning solution, inspect the group head seal. | Grinder brush, cleaning solution. |
| Every 2 Months | Replace the charcoal water filter in the tank to prevent scale and improve taste. | PureHQ Charcoal Water Filters. |
| Every 2-3 Months | Run a full descaling cycle to remove internal mineral buildup, more often if you have hard water. | Universal descaling solution. |
This checklist keeps your routine simple and effective. By making these small actions a habit, you protect your investment and guarantee consistently delicious coffee.
Adapting The Schedule To Your Needs
Think of this checklist as a starting point, but don't be afraid to adjust it. For example, if you live in an area with particularly hard water, the U.S. Geological Survey notes this can accelerate scale buildup. You will likely need to descale your machine more frequently—perhaps every six to eight weeks—to prevent heating issues or blockages. Likewise, if you’re a heavy user pulling more than five or six shots a day, that "Clean Me" light will appear more often, and you might want to clean your grinder bi-weekly. Pay attention to your machine and the taste of your coffee; they are the best indicators of when extra care is needed.
Answering Your Top Breville Cleaning Questions
You’re doing everything right, but questions still come up. Maybe your espresso suddenly tastes… off. Or you're staring at that blinking "Clean Me" light, wondering if you can get away with ignoring it for just one more week. It's frustrating, and it can make you second-guess your whole routine.
This is where small problems start to brew. A little uncertainty about the right descaler might tempt you to try something damaging like vinegar. Ignoring that light lets gross, rancid coffee oils build up, completely ruining the flavor of those expensive beans you just bought.
Let's clear the air and get you direct, no-nonsense answers so you can clean with confidence and keep your Breville pulling perfect shots.
Can I Use Vinegar to Descale My Breville?
This is the most common question, and the answer is a hard no. Using vinegar is one of the worst things you can do to your Breville. The acetic acid in vinegar is aggressive and eats away at the machine's soft rubber seals and aluminum components. Breville's own manuals warn against it for a good reason—it leads to leaks, corrosion, and expensive repairs. Always stick to a dedicated descaling solution formulated to be tough on mineral scale but gentle on your machine's internals.
What Happens If I Ignore the "Clean Me" Light?
Think of the "Clean Me" light as your machine's check-engine light. It’s programmed to activate after about 200 brew cycles. Ignoring it is asking for trouble. With every shot, a tiny amount of coffee oil is left inside the group head. If you don't clean it out, that oil builds up, turns rancid, and imparts a nasty, burnt taste to your espresso. Eventually, that gunk can harden, creating blockages that strain the pump. When that light comes on, run a cleaning cycle with a proper cleaning tablet.
How Often Should I Replace the Water Filter?
For the best-tasting coffee, Breville suggests swapping out the charcoal water filter every two months. If you have hard water, consider doing it more frequently—perhaps every six weeks. That filter is your first line of defense against impurities like chlorine and minerals. A fresh filter doesn't just make your coffee taste cleaner; it dramatically slows down the limescale buildup that leads to descaling. Using quality replacement filters is key. A cheap, poorly-fitting filter can allow unfiltered water to sneak around it, defeating the whole purpose. Our premium charcoal water filters are designed for a tight, secure seal, ensuring every drop of water is properly filtered.
My Espresso Shots Taste Weak. Is This a Cleaning Issue?
Absolutely. While you should always check your grind size and tamping pressure first, a dirty machine is a very common reason for weak, watery shots.
Here are the two biggest cleaning-related culprits:
- A Dirty Grinder: Old, oily coffee grounds caked onto the grinder burrs lead to an inconsistent grind, which causes water to blast through the puck too quickly (channeling) and results in a weak, under-extracted shot.
- Clogged Filter Baskets: The tiny holes in your filter basket get clogged with microscopic coffee oils that harden over time. A quick rinse won't touch this.
Soaking your portafilter and baskets in a dedicated cleaning solution is the only way to dissolve that stubborn residue. When you start with a truly clean machine, you create a reliable baseline, making it easier to troubleshoot other variables.
At PureHQ Inc., we believe keeping your machine in top shape shouldn't be a chore. Our USA-made descalers, cleaning tablets, and premium water filters are engineered to give you a perfect clean every single time.
