
Coffee Machine Care
Hard Water Coffee Maker Care: Scale, Taste and Fixes
Nov
In 2025, 85% of U.S. homes were reported to have at least moderately hard water, according to KESQ's summary of Stacker Science data. That makes water chemistry a sensible starting point when your coffee maker slows down or your usual coffee stops tasting right. Before replacing the brewer or buying different beans, check what's going into the reservoir.
Why Hard Water Hurts Your Coffee Maker
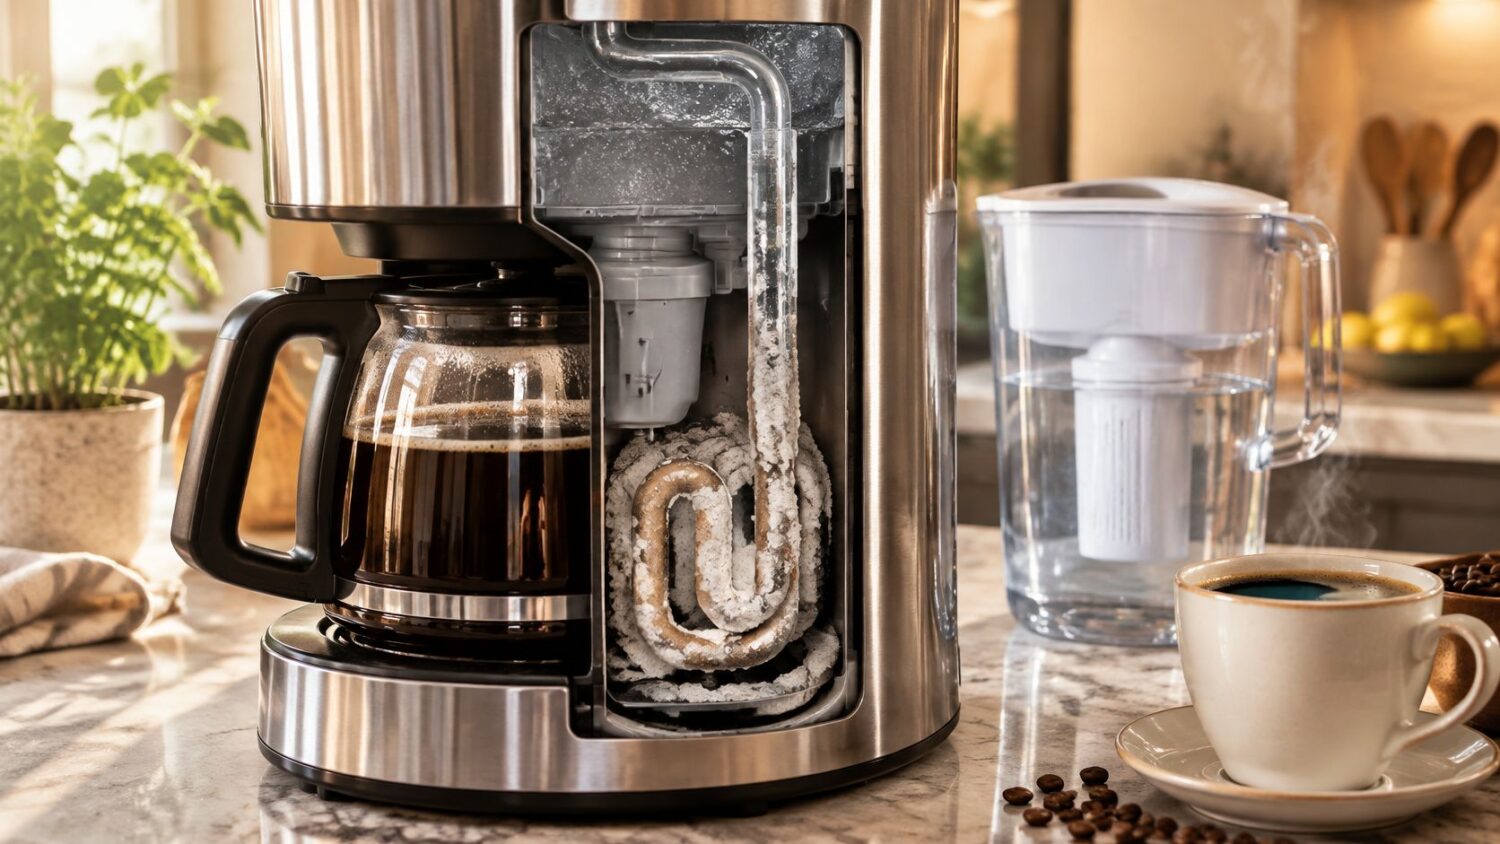
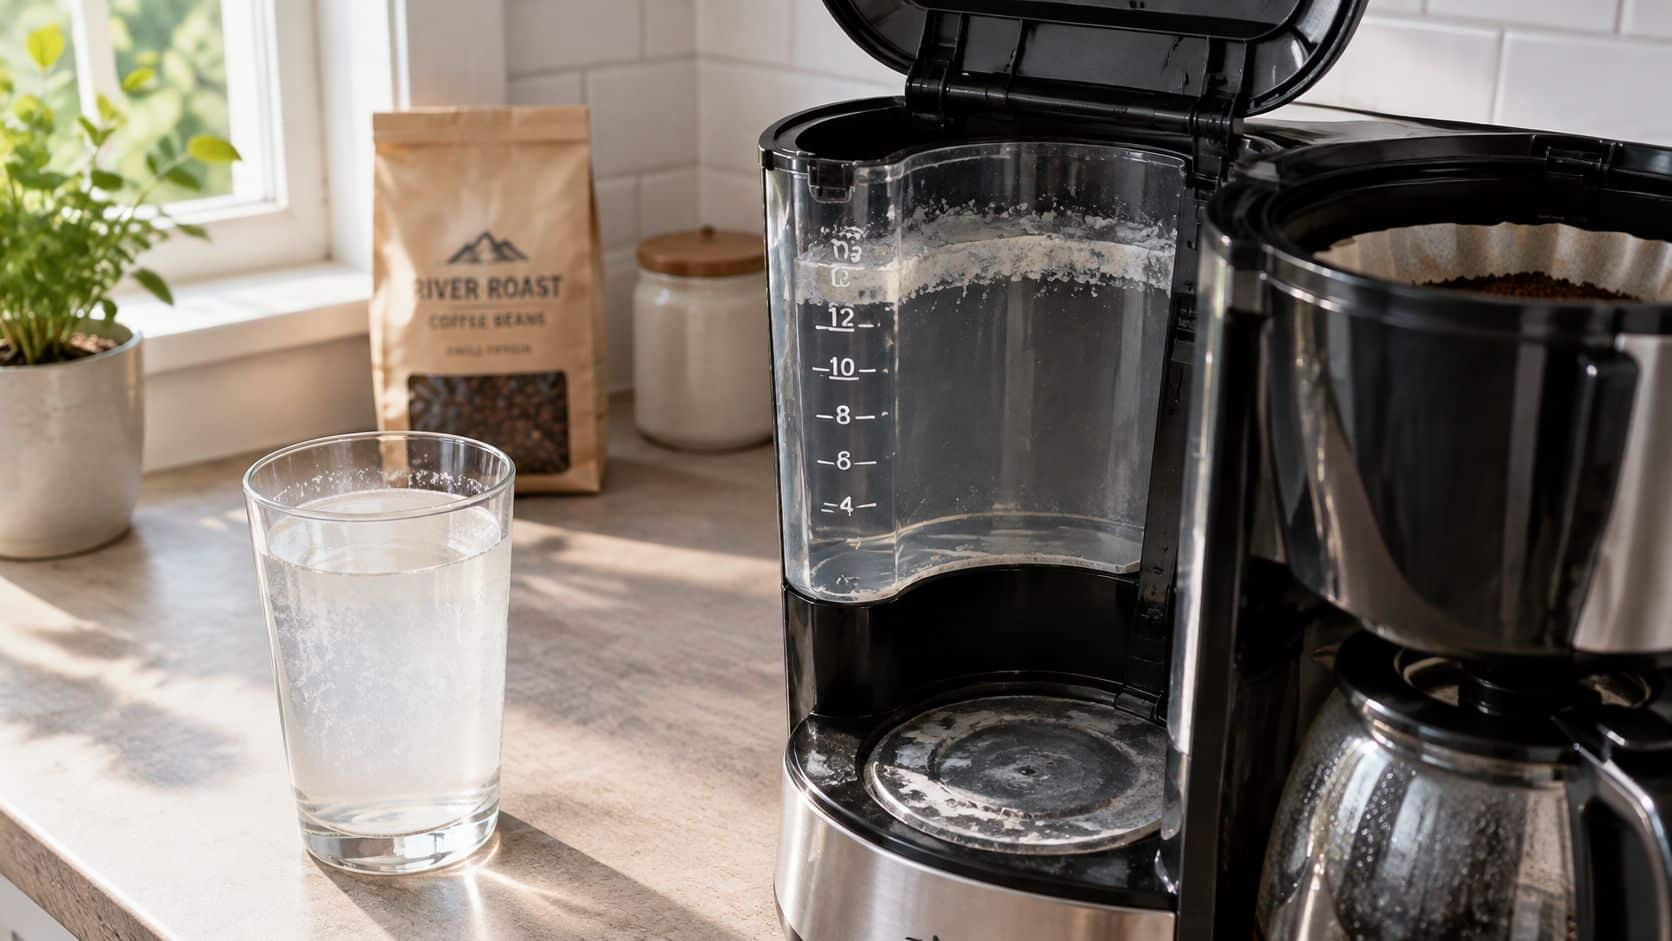
A clean reservoir doesn't tell you whether the heating system is clean. Mineral deposits form inside the brewer, where wiping the outside and washing removable parts won't reach them. That's why hard water coffee maker care needs more than a clean-looking countertop appliance.
The practical problem is scale on heated, water-contacting parts. Repeated heating can leave mineral deposits on thermoblocks, boilers, valves, and narrow passages, reducing heat-transfer efficiency and potentially changing brewing temperature, as explained in coffee-water technical guidance published by Elsevier.
Look beyond the reservoir
A slower brew or a disappointing cup is a reason to inspect the maintenance history, not proof that the machine needs replacing. Start by asking whether the brewer has completed a proper descaling procedure and whether its incoming water has been tested.
Keep these checks separate:
- Visible cleanliness: Inspect and wash removable parts according to the manual.
- Internal maintenance: Record when you last completed the full descale and rinse procedure.
- Water conditions: Find the hardness and alkalinity of the water you put in the tank.
- Workload: Note whether the brewer serves an occasional morning cup or a shared breakroom.
Don't change the beans, grind, filter, and maintenance routine all at once. Establish a baseline so you can tell which change helped. Use the same coffee and brew setting when checking performance after maintenance.
Practical rule: Diagnose the water and the maintenance history before deciding that a slow brewer has reached the end of its useful life.
Start with a water report
Find your utility's water-quality report before buying treatment equipment. If you use a private supply, or brew with water that has already passed through household treatment, test the water at the point where you fill the reservoir.
Write down the results rather than relying on descriptions such as mineral-rich or purified. A useful maintenance decision starts with a measured value, the brewer's model number, and its care instructions, not a label on a water bottle.
Water Hardness Levels and What They Mean for Your Machine
Water hardness bands and what they mean for a coffee maker
| Hardness class | Calcium carbonate (mg/L) | Maintenance level for a coffee maker |
|---|---|---|
| Soft | 0–60 | Low scale risk; keep to the standard descale schedule |
| Moderately hard | 61–120 | Routine descaling and regular filter use |
| Hard | 121–180 | Start at the short end of the descale interval and use a filter |
| Very hard | Above 180 | Filter plus the shortest descale interval, with close monitoring |
The hardness classes and concentration ranges come from the U.S. Geological Survey's water-hardness guide, which identifies home coffee makers as equipment affected by mineral buildup and explains that heated hard water can reduce heating efficiency and equipment life. The maintenance column is a practical starting recommendation, not a manufacturer-issued schedule.
Match the measurement before choosing treatment
Look for total hardness expressed as mg/L as calcium carbonate, often written as mg/L as CaCO3. Don't substitute a total dissolved solids reading for a hardness result. Use a hardness test or request the specific measurement from your water supplier.
If you're testing at home, follow the strip's immersion and reading instructions closely. Our guide to testing water hardness can help you choose a method and interpret the result.
Use this sequence:
- Find the number. Record the hardness value and the unit beside it.
- Match the band. Use the corresponding row to choose your initial maintenance approach.
- Check the brewer. Confirm the filter compatibility and descaling procedure in its manual.
For example, suppose a test gives a hypothetical result of 150 mg/L as CaCO3. That places the water in the hard band. For a daily brewer, I'd start with a compatible filter selected for its documented treatment capability and a scheduled descale at the shorter end of the manufacturer's interval.
Treat the table as a starting point
Soft water isn't permission to abandon maintenance. Keep the manufacturer's procedure on the calendar and investigate symptoms rather than assuming minerals can't be involved.
For moderately hard water, keep filtration and descaling predictable. For hard and very hard water, pay closer attention to changes in flow and the amount of water passing through the machine. Don't assume an ordinary cartridge makes very hard water suitable without checking its stated capability.
Record both your number and your hardness band. If the utility report doesn't include total alkalinity, ask for it or use a test kit that measures it separately. Hardness alone doesn't describe the full scaling or flavor picture.
How Scale Forms and Changes Both Heating and Taste

Scale begins while the minerals are still invisible. Calcium and bicarbonate ride into the brewer dissolved in the water, and once the heating element warms that water, carbon dioxide leaves solution and calcium carbonate settles onto hot surfaces. The Coffearium water-treatment reference explains this chemistry and ties the resulting deposits to reduced heat-transfer effectiveness in coffee equipment.
The sequence inside the machine:
- Water enters the brewer carrying dissolved minerals and bicarbonate.
- The heating system warms it, shifting the carbonate balance.
- Calcium carbonate deposits form on heated surfaces and water-contacting parts.
- The coating insulates the heater from the water it is meant to warm, and delivered brew temperature drifts.
That last step is the expensive one. A mineral layer between the element and the water behaves like insulation, and scrubbing the reservoir does nothing for buildup you cannot see on the heating surface.
Hardness and alkalinity do different jobs
Hardness describes calcium and magnesium. Alkalinity describes the water's capacity to neutralize acid, which in brewing water comes mostly from bicarbonate. Treating the two as interchangeable is how people end up buying the wrong fix.
Specialty coffee guidance commonly recommends a moderate range for total hardness with alkalinity held in a narrower, lower band, because alkalinity drives both scale risk and how acidity reads in the cup. Those are brewing targets rather than hardness classifications, and matching them guarantees nothing about whether a specific machine will scale.
A peer-reviewed sensory study in the Journal of Food Science found that changing calcium and magnesium hardness alone produced no reliably distinguishable flavor differences under its tested conditions. The same paper separates hardness from bicarbonate alkalinity and explains why high hardness paired with high alkalinity is the combination that builds boiler scale.
Harder water doesn't automatically mean worse coffee. Mineral balance does the work, and a taste complaint alone never identifies which number is off.
Choose treatment for the actual problem
A Journal of Food Science synthesis on coffee-water chemistry describes how alkalinity shapes perceived acidity and complexity, and warns that stripping water to near-zero minerals creates flavor problems of its own.
Match the fix to the reading. Hardness and alkalinity both high points to carbonate-scale risk, so the treatment needs to target bicarbonate specifically. Moderate hardness with a flat, dull cup points the other way: examine alkalinity before assuming a stronger softener is the answer.
My rule of thumb is to test both numbers where possible. Packaging that says premium, purified, or filtered tells you nothing about which problem the product solves.
A Descaling Schedule That Fits Your Water and Usage
Keurig's descaling instructions recommend descaling every 3–6 months and state that higher-mineral water may require more frequent treatment. Use that recommendation as a baseline, not a promise that every household or office can wait until the far end of the interval.
Some Keurig brewers track the volume of liquid passing through the machine and display “Time to descale the brewer!” after reaching an internal threshold. Keurig also explains that, when postponed, the reminder returns after six weeks and remains until the brewer has been descaled.
Build a routine around actual use
Estimate cups per day. Include everyone who uses the brewer, not just the person responsible for buying supplies. For a shared machine, keep a simple usage tally during a representative workweek.
Compare that workload with your recorded hardness band. A heavily used breakroom brewer deserves closer monitoring than an occasional-use machine supplied with the same water.
Choose the shorter end for hard water. Use the manufacturer's interval as your starting point, then bring maintenance forward when mineral exposure and symptoms justify it. Don't invent a long interval because the reservoir contains a filter.
Act when the descale notification appears. Set aside enough time to complete the procedure rather than starting a treatment you'll have to interrupt.
Finish the rinse sequence. Run the clean-water cycles required by the model's instructions, using fresh water and a suitable collection container. Don't stop just because the descaling solution has emptied from the reservoir.
Record the outcome. Note whether normal flow returned, whether the notification cleared, and whether unusual heating behavior continued.
For a hypothetical office brewing 40 cups a day in a hard-water building, I'd plan around the shorter interval and assign one person responsibility for completing and recording maintenance. That's a planning example, not a manufacturer threshold.
Keep prevention measurable
Use a maintenance log with the water source, hardness band, filter-change date, descale date, and any symptoms. If you're evaluating treatment, our explanation of water filters and calcium removal can help you distinguish a general filter from a product intended to address hardness.
Maintenance checkpoint: A completed procedure and restored performance matter more than a crossed-off calendar reminder.
For Ninja, Breville, Nespresso, and other brewers, use the exact model's manual rather than copying a Keurig button sequence or chemical dose. Choose the manufacturer's permitted treatment and shorten the planning interval for hard-water conditions where its guidance allows.
Don't keep accelerating chemical treatments when performance fails to improve. Complete the approved procedure, document the result, and move to troubleshooting or manufacturer support when the same problem persists.
Diagnosing Slow Brews, Weak Coffee and Descale Lights
For suspected mineral-related trouble, use this diagnostic order: complete the approved descale and rinse, check brewing performance and temperature, then evaluate grind and dose. Treat the table as a set of working hypotheses, not proof that every slow or noisy brewer contains scale.
Hard water symptoms, likely causes and fixes
| Symptom | Likely cause | Fix |
|---|---|---|
| Slow brewing or reduced flow | Scale narrowing water passages | Descale using the manufacturer procedure, then rinse with several cycles |
| Descale light stays on after a cycle | Maintenance threshold reached, postponed treatment, or incomplete procedure | Check completion of the full descale and rinse; repeat only as the model guide permits, then reset as directed |
| Weak or flat taste | Possible heat-transfer loss from scale | Descale, then check water temperature before adjusting grind or dose |
| Bitter or harsh taste | Over-extraction, or unsuitable very soft water | Check water hardness and brewing settings; avoid assuming softer is always better |
| White flakes or grit in the cup | Possible scale particles released internally | Complete the approved descale and clean-water rinse sequence |
| Noisy heating or spitting | Possible scale on the heating element | Descale as directed; if noise continues, contact manufacturer support |
Separate a symptom from a diagnosis
Start with the manual's flow checks and inspect accessible components before deciding on a cause. Use our coffee maker troubleshooting guide to organize observations such as reduced output, inconsistent serving size, and persistent alerts.
A reservoir reseat is a single check; descaling is a full treatment sequence. Don't confuse pressing a button once with completing all the solution, pause, and rinse stages your model requires.
Taste needs particular care. A peer-reviewed cold-brew study judged water at 12 ppm total hardness unsuitable in its experiment because it produced over-extraction and bitterness. That finding concerns cold brew, not every Keurig recipe, but it's a useful reason not to assume that the softest available water must make the best coffee.
Handle persistent lights methodically
If the descale light remains on, check that you entered the correct maintenance mode and finished every required rinse. Repeat the full procedure only when the model guide directs or permits it, and use its reset instructions rather than an unrelated online button combination.
Use the video alongside your own model's written instructions, not as a replacement for them.
If poor flow, abnormal heating, or repeated alerts continue after a completed treatment, contact the manufacturer. Ask support to assess the pump, heater, and controls instead of repeatedly dosing the machine on the assumption that scale is the only possible fault.
Premium Filters and Descalers vs Generic Options
Premium filters and descalers compared with generic options
| Criteria | PureHQ filters and descalers | Generic alternatives |
|---|---|---|
| Manufacturing control | We oversee manufacturing of our water filters and reusable coffee pods | Ask the seller for manufacturing details and quality-control documentation |
| Model compatibility | Check the product listing for your exact model | Check each listing against your model number |
| Filter fit and sealing | Match the listed model and installation instructions; check seating if a leak appears | Confirm holder compatibility and seating instructions |
| Durability | Reusable K-Cups are stainless steel, and the K-Duo value pack uses a gold-tone carafe; each listing states its contents | Look for a named material rather than words like "premium" or "long-lasting" with nothing behind them |
| Descaler format | Universal descaling solution for Keurig, Nespresso, Breville and espresso machines: 10 uses for $23.95, made in the USA | Divide bottle size by the dose per treatment to get the real use count, and confirm your brewer type is named on the label |
| Descaler tablets | Keurig & Breville Descaling and Cleaning Tablets come in a 24-count pack with 6 compatible water filters for $19.95 | Check the tablet count, whether your brewer accepts a tablet format, and what else comes in the pack |
Premium is a purchasing category, not proof of better performance. Match the product to your brewer first, then compare documentation, price, and the work involved in using it correctly. A less expensive product with clear compatibility information is easier to evaluate than a higher-priced product supported only by broad claims.
At PureHQ, we oversee our own manufacturing of water filters and reusable coffee pods. That statement has a defined scope: don't extend it into an unstated certification, factory standard, or guarantee about every accessory. Ask generic sellers for equally specific information rather than accepting vague quality language.
Resolve the fit objection before buying
Find the full model number on the brewer, then compare it with the accessory listing. A shared brand name isn't enough, and neither is a similar-looking holder in a product photograph.
If a leak appears after installation, stop using the brewer and check the seating before blaming either the machine or the cartridge. Remove and reinstall the filter according to the holder instructions, confirm that the correct parts are present, and inspect accessible seals for damage. Don't force an accessory that doesn't seat properly.
Use this purchase checklist:
- Exact compatibility: Look for your model, not merely the manufacturer's name.
- Installation details: Confirm any preparation, orientation, holder, and seating requirements.
- Treatment capability: Read what the filter claims to remove or reduce.
- Service terms: Compare replacement instructions, materials, warranty coverage, and return conditions.
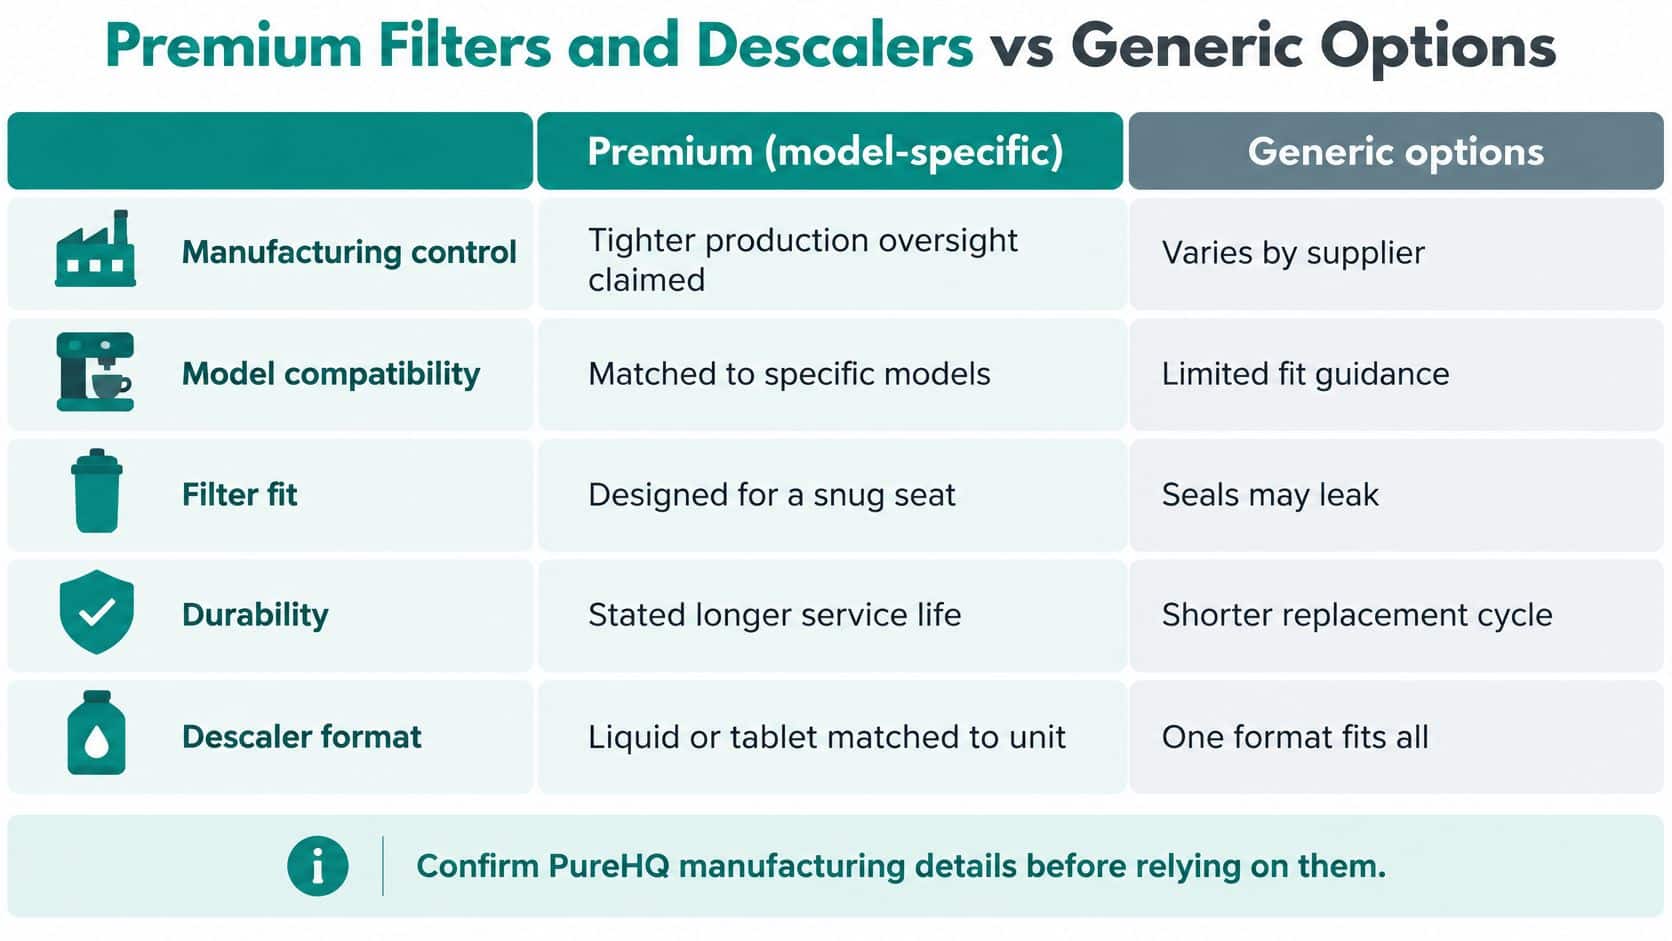
The comparison graphic below is a prompt for questions, not independent evidence that every premium accessory outlasts every generic one. Verify claims about fit, service life, and manufacturing before relying on them.
Buy filtration and descaling for different jobs
The Keurig K-Express user and care guide lists water-filter replacement every two months and descaling every three months or when the notification turns on. It describes the filter as helping keep water fresh and removing impurities, while descaling targets mineral buildup.
Those are different jobs. A filter treats incoming water within its documented capabilities; it doesn't remove deposits already attached to internal parts. Descaling removes accumulated mineral buildup, but it doesn't continuously treat the water used afterward. Buying a stronger filter will never substitute for a descale, and descaling more often won't fix water that arrives hard.
Keep a compatible descaler and replacement filter together in your maintenance supplies so each is available when its own service task comes due. Don't use a new cartridge as a reason to postpone a required descale.
Compare usable value rather than packaging
For durability, compare stated materials and warranty terms instead of assuming that the premium label guarantees longer life. A stainless steel pod or a gold-tone carafe is a checkable fact; the word "durable" on its own is not.
For descalers, compare the labeled dose and number of treatments, not just bottle size. A bottle that states 10 uses for $23.95 gives you a cost per treatment you can weigh directly against a cheaper bottle that delivers fewer doses. A larger package isn't automatically better value if its instructions require more solution per treatment.
Check whether the brewer accepts the product's format and procedure. Don't substitute a tablet for a liquid dose by guesswork, and don't assume that a universal compatibility claim overrides your machine's care instructions. When a product comes bundled with extras, as the 24-count cleaning tablets do with their 6 included water filters, factor those into the comparison rather than comparing sticker prices alone.
I would choose documented compatibility first, clear treatment instructions second, and price third. That order keeps the buying decision tied to the brewer and the water problem rather than to promises that are difficult to verify.
Our Coffee Machine Descaler gives 10 uses for $23.95, is made in the USA, and is a universal descaling solution for Keurig, Nespresso, Breville, and espresso machines. Check your model's care instructions and the product listing, then visit PureHQ Inc. to shop the descaler and put a specific hard-water maintenance routine in place.

