Coffee Machine Care
Keurig Cleaning Solution: Deep Clean & Descale
Apr
Bad coffee from a Keurig usually isn’t a coffee problem. It’s a machine problem.
In hard-water areas, which cover over 85% of U.S. homes, neglected descaling can cause up to a 50% drop in machine performance and shorten a brewer’s potential 5 to 10 year lifespan, according to Keurig descaling solution product information at Fred Meyer. That’s why a cup that suddenly tastes flat, bitter, or oddly metallic often points to hidden mineral scale inside the brewer, not stale beans.
A proper keurig cleaning solution routine fixes the underlying issue. It clears mineral buildup, improves water flow, and helps the machine heat correctly again. If your brewer has gotten noisy, slow, or unpredictable, the fix is usually straightforward once you stop treating descaling like an occasional chore and start treating it like basic machine care.
Why Your Morning Coffee Tastes Off and What to Do About It
That first cup should taste clean and balanced. When it starts coming out bitter, weak, or hollow, the usual reaction is to blame the pod, the roast, or your water. Sometimes those are factors. More often, the brewer has scale inside it.
Hard water leaves mineral deposits behind every time the machine heats water. Those deposits settle inside narrow internal pathways, around heating components, and in places you can’t see. The machine still turns on, still brews, and still sounds like it’s working, but the coffee starts telling on it.
What scale does to flavor
Scale interferes with water movement and heat transfer. That matters because single-serve brewers depend on both. If water doesn’t flow evenly or doesn’t heat the way it should, extraction gets messy. You end up with coffee that tastes sharp one day, weak the next, and bitter after that.
If you’re trying to sort out whether the bitterness is coming from the coffee itself or the machine, Cumbre Coffee has a useful guide to a balanced coffee cup that breaks down flavor causes clearly. If your bitter cup keeps happening no matter which pod or grounds you use, machine buildup becomes the likely culprit.
Practical rule: If fresh coffee suddenly tastes worse across different brands, clean the brewer before you buy different coffee.
Why this gets worse fast
Many users wait until the machine is obviously struggling. That’s when brew times drag, cup size starts shrinking, and the flavor turns muddy. By then, you’re not dealing with a light cleanup. You’re undoing a buildup problem that’s been forming a little at a time.
The other issue is hygiene. Mineral scale isn’t the same thing as coffee residue, but dirty machines usually have both. Removable parts collect splashback, oils, and moisture. If your reservoir, pod holder, and drip tray aren’t getting regular attention, taste suffers even before the internals clog badly.
For a practical explanation of one common flavor symptom, PureHQ also has a helpful post on why coffee tastes bitter. It lines up with what I see most often: users chase beans and brew settings while the machine itself is overdue for care.
What actually fixes it
The fix is not complicated. You need two kinds of cleaning.
- Descaling for internal mineral buildup: This targets the hidden deposits affecting flow and heat.
- Routine washing for removable parts: This handles coffee oils, residue, and mold risk.
- Fresh filtration maintenance: This helps reduce what enters the machine in the first place.
A good keurig cleaning solution isn’t about making the machine look clean. It’s about restoring how it brews. Once scale is gone, the difference usually shows up immediately in taste, brew speed, and consistency.
Signs Your Keurig Is Due for a Deep Clean
The descale light gets most of the attention, but it’s only one clue. Your brewer usually shows smaller warning signs first. If you catch those early, cleaning is easier and the machine recovers faster.
The descale light is a timer, not a diagnosis
On some Keurig models, the descale indicator is programmed to turn on after exactly 250 brews, not because the machine has measured the actual amount of internal buildup. Keurig notes this behavior in its descaling solution product listing. That means the light matters, but it doesn’t tell the whole story.
A machine in a hard-water home may need attention before the light appears. A machine used with filtered water may still brew fine when the light turns on. You have to read the machine’s behavior, not just the indicator.
Performance clues that show up first
Watch for changes in how the brewer works from cup to cup.
- Longer brew time: If a cup that used to dispense quickly now feels sluggish, internal scale is often restricting flow.
- Shorter pour than selected: You choose one size and get less in the mug. That often points to clogging or partial obstruction.
- More noise during brewing: Extra sputtering or straining usually means the pump is pushing through buildup.
- Uneven output: One cup is fine, the next is weak or incomplete.
These signs matter because they show the machine is having trouble moving and heating water the way it was designed to.
A slow Keurig is rarely just “getting old.” It’s usually telling you water isn’t moving cleanly through the system.
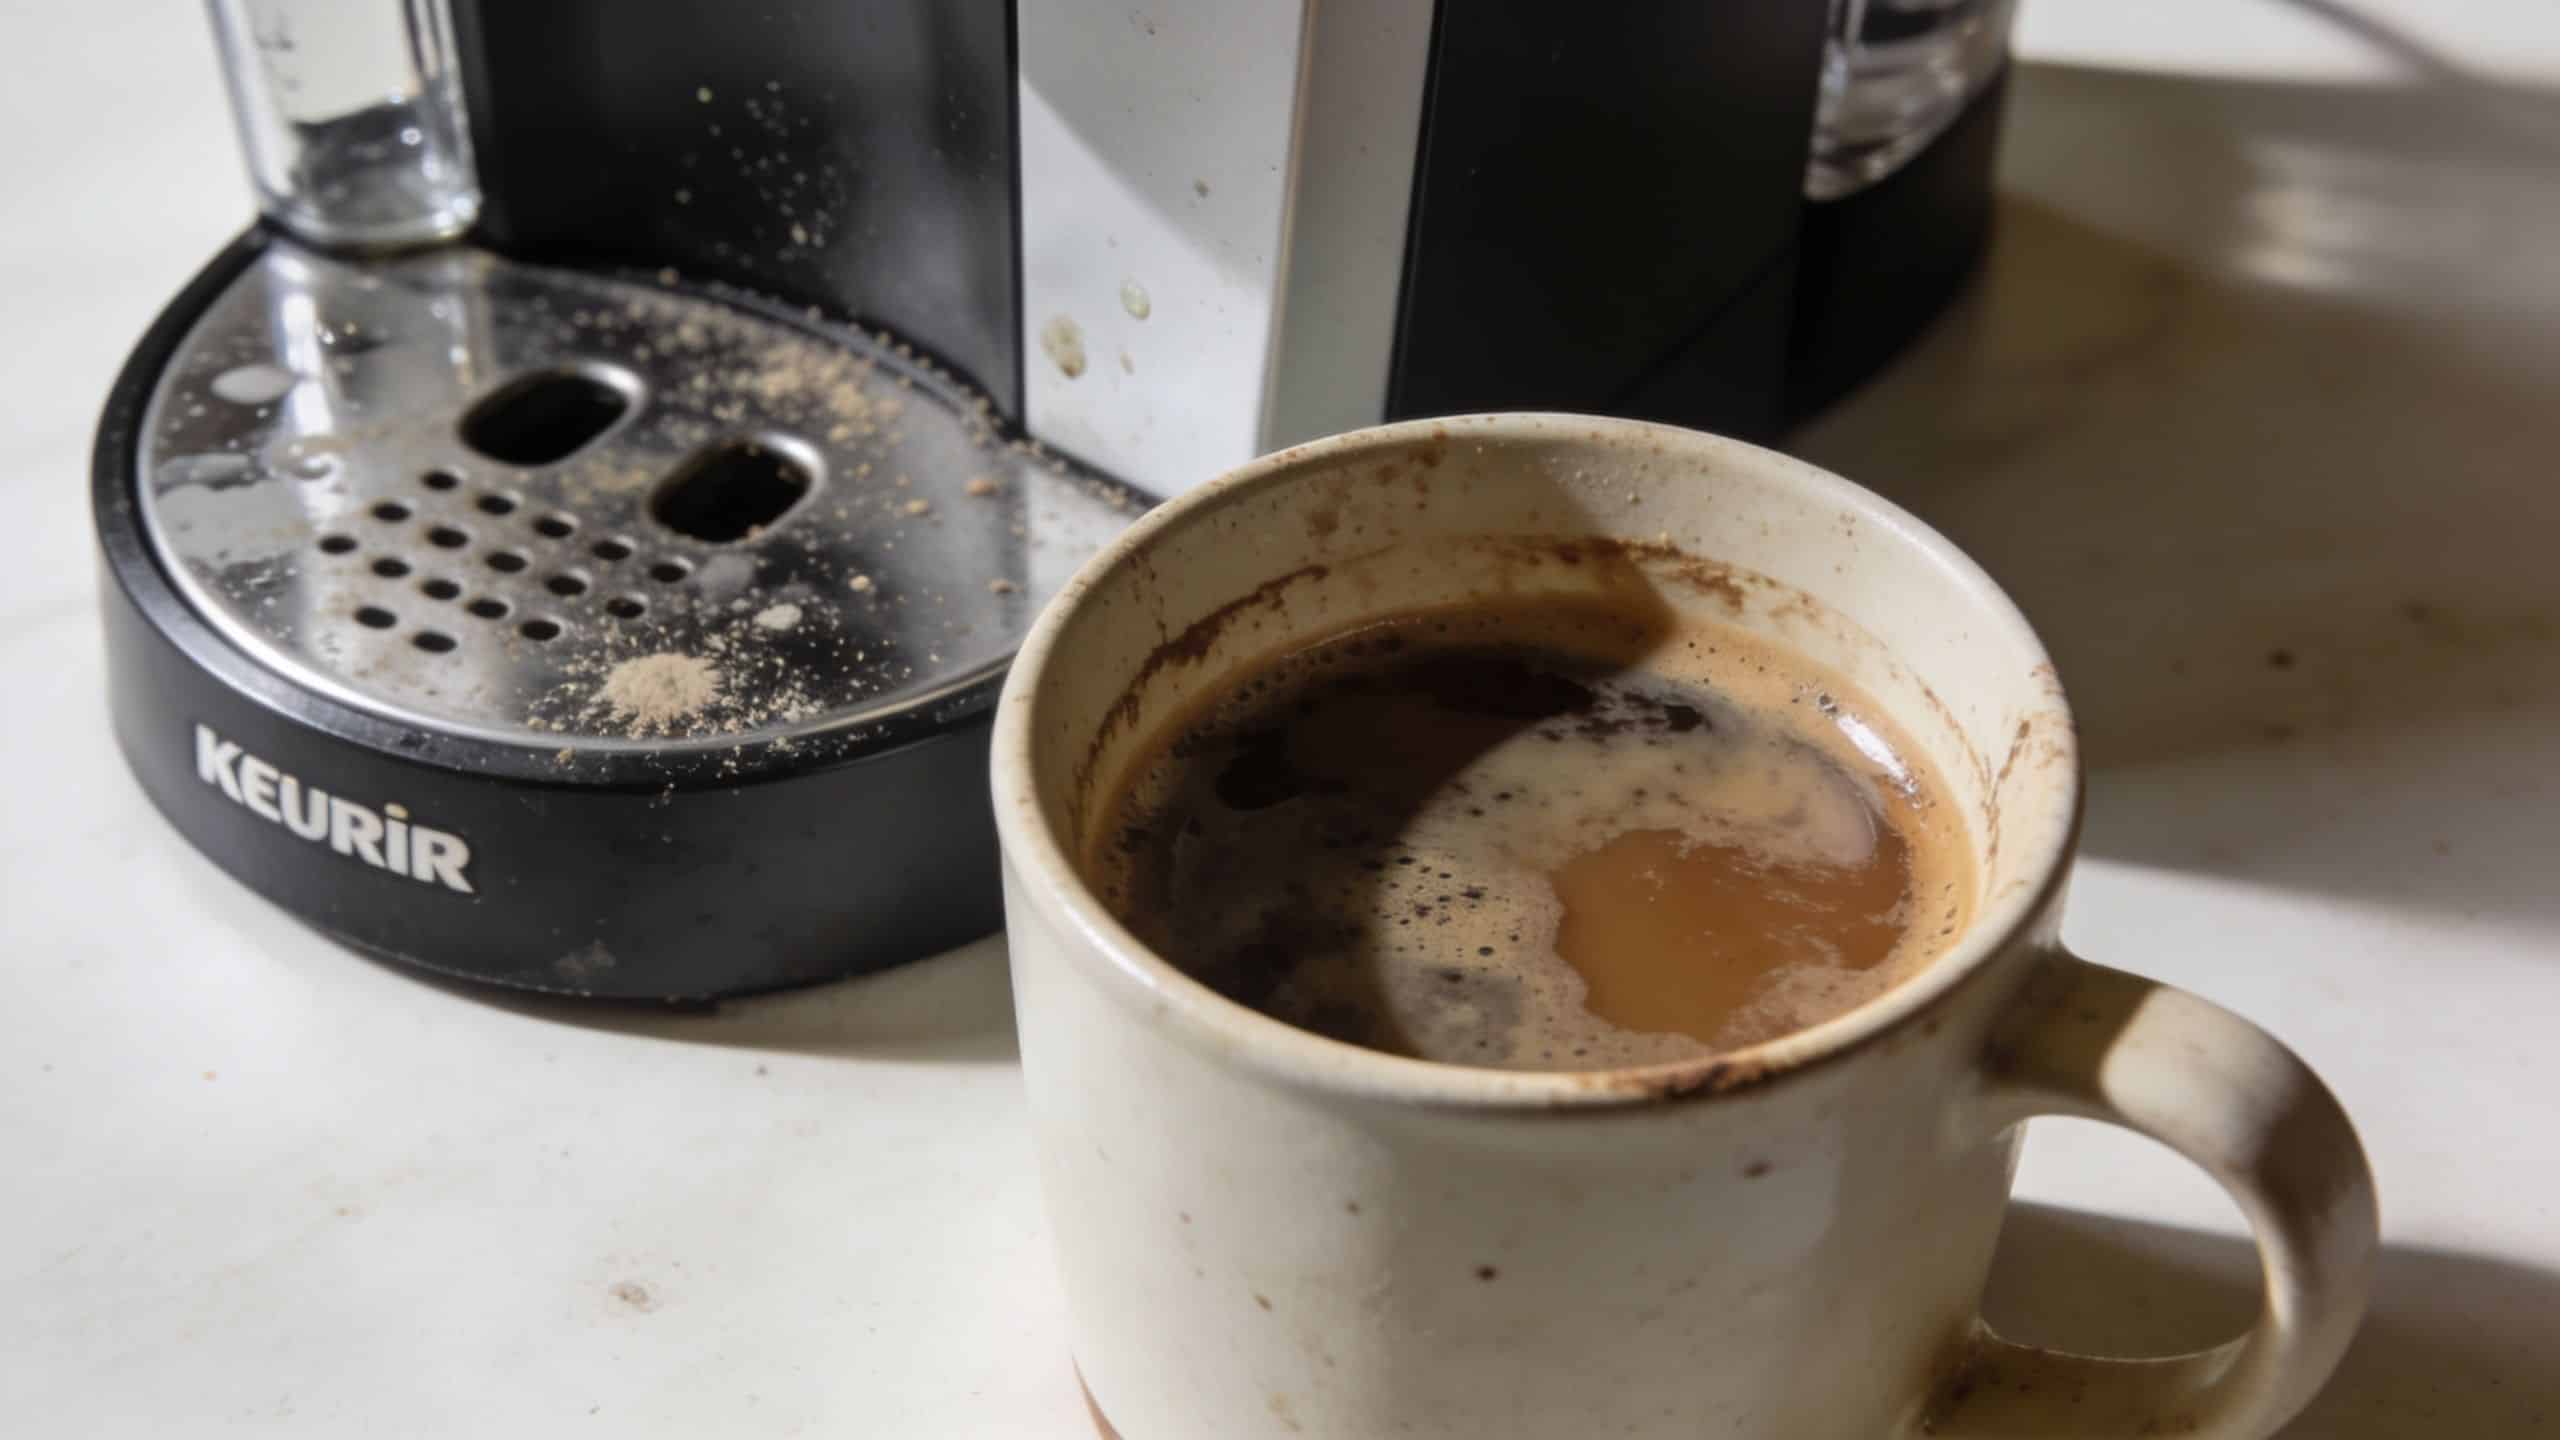
Taste and visual warning signs
Some users ignore flavor changes because the machine still technically works. That’s a mistake. Taste is one of the earliest and most reliable clues.
You may notice:
- A bitter or metallic edge: Even with coffee you normally like
- A flat, dull cup: Less aroma, less clarity, less body
- White or chalky residue: Often visible in the reservoir or around water contact points
- Coffee grounds in the mug: Usually tied to needle debris, residue, or neglected cleanup around the pod area
When the outside looks fine but the inside isn’t
A Keurig can look spotless on the counter and still be overdue for a deep clean. That’s what makes this frustrating. Users wipe the exterior, rinse the reservoir occasionally, and assume they’re covered. Meanwhile, minerals keep collecting inside the heating and flow system.
If your brewer has developed a pattern of bad flavor, odd noises, smaller pours, or slower cycles, don’t wait for complete failure. Deep cleaning at that point is maintenance, not overreaction.
Comparing Your Keurig Cleaning Solution Options
When people search for a keurig cleaning solution, they usually end up choosing between three paths. The official Keurig product. A third-party descaler. Plain white vinegar from the kitchen.
All three can move liquid through the machine. They are not equal in how they treat scale, how easy they are to rinse, or how likely they are to leave you with a better-tasting cup afterward.
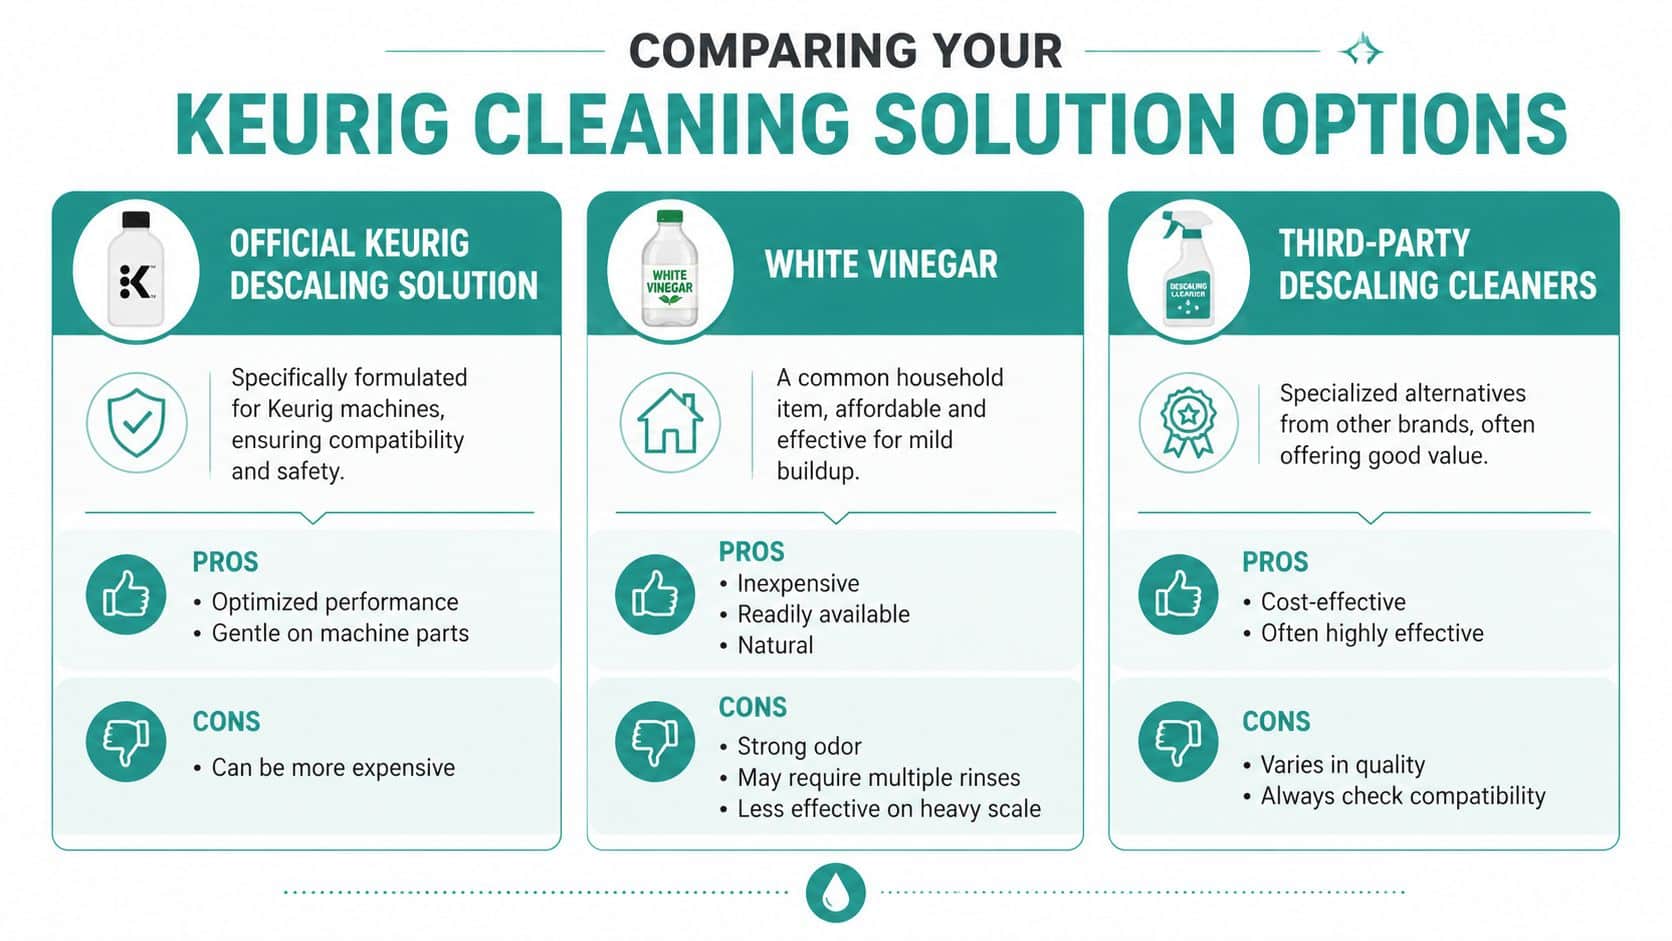
Official Keurig solution
Keurig’s own descaling solution is the manufacturer-recommended option. The standard package contains two 14 oz bottles totaling 28 oz, and Keurig positions it as compatible with all Keurig brewers. It uses a citric-acid-based formula and is intended to clean internal mineral buildup without leaving the vinegar smell many users complain about.
For people who want the simplest compatibility answer, this is the safe choice. It’s designed for the machine, it follows Keurig’s maintenance guidance, and it doesn’t ask you to guess at dilution or contact time.
The trade-off is cost. Official products usually cost more than generic alternatives, and some buyers look elsewhere once they realize descaling is recurring maintenance rather than a one-time purchase.
Third-party descalers
A solid third-party descaler can make sense if it’s clearly compatible with Keurig-style brewers and uses the same basic kind of acid-based mineral removal approach. The key is not the label. It’s whether the formula is meant for coffee machines and whether the instructions call for a complete descale and rinse process instead of a shortcut.
One example is PureHQ Inc.’s universal coffee machine descaler, which is made for mineral buildup in brewers and fits the same use case as official Keurig solution. If you want a deeper look at what’s typically inside these products and why the formula matters, this breakdown of keurig descaling solution ingredients is useful.
Compatibility is an objection people have here. That’s fair. A third-party bottle only makes sense if it is specifically intended for coffee machines and the maker provides clear instructions. If the product is vague, skip it.
DIY white vinegar
Vinegar is cheap and easy to find. That’s why it’s so popular. It’s also the option that creates the most follow-up problems.
According to user tests and expert comparisons discussed in this video on vinegar versus commercial descalers, vinegar can leave a sour aftertaste for days and remove only 50% of scale and oils, while commercial descalers are formulated to dissolve deposits fully without residual smells or tastes. That lines up with what many Keurig owners experience: the machine may seem cleaner, but the coffee still tastes wrong and the rinsing drags on.
Vinegar also creates a practical headache. If you don’t rinse thoroughly, your next cups pick up the smell and taste. If you use it repeatedly because the machine still seems scaled, you turn one maintenance task into a drawn-out cycle of guesswork.
Bottom line: Vinegar is available. That doesn’t make it the smart choice for a machine you rely on every morning.
Keurig cleaning solution comparison
| Feature | PureHQ Universal Descaler | Keurig Official Solution | DIY White Vinegar |
|---|---|---|---|
| Primary use | Descaling coffee machines | Descaling Keurig brewers | Household substitute |
| Compatibility | Check product instructions for Keurig compatibility | Designed for Keurig machines | Broad household use, not purpose-built for brewer maintenance |
| Odor after cleaning | Typically minimal when fully rinsed | Formulated to avoid residual odor or taste | Often leaves noticeable odor and sour aftertaste |
| Mineral removal approach | Dedicated descaler formula | Citric-acid-based official formula | Common DIY acid approach |
| Ease of rinsing | Usually straightforward with full rinse cycles | Designed for normal descale-and-rinse workflow | Often requires extra rinsing |
| Main trade-off | Quality varies by brand | Higher recurring cost | Lower cleaning performance and more taste risk |
Which option makes the most sense
If you want the least friction, use the official solution. If you want a non-official option, choose a coffee-machine descaler with clear compatibility guidance and complete instructions. If you care about taste and don’t want extra rinse cycles, vinegar is usually the wrong compromise.
The machine doesn’t care whether a cleaner is trendy or cheap. It responds to products that dissolve mineral scale and flush cleanly out of the system.
The Definitive Four-Phase Descaling Process
A lot of failed descaling jobs come from one bad assumption. People think pouring cleaner in and running a couple of brew cycles is enough.
It usually isn’t. A successful descale is a sequence. Each phase does a different job, and skipping one is the fastest way to end up with a machine that still brews slowly or still tastes off.
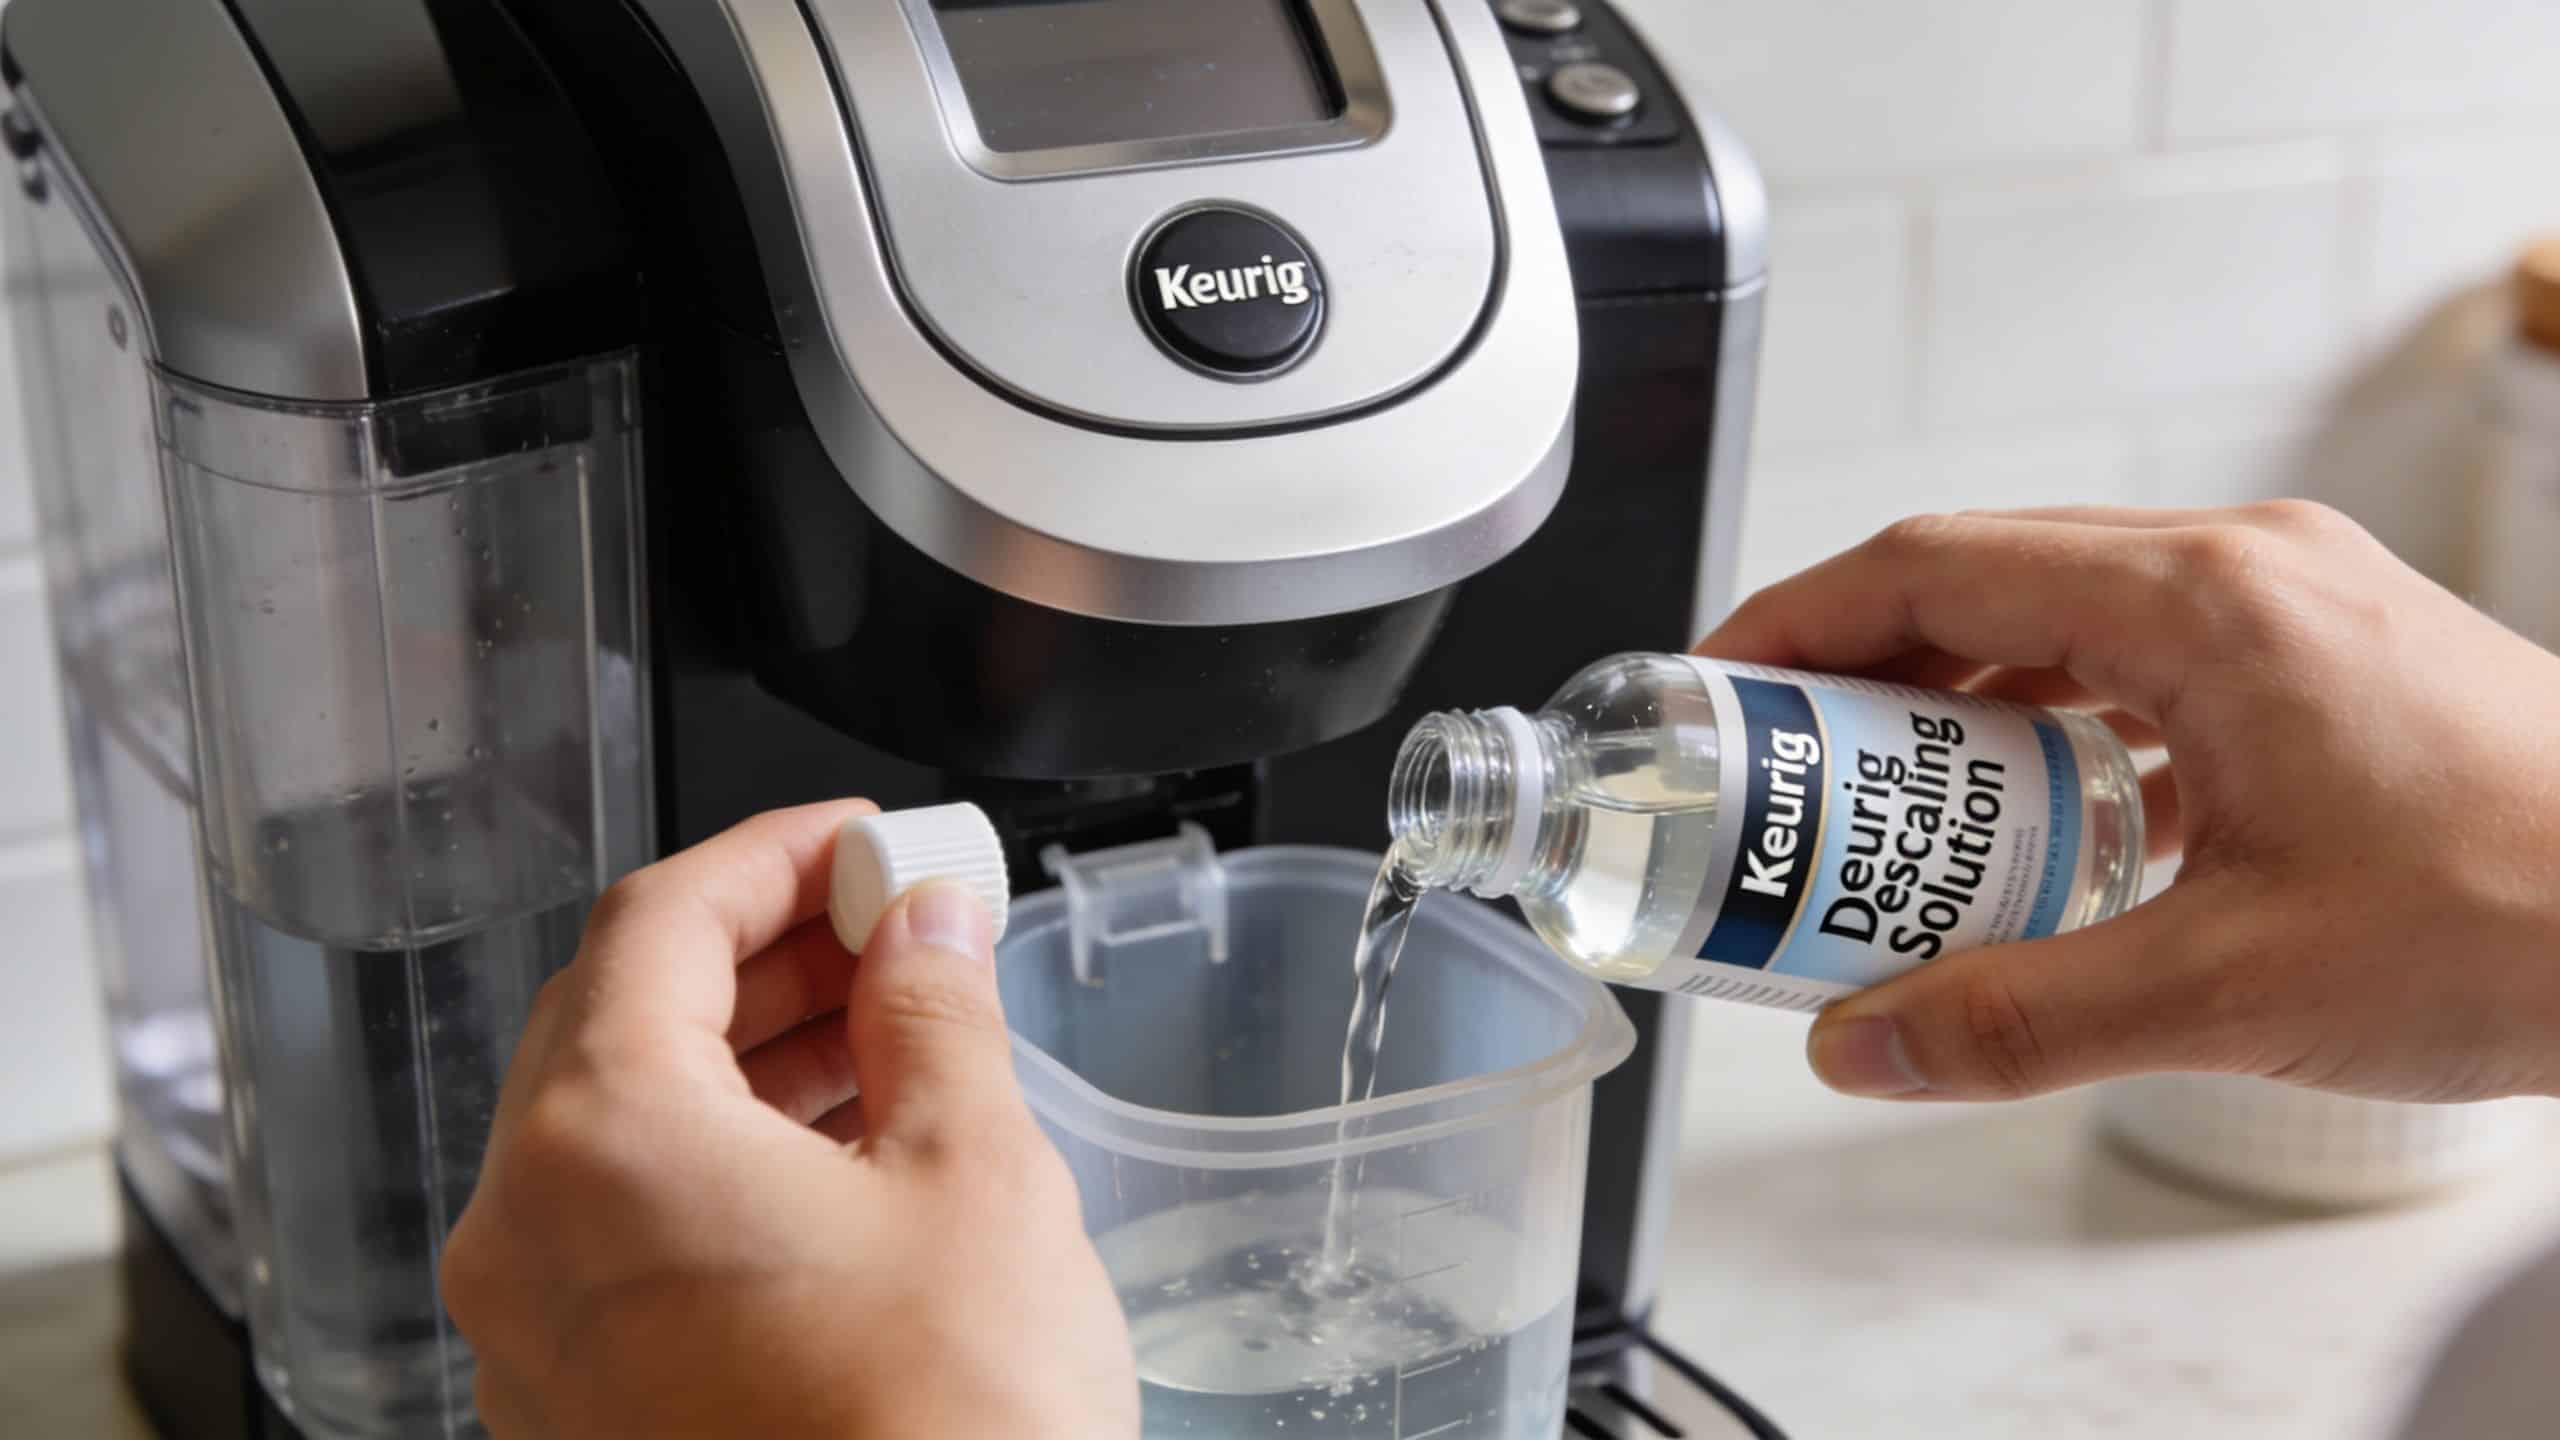
Phase one: Prep the machine properly
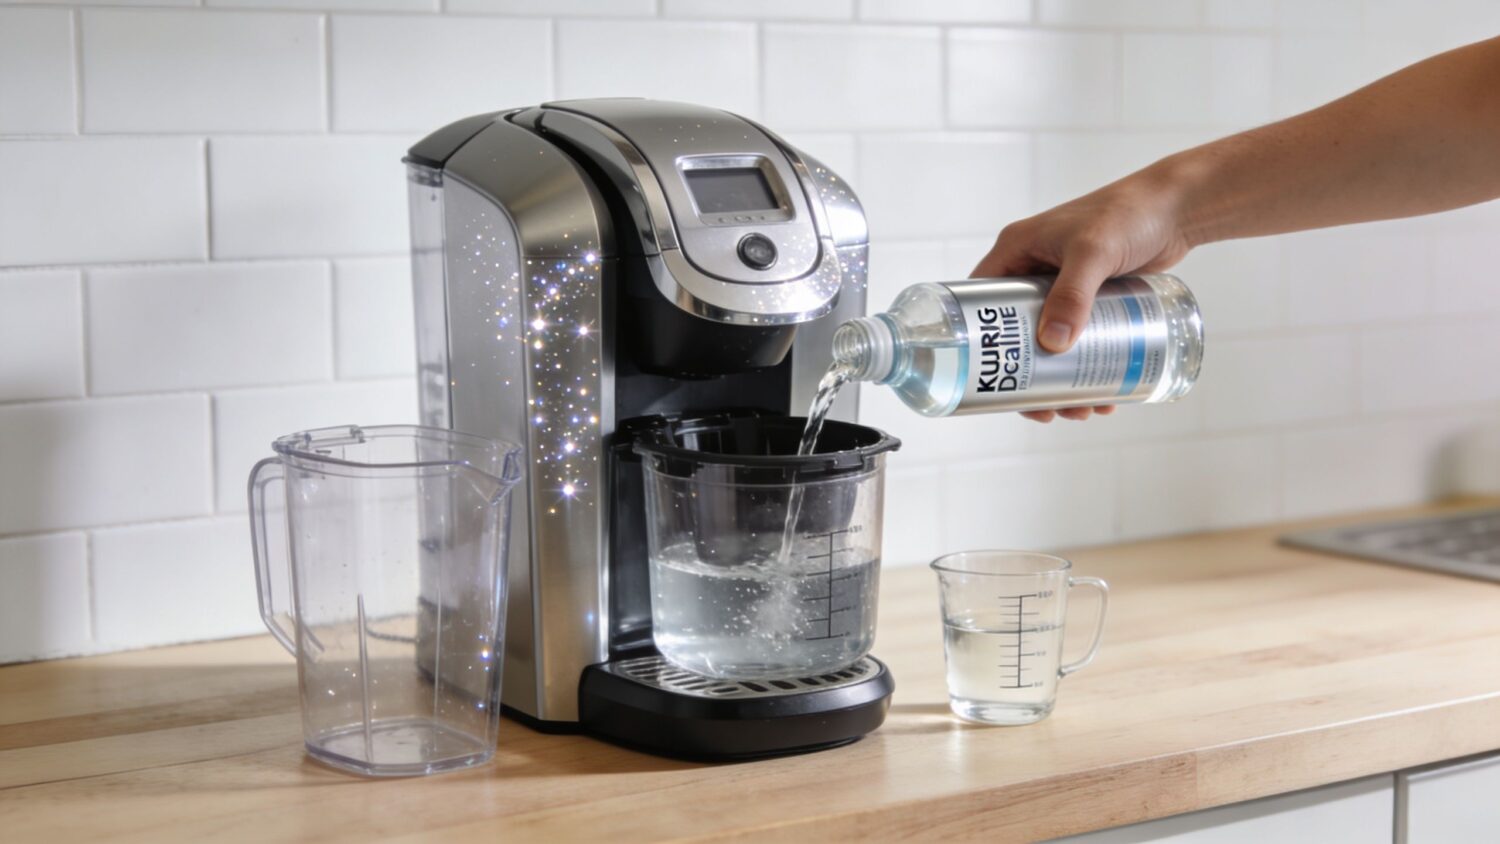
Start with the machine empty. Remove any pod. Empty the reservoir. If your brewer uses a water filter, take that out before descaling. You don’t want the filter absorbing cleaning solution.
Then add the descaler according to the bottle directions. With the common Keurig-style process, that means pouring in the full bottle and adding water to create the working solution. Have a large mug or container ready because you’ll be running several cycles.
This first phase matters because it clears the way for the solution to move through the entire system instead of mixing with stale water or getting blocked by simple avoidable issues.
Phase two: Run cleansing brews
Run brew cycles without a pod, using the largest size your machine allows or a large setting close to it. Keep going until the machine indicates low water or the reservoir is nearly empty.
The point here isn’t to “wash” the machine in a general sense. You’re pulling descaling solution through the lines, pump, heater, and outlet path so it contacts the mineral deposits where they sit.
A strong descale starts to loosen buildup in this phase, but it usually won’t finish the job yet. That’s where people quit too early.
What this phase should look like
- Use no coffee pod: You want solution moving through the brewer, not coffee brewing.
- Catch and discard every cycle: Don’t reuse expelled liquid.
- Keep the machine powered on: Don’t interrupt the process unless your model’s instructions require it.
- Watch for low-water prompts: That usually signals it’s time for the next stage.
If the first few cycles come out uneven or sputtery, that doesn’t mean the process failed. It often means scale is already starting to break loose.
Phase three: Let the solution dwell
This is the step many users skip because it feels passive. It’s also one of the most important.
After the cleansing brews, let the machine sit with the solution still having circulated through the system. The benchmark protocol for universal Keurig descaling includes a 30-minute dwell phase, and independent testing cited in this descaling protocol video found that a full descale including that dwell can cut brew time by 20 to 35%, such as improving from 90 seconds to 60 seconds per cup by restoring thermal efficiency.
That waiting period gives the acid time to dissolve mineral deposits instead of just passing over them. If you rush straight to rinsing, you leave a lot of the work unfinished.
Phase four: Rinse until the machine is actually clean
Empty the reservoir if needed. Rinse it thoroughly. Then fill it with fresh water and start running plain-water brew cycles.
Don’t stop after two or three cycles just because the machine looks done. Keep rinsing until the water runs clean and neutral in smell and taste. In many full descale protocols, the rinse phase takes the longest because you’re flushing out loosened mineral residue and any remaining cleaning agent.
A lot of post-clean complaints come from under-rinsing. Users think the descaler caused the bad taste, when the cause is that the rinse was incomplete.
Here’s a visual walkthrough if you want to see the sequence in action:
A practical order that works
- Empty and prepare the machine.
- Add descaler and water as directed.
- Run cleansing cycles with no pod.
- Wait through the dwell period so the solution can work.
- Rinse the reservoir well.
- Run repeated fresh-water cycles until all residue is gone.
One good add-on after descaling
Descaling removes what’s already built up. It doesn’t prevent the next round from forming. That’s why this is a smart time to install a fresh water filter if your machine uses one. Cleaner incoming water slows future mineral accumulation and improves taste consistency between deep cleans.
If your brewer still seems slow after a full descale, check the pod holder and exit needle next. Descaling handles mineral scale. It doesn’t remove every coffee particle trapped in the brew head.
Your Complete Keurig Maintenance Schedule
A Keurig stays reliable when you stop treating cleaning as an emergency fix. The easiest routine is the one that separates quick habit maintenance from occasional deep maintenance.
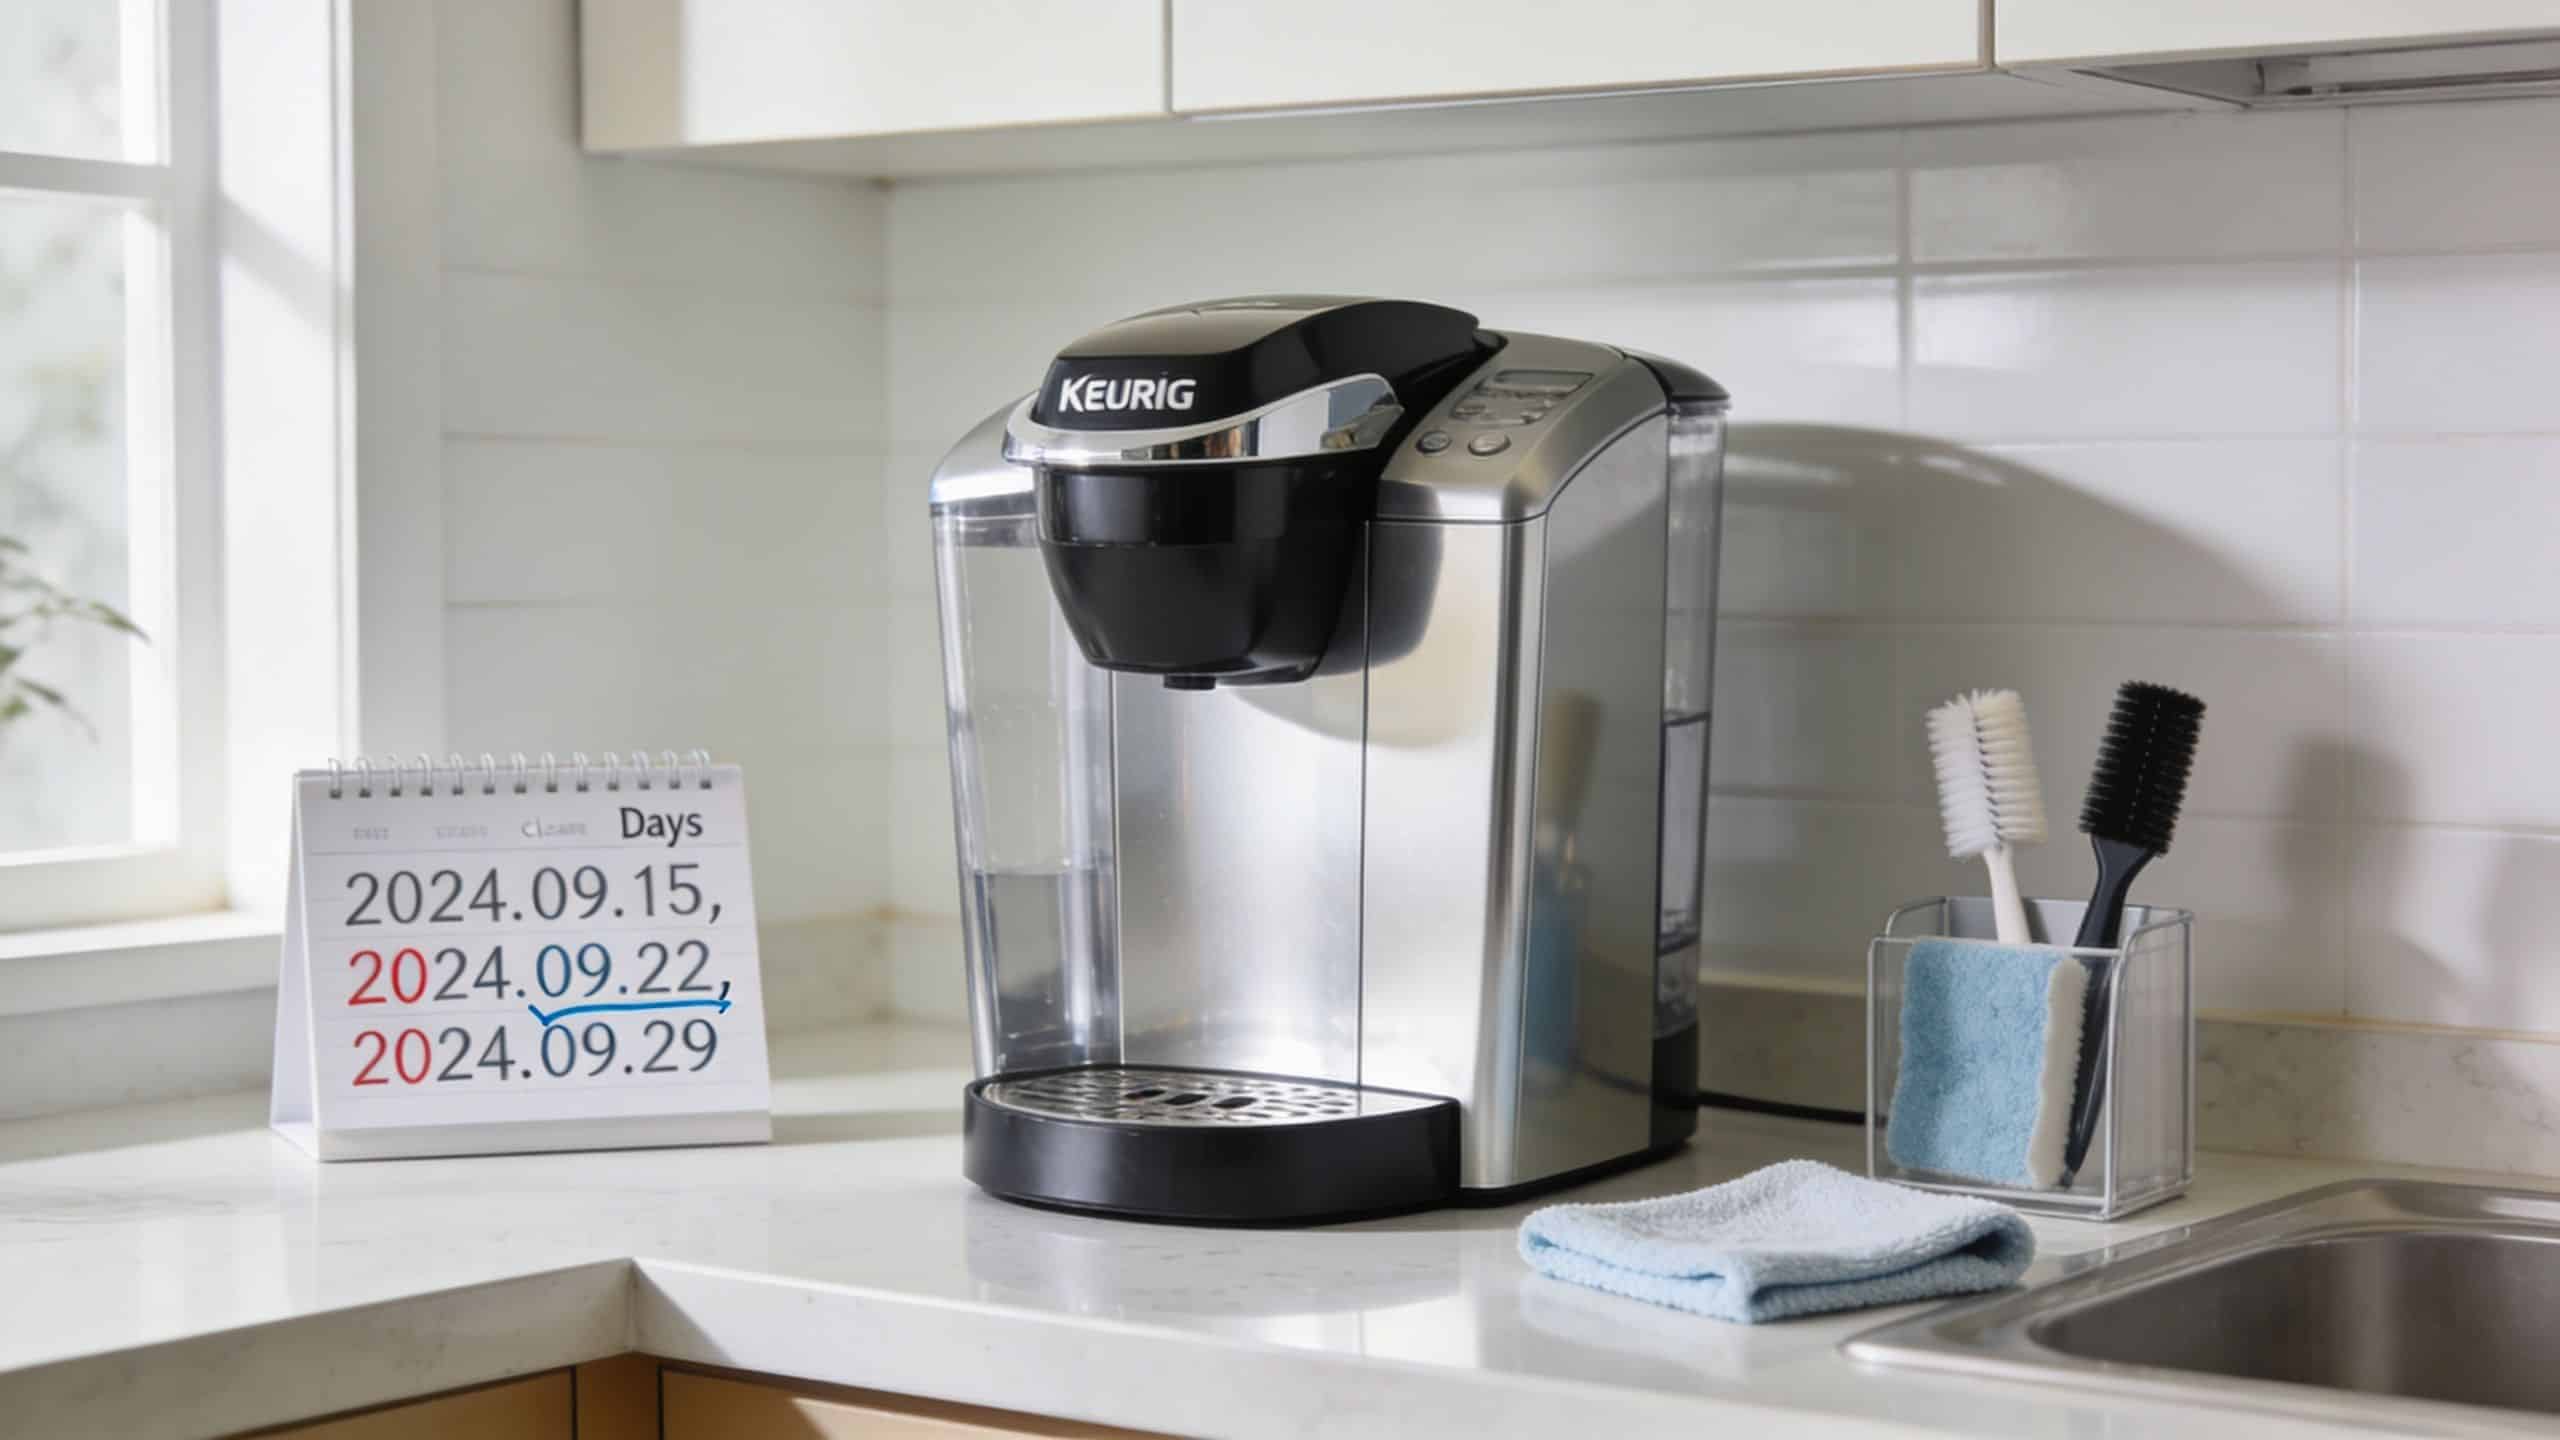
The simple rhythm that prevents most problems
The machine doesn’t need a full tear-down every week. It does need consistent basics.
According to the product guidance that also references expert housekeeping advice, removable parts should be cleaned weekly and water filters should be replaced every 2 to 3 months alongside a broader descaling routine every 3 months or as needed based on water conditions. Those recommendations are summarized in Keurig product information at Walmart, but that source was already cited earlier, so the key takeaway here is simple: weekly washing plus scheduled filter replacement prevents a lot of taste and hygiene issues before they grow.
What to do by frequency
After regular use
- Rinse the pod area: Coffee grounds and oils collect fast around the holder and puncture area.
- Empty standing water from the drip tray: It keeps splashes and residue from sitting all week.
Weekly
- Wash the removable parts: Reservoir, drip tray, and K-Cup holder should get warm, soapy water.
- Air-dry thoroughly: Damp reassembly invites odor and residue.
Every filter cycle
- Replace the water filter: This supports taste and helps reduce the mineral load entering the machine.
On your descaling schedule
- Run a full internal descale: Use the complete process, not a shortcut flush.
A clean reservoir and a descaled internal system solve different problems. You need both.
Why this schedule works better than reactive cleaning
Reactive cleaning happens when the coffee already tastes bad. Preventive cleaning keeps the machine from getting there. That matters because scale buildup and coffee residue don’t show up the same way. One affects internal flow and heating. The other affects cleanliness and flavor at the contact points you handle every day.
If you use reusable pods, this routine matters even more. Fine grounds and oils can build up around the holder and needle area faster than many users expect. A quick rinse after use saves you from troubleshooting later.
Troubleshooting Common Cleaning and Descaling Issues
You’ve descaled the machine. You expect the next cup to be perfect. Then the descale light stays on, the coffee tastes odd, or the machine starts making unpleasant noises. Most of these problems have a simple cause.
The descale light won’t turn off
This is common on newer Keurig models. The machine often expects a complete descale sequence, not just contact with cleaning solution. If the rinse phase was cut short, or the machine didn’t register the cycle properly, the light can remain on.
For K-Supreme-style machines, the reset process often involves entering descale mode by holding the 8 oz and 12 oz buttons together for 3 seconds, then running the required cycles until the machine completes the sequence. The reset guidance described in this K-Supreme descaling walkthrough also stresses that incomplete rinsing and skipping the soak period are common reasons the clean light doesn’t clear.
The coffee still tastes sour or chemical
That nearly always means you need more rinse cycles. It’s especially common if you used vinegar, but it can happen with any descaler if the system wasn’t flushed thoroughly.
Try this:
- Refill with fresh water only
- Run repeated brew cycles with no pod
- Discard every rinse cup
- Test with plain hot water before making coffee again
If the smell or taste is still there, rinse again. Don’t brew through it.
The machine leaks or sounds wrong after cleaning
Leaks after reassembly are often simple. Check that the reservoir is seated correctly and that removable parts are fully aligned. If the machine sputters or the stream looks uneven, inspect the pod holder and needle area for loosened debris.
The brew is still slow
If you completed a proper descale and rinse but the machine remains sluggish, there may be coffee residue or debris at the exit needle or pod holder. Internal scale isn’t the only restriction point. Clear the accessible brew path, then test with a plain water cycle before assuming the descaler failed.
Most post-descaling problems come down to one of two things: incomplete rinsing or an interrupted cycle.
Your Next Step to a Perfect Cup of Coffee
A Keurig doesn’t slowly make worse coffee for no reason. It does it because minerals, residue, and neglected maintenance eventually interfere with how the brewer heats and moves water.
Once you clean the machine correctly, the difference is usually obvious. Coffee tastes cleaner. Brew flow steadies out. The machine sounds less strained. You spend less time wondering whether the beans changed and more time getting a dependable cup.
If you’re still deciding which product to use, skip the shortcuts that create more cleanup later. Choose a purpose-built descaler, follow the full process, and rinse thoroughly. That’s the part often rushed, and it’s the part that determines whether the result feels complete.
For a broader look at what makes a descaler worth buying, this guide to the best descaler for a coffee machine is a useful next read.
Clean machines make better coffee. That’s not a marketing line. It’s the basic condition for good brewing.
If your brewer is overdue for a deep clean, shop maintenance supplies from PureHQ Inc. and pick up a compatible descaler, water filters, or reusable brewing accessories that fit your machine and help keep every cup tasting the way it should.
