Coffee Machine Care
How to Brew Espresso in Keurig for Café-Style Coffee
Mar
You love your Keurig for its speed, but you crave the rich, intense flavor of a true espresso shot. That daily dilemma often forces a compromise: settle for a standard, somewhat watery brew, or shell out hundreds for a bulky espresso machine that hogs your counter space. According to recent home espresso machine market research, the high cost and large footprint of dedicated machines are significant barriers for many coffee lovers. This leaves you stuck in a frustrating morning routine, wanting café-quality coffee but limited by the tools you have.
The good news is you can stop compromising. The solution isn't a new machine; it's a smarter way to use the one you already own. By combining a high-quality reusable K-Cup with finely ground coffee and the correct brew settings, you can create a powerful, concentrated shot that serves as the perfect base for lattes and cappuccinos. This guide will show you exactly how to transform your Keurig from a simple coffee maker into your personal espresso bar.
The Keurig Espresso Dilemma
You crave the deep, syrupy richness of an espresso shot, but your Keurig delivers a quick, convenient cup that often lacks that desired intensity. This gap between expectation and reality forces a difficult choice every morning. Do you accept a less-than-perfect brew, or do you invest in a dedicated espresso machine that consumes both money and precious kitchen real estate?
This daily compromise feels like a letdown. You watch your machine brew a standard cup, knowing the bold, concentrated flavor you truly want is just out of reach. The thought of another large appliance cluttering your countertop is frustrating, especially when it only serves a single purpose. You're left wondering if there’s a way to get the coffee you love without the extra cost and hassle.
The solution is simpler than you think and doesn't require a new machine. It's entirely possible to brew an intense, espresso-style shot using your existing Keurig. The secret lies in using the right accessories and a specific technique to force a more powerful extraction from your coffee grounds. This method allows you to unlock a richer flavor, save money and space, and even reduce waste for a more sustainable morning routine.
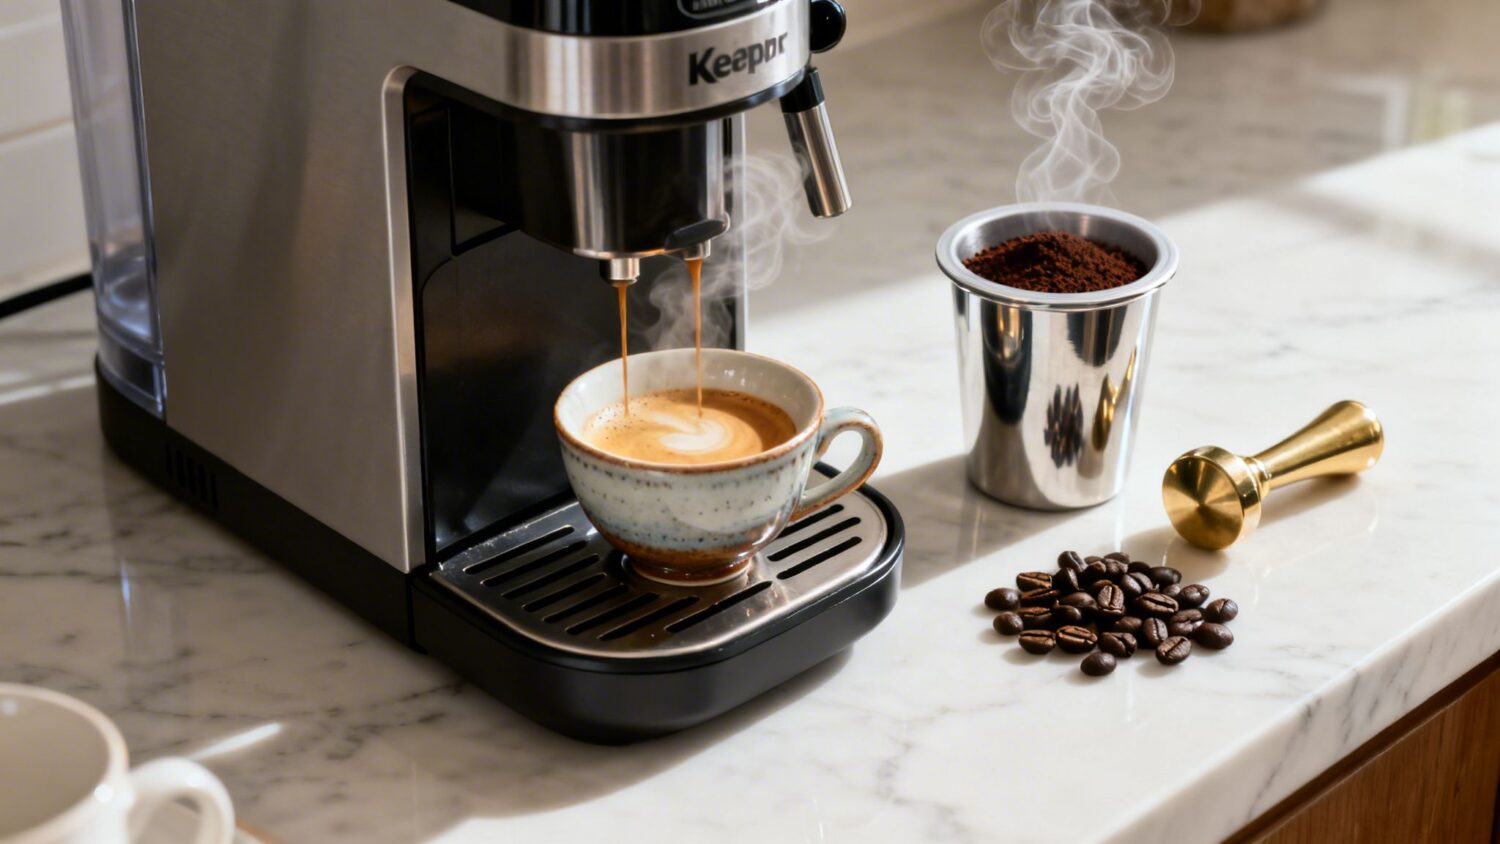
The Essential Toolkit for Keurig Espresso
To achieve an espresso-style shot, you need tools that can handle a finer coffee grind and create the necessary resistance for a concentrated brew. Trying to use standard, disposable K-Cups for this purpose will only lead to frustration. Their flimsy paper filters and weak plastic frames are designed for a standard 8-ounce cup and cannot withstand the pressure required, often resulting in weak coffee, a clogged machine, or a counter full of grounds.
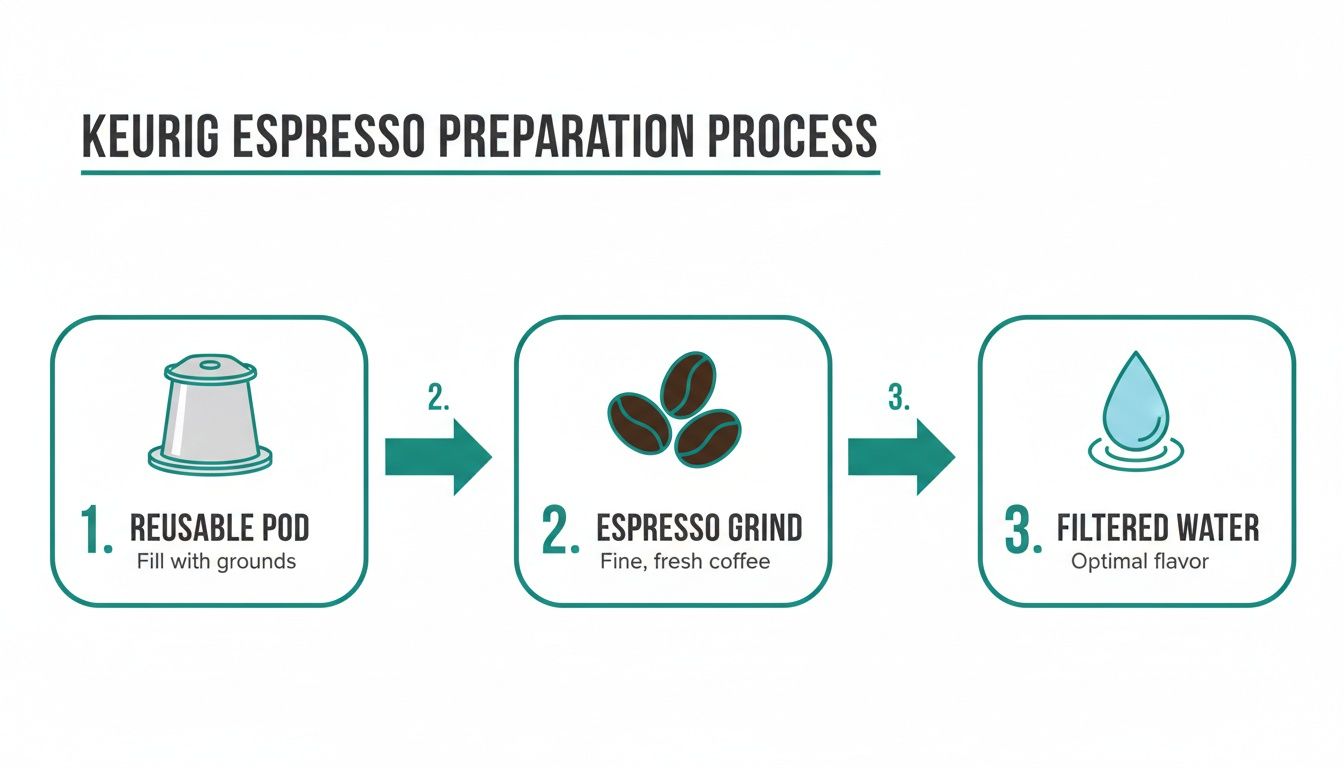
The heart of this process is a high-quality, durable reusable pod. A well-designed reusable K-Cup, especially one made of stainless steel, provides the structural integrity needed to pack coffee grounds tightly and force water through them slowly. This creates the resistance that is essential for extracting a strong, flavorful shot. A generic plastic pod often fails here, flexing under pressure and allowing water to bypass the coffee, which ruins the extraction.
Your coffee and water also play a critical role. For the best flavor, start with whole dark roast beans and grind them to a fine, almost powdery consistency right before brewing. Equally important is the water itself. Tap water often contains minerals and chlorine that can make your coffee taste flat or metallic. Using charcoal water filters in your Keurig’s reservoir strips out these impurities, allowing the true notes of your beans to shine through. This combination of a superior pod, fresh grounds, and filtered water is the key to creating a legitimately rich shot and a more sustainable brewing habit, a growing trend noted in recent coffee capsule market analysis.
Reusable Pods: A Head-to-Head Comparison
| Feature | PureHQ Stainless Steel | Generic Plastic Pods |
|---|---|---|
| Material & Durability | Crafted from food-grade stainless steel, it resists warping and is built to last for years. | The thin plastic construction can become brittle and crack from repeated exposure to heat. |
| Fit & Seal | Engineered for a precise fit, it creates a tight seal that maximizes brew pressure. | An inconsistent fit often leads to leaks, pressure loss, and grounds in your cup. |
| Heat Conduction | The metal body helps maintain a stable brew temperature for a more even extraction. | Plastic provides poor heat retention, which can negatively impact flavor. |
| Flavor Purity | Non-reactive stainless steel ensures a clean taste with no risk of a plastic aftertaste. | May impart a subtle, unwanted plastic flavor into the coffee, especially when hot. |
Ready to build your toolkit? Shop for PureHQ’s premium reusable K-Cups to get started.
Mastering Your Keurig Espresso Shot
You have the right gear, but you’re still getting a weak, watery shot. Simply owning a reusable pod isn’t enough; a poor technique will waste your coffee and leave you with a disappointing, brownish cup that lacks any real flavor. This happens when water flows through the grounds too quickly, failing to extract the deep, rich notes you’re after.
The frustration of a failed attempt can make you question if it's even possible to make good espresso in a Keurig. You followed the basic instructions, but the result is far from the concentrated shot you envisioned. The problem lies in the details: the grind consistency, the amount of coffee used, and the tamping pressure. Without mastering these elements, you'll continue to get under-extracted, flavorless results.
The solution is to refine your technique with three key steps. First, use a fine, even grind—finer than for drip coffee but not a complete powder. Second, dose your reusable pod with 7 to 9 grams of coffee. This amount creates the ideal density for proper extraction without clogging the machine. Finally, tamp the grounds lightly with the back of a spoon to create a flat, level surface. This tamping action creates the necessary resistance, forcing water to saturate the grounds slowly and evenly, pulling out maximum flavor.
Perfecting Your Brew Settings
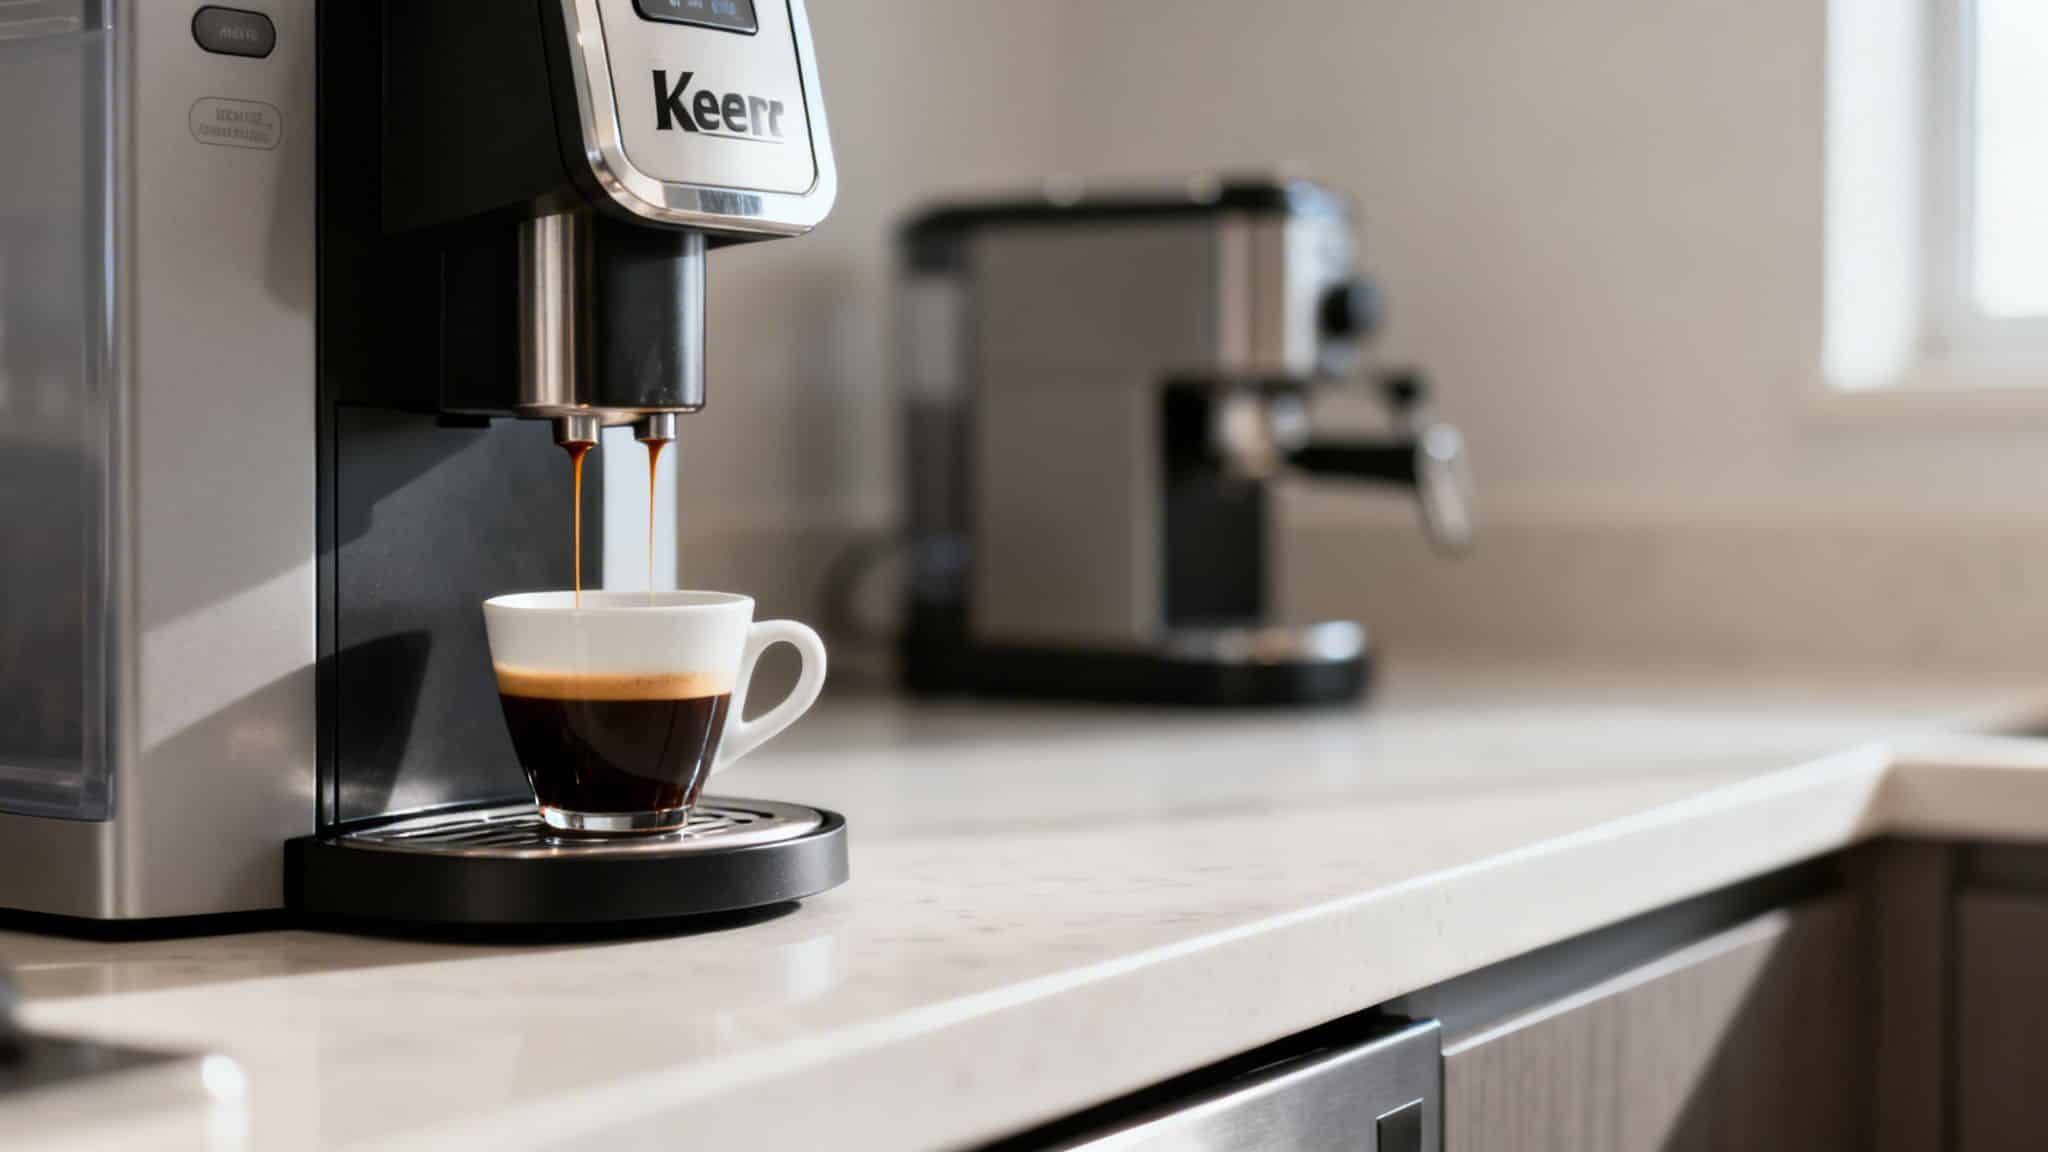
With your pod prepped, the final step is to select the correct settings on your Keurig. Always choose the smallest cup size available on your machine, typically 4 or 6 ounces. This concentrates the flavor by using less water.
If your brewer includes a ‘Strong’ button, press it. This feature purposefully slows down the brewing cycle, increasing the water's contact time with the coffee grounds, which is crucial for a bolder, more robust extraction. For an even hotter and more authentic shot, run a "cleansing brew" with only water first to preheat the machine's internal components. This ensures your actual shot is brewed at the optimal temperature from the very start.
Troubleshooting Common Keurig Espresso Issues
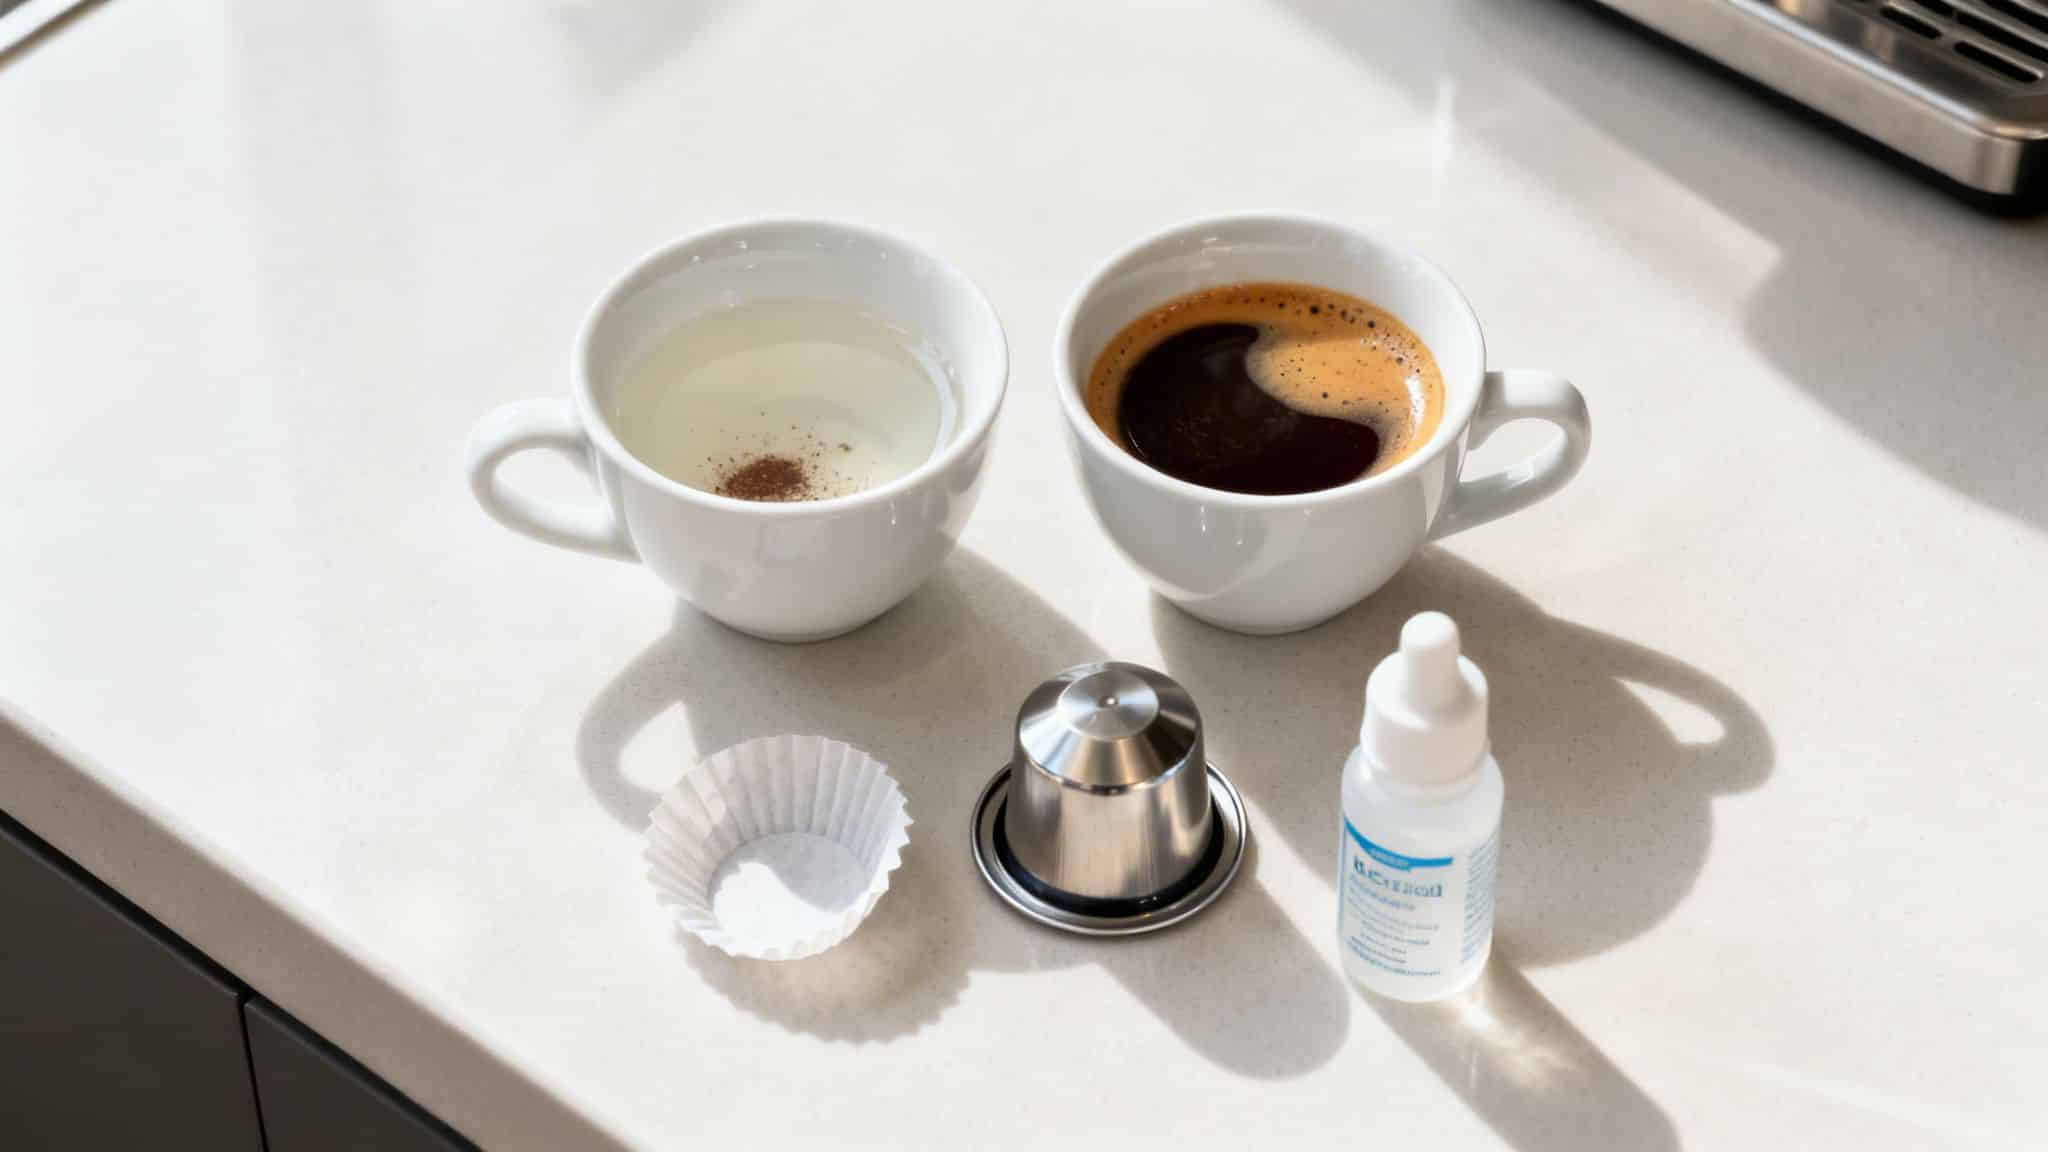
You followed all the steps, but your "espresso" is still weak, or worse, your mug is full of sludgy coffee grounds. It’s incredibly frustrating when your efforts produce a watery, disappointing brew. This is the point where many people give up, convinced that the Keurig espresso method is a myth.
This cycle of trial and error can be disheartening. You've invested in a reusable pod and good coffee, yet you're not getting the results you want. The weak flavor suggests under-extraction, while grounds in your cup point to a different problem entirely. These issues make the whole process feel like a waste of time and money, pushing you closer to abandoning the idea altogether.
The solution is to troubleshoot your technique and maintain your machine. If your coffee is weak, adjust your grind to be slightly finer or add an extra gram of coffee to the pod; both actions increase resistance and slow the water flow for a richer extraction. If you have grounds in your cup, ensure the rim of your reusable pod is clean before sealing it and that you haven't packed it past the fill line. Sometimes, the issue is not your technique but mineral buildup inside your brewer. To maintain optimal performance and prevent flavor loss, make sure to descale your machine every three to six months. Investing in quality descalers and other maintenance items can significantly improve your machine's function and the taste of your coffee.
Your Keurig Espresso Questions Answered
Even after dialing in your technique, you might still have questions about brewing espresso in a Keurig. Let's clarify some common points to help you brew with complete confidence.
Can I Just Use Any Reusable K-Cup For This?
No, the quality of your reusable pod is critical. Many people assume any reusable K-Cup will work, but cheap plastic pods often cause problems. They can have a poor seal, which allows water to bypass the coffee grounds, leading to a weak brew and grounds in your cup. A high-quality stainless steel model, like those from PureHQ, is engineered with a rigid frame and a precision-cut mesh filter. This robust design creates the tight seal necessary to build pressure for a slow, rich extraction that flimsy plastic pods cannot achieve.
Will This Method Damage My Keurig Machine?
This method is perfectly safe for your Keurig as long as you follow two golden rules: do not over-pack the pod and use a grind that is fine but not a complete powder. The only real risk is clogging the machine's needle if the coffee is ground too finely. Using a quality pod with a proper fit and descaling your machine regularly will keep water lines clear and prevent any potential issues, ensuring your machine operates safely.
What’s the Difference Between This and Real Espresso?
The key difference is pressure. A traditional espresso machine uses about 9 bars of intense pressure to force hot water through finely-ground coffee, creating a syrupy shot with a signature layer of crema. A Keurig operates at a much lower pressure. This method is designed to mimic the result of an espresso shot. By forcing a small amount of water through tightly packed, fine grounds, you achieve a highly concentrated, bold brew that is remarkably similar in strength and flavor, though it will not produce the same thick crema.
How Do I Make Lattes with Keurig Espresso?
Once you have brewed your concentrated shot, you have the perfect base for café-style drinks. To make a latte or cappuccino, simply heat and froth your milk separately. You can use a handheld frother, an electric milk frother, or even shake hot milk in a sealed jar until it becomes foamy. Pour the frothed milk over your freshly brewed Keurig espresso shot to create a delicious, homemade latte without ever leaving your kitchen.
Ready to unlock your Keurig's full potential?
Shop PureHQ Reusable Pods and Filters Now
